Before proceeding, make sure you have previously uploaded from the File Manager section all the content you want to publish. Not sure how to upload content? See the dedicated guide.
Access the Smart Slider panel from the Dashboard.
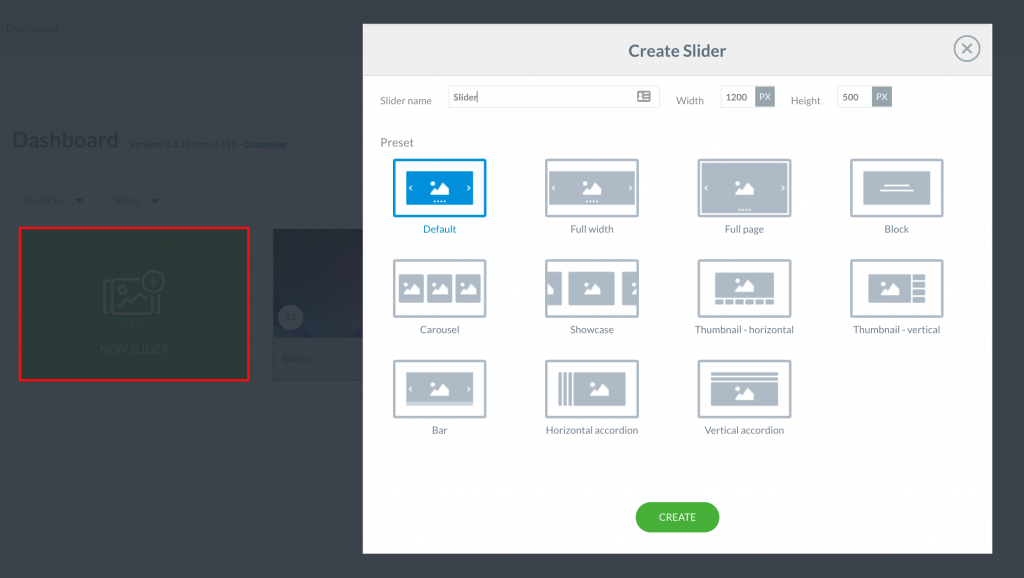
Create your Slider by clicking on New Slider and enter the title and dimensions that are indicated in the position of the Template you have chosen and that can host the “Smart Slider 3” Module.
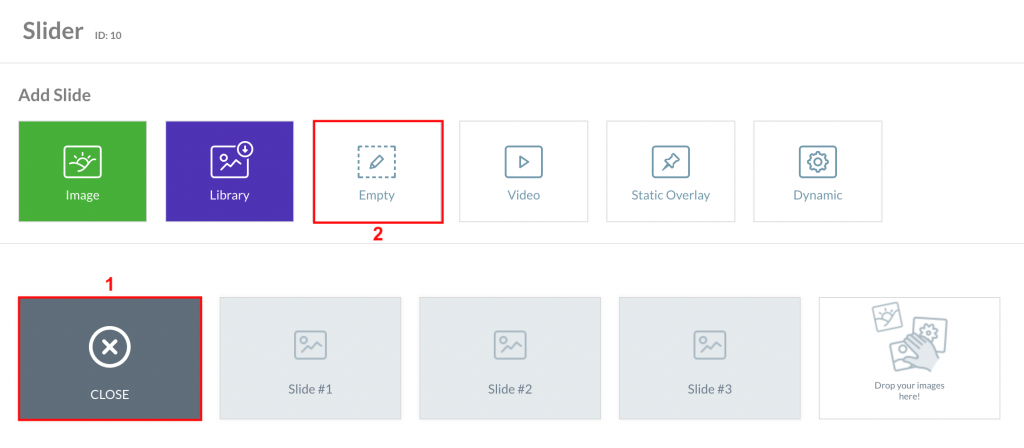
Once you have created your Slider click on Add Slide (1) and then on Empty (2) to begin to graphically compose your Slides (2).
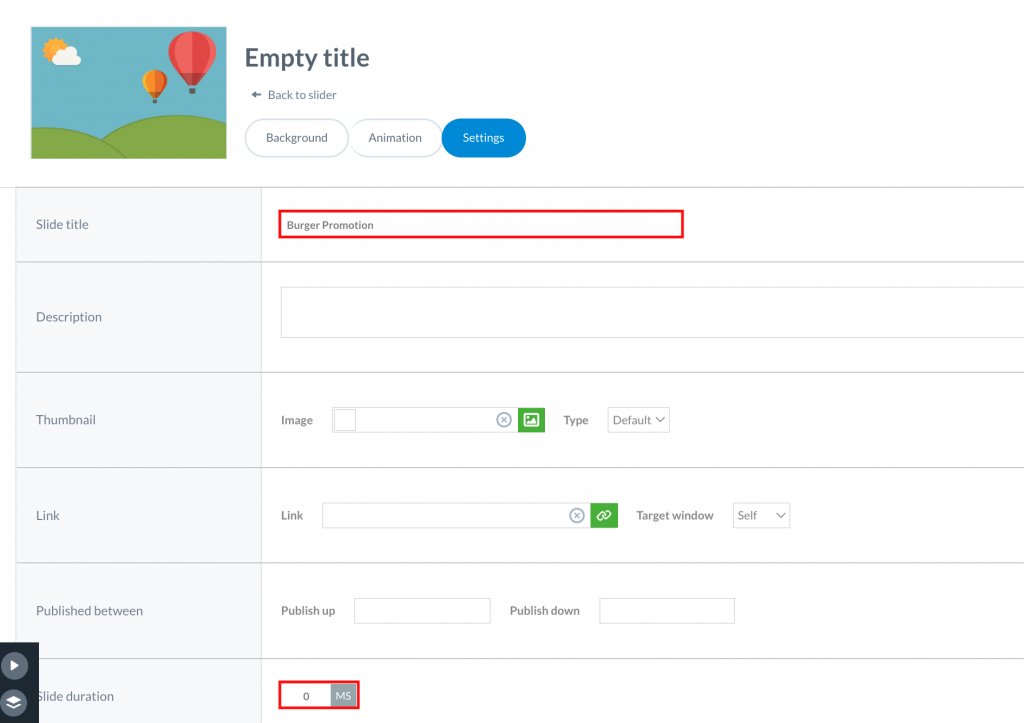
Your empty Slide is now created. Enter Title and Duration from the Settings button.
Moving then with the mouse on the Background button you can choose whether to insert a background image, a video or a background color for your Slide. You can enter a flat background color or a gradient background by selecting the gradient direction.
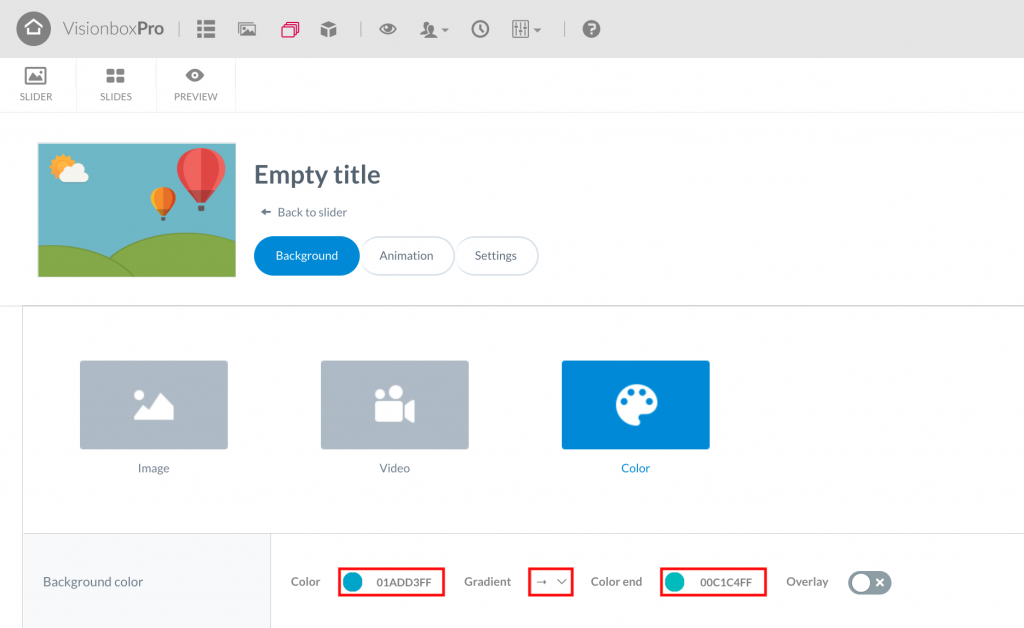
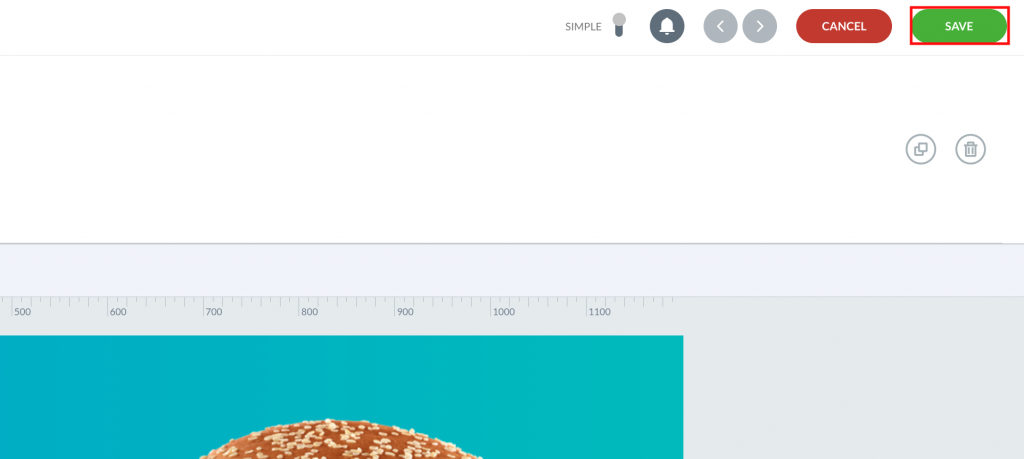
Once the background color is set and the gradient direction is selected, the final result of your empty Slide will be this:
Note: Before starting your composition, make sure you are on Canvas so that you can organise the layout of the elements on the Art board as you wish.
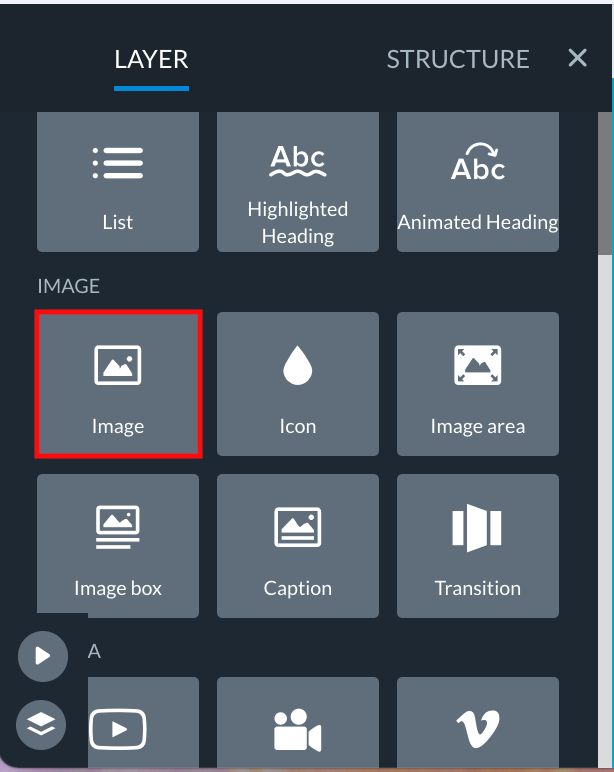
Now you can begin to insert the elements to graphically compose your Slide. Clicking on the button ![]() will open a drop-down menu where you will find a list of items that can be inserted into your Slide such as: images, icons, buttons (only in the case of touchscreen monitors), header levels etc.
will open a drop-down menu where you will find a list of items that can be inserted into your Slide such as: images, icons, buttons (only in the case of touchscreen monitors), header levels etc.
Let’s insert an image. Click on the Image button.
From the Layer menu that opens, click on the green icon to search for your files in the File Manager Media Library.
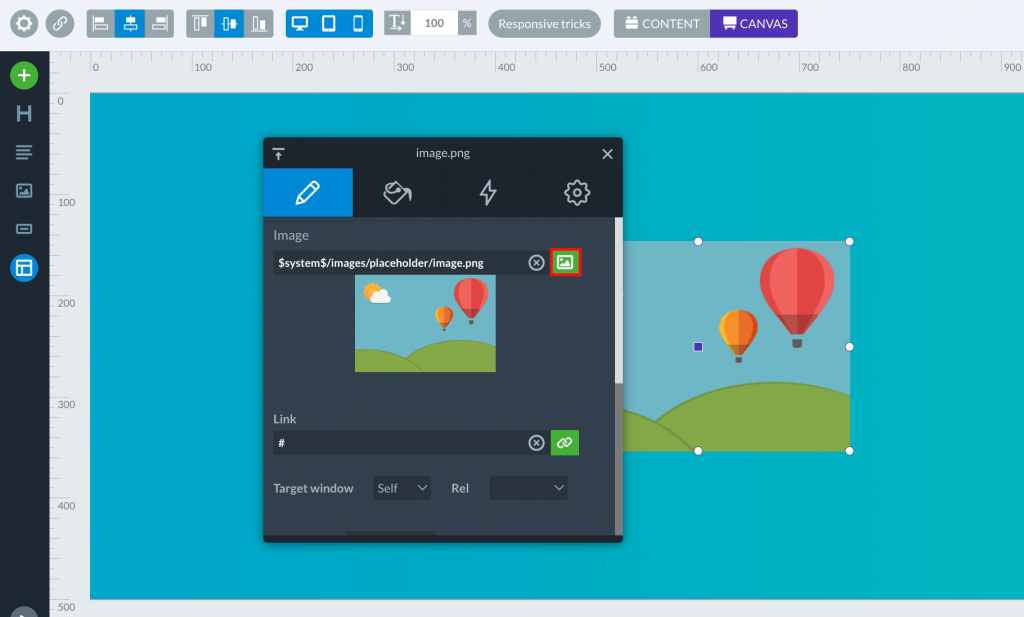
Here is your image loaded into your empty Slide.
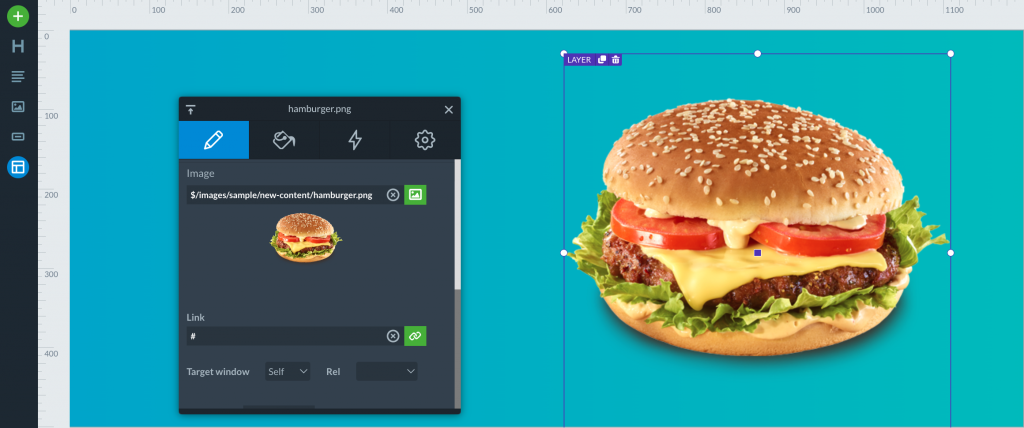
Tip: use images in .png to use the image easily on another background.
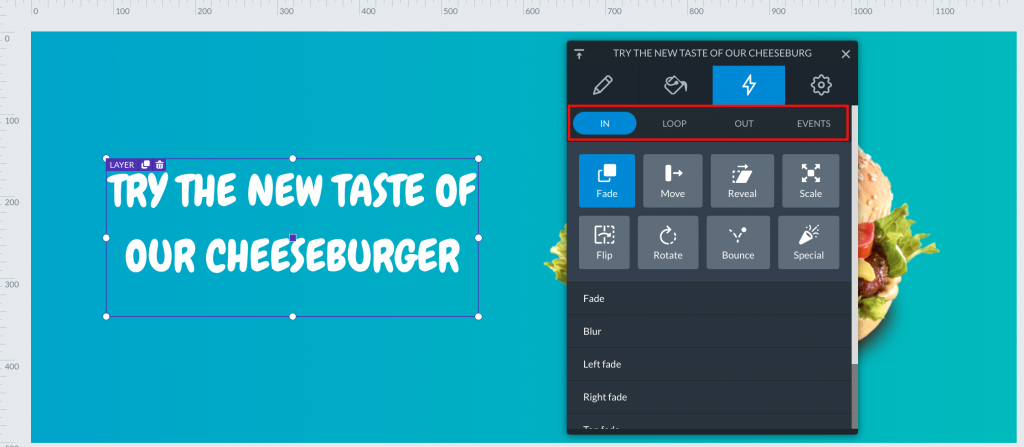
For example, you can insert animations by clicking on the lightning button ![]() in the Layer menu:
in the Layer menu:
- Incoming animations
- Loop animations
- Outgoing animations and so on.
Let’s go now to insert a text element to give voice to your promotion! Click on the Heading button. As for the image element, also for the text element the Layer menu will open which allows you to:
- Enter/edit your text
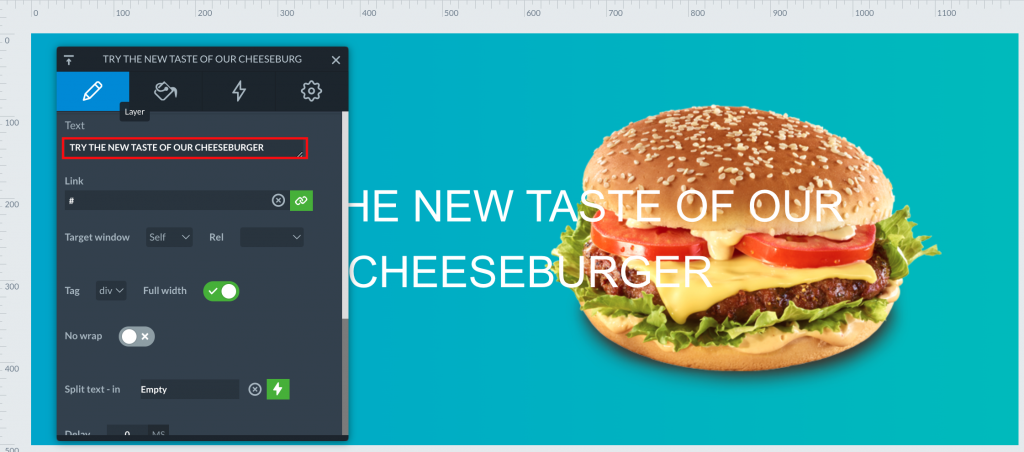
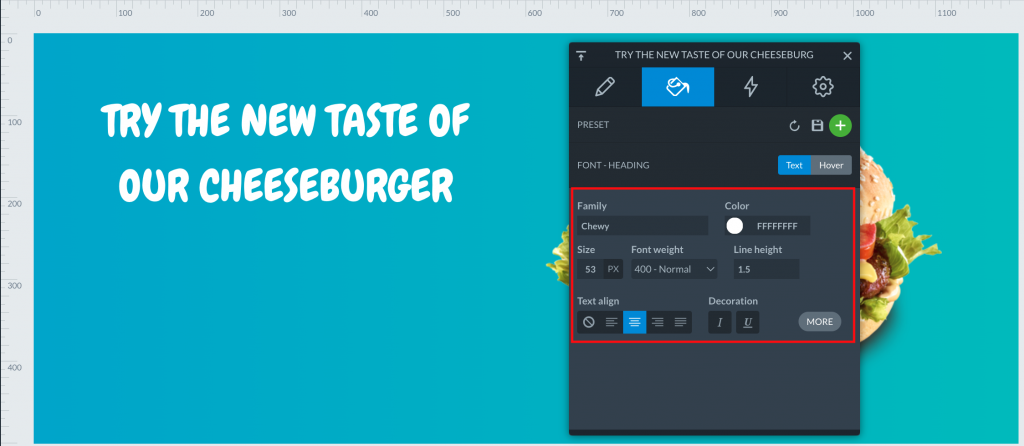
- Change the font: family, color, size…
- Apply animations.
Clicking on the button ![]() you will have the list of levels, that is all the elements inserted in the Slide. From here you can:
you will have the list of levels, that is all the elements inserted in the Slide. From here you can:
- Reverse the order to overlapped elements
- Change the duration of the animation
Once you have applied the changes you want, click on the Play button to see the final result of your composition.
Finally, click on Save to create your empty Slide.
Remember: repeat the procedure for all the slides that will make up your schedule!
To ensure that your schedule is displayed you will need to enable automatic playback. Click on Auto Play from the toolbar and then on the Enable item (1). From the Interval field (2), you can instead set a time interval that will go from one slide to the next. Finally, click on Save to make the changes.
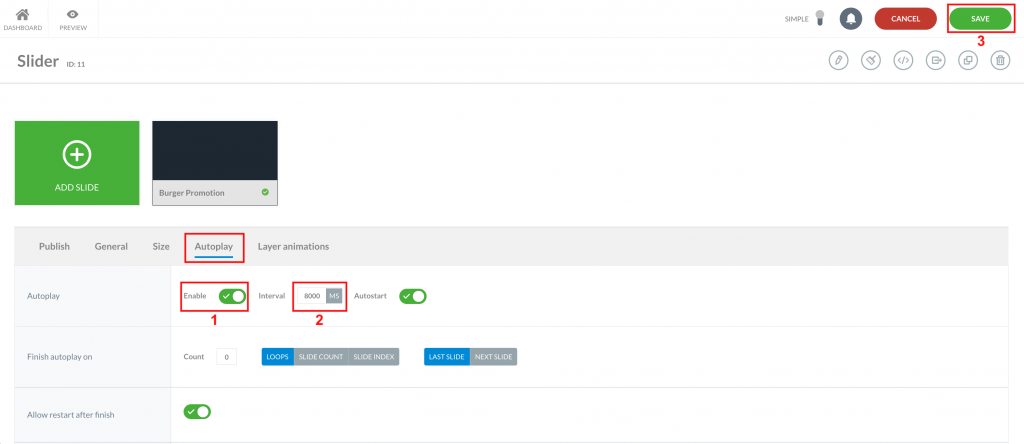
Note: the duration time of the interval between one Slide and another will be added to the duration you set on the Slide.