Today we will see together how to configure your first monitor with ProPanel.
Before you start we suggest you take a look at the video at the beginning of this guide for a quick tour of the interface.
Open your browser.
Go to the web address indicated in the welcome email.
It will look like xxxxx.visionbox.it/administrator. This is the URL of your ProPanel.
Example: gelateriagiovanni.visionbox.it.
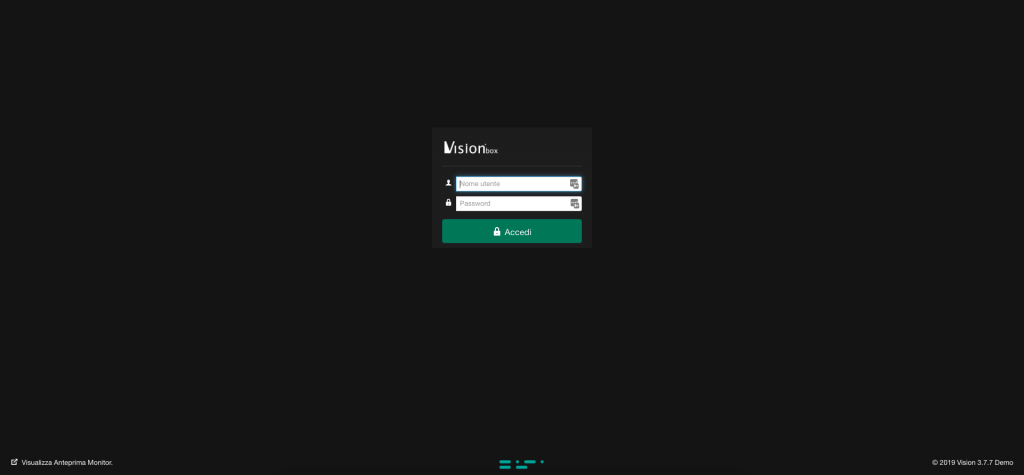
On the screen that will open (like the one you see in the image below) enter username, password and click Login.
Where do I find my credentials? In the same email as your ProPanel URL.
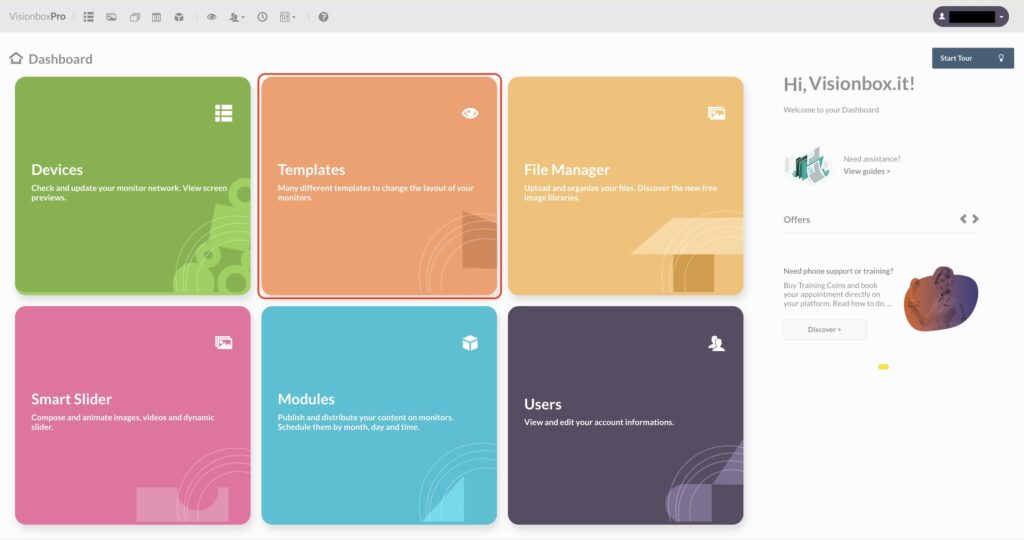
At this point you will be in front of the Dashboard.
Click the Template button to access the panel.
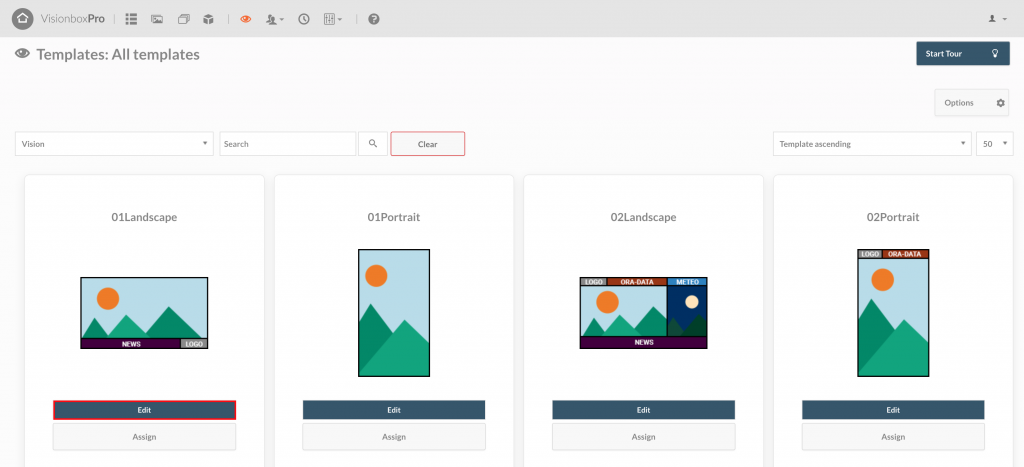
Once inside the panel you can choose from many templates available. In this tutorial we will guide you through the configuration of the 01Landscape.
Choose the 01Landscape by clicking on Edit.
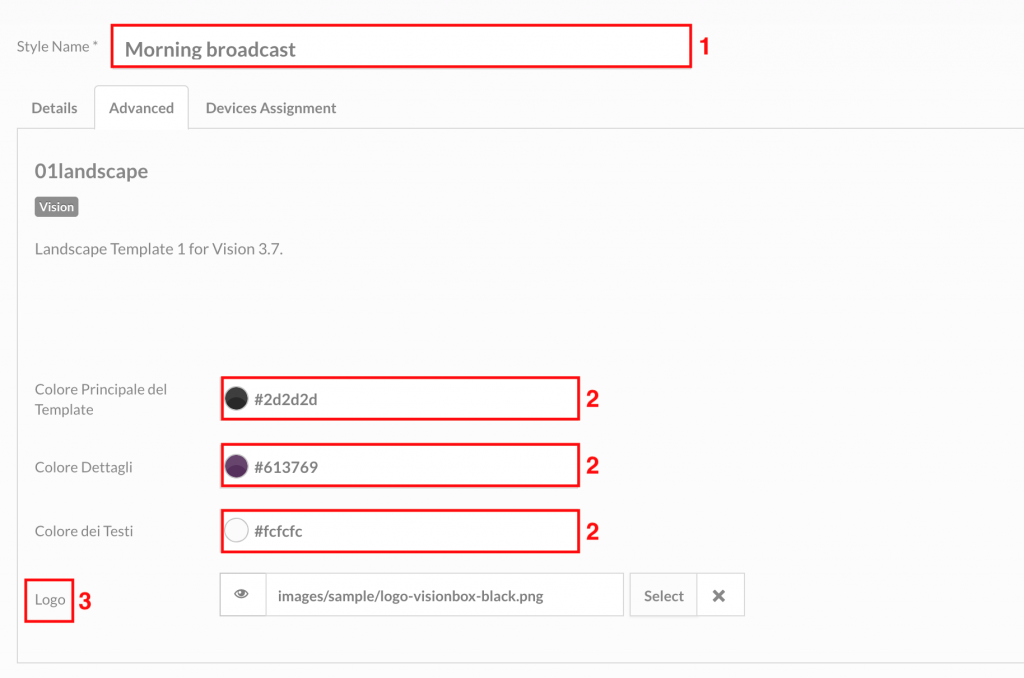
On the template edit page choose the Style name (1) to give to your Template and the main theme colors (2).
Tip: We recommend that you choose the ones that distinguish your company.
In addition, you can also load your logo (3). You can find the instructions to do this right below this image.
Click on Select.

File Manager will open. At this point click on the logo you want to insert and once selected click on Select.
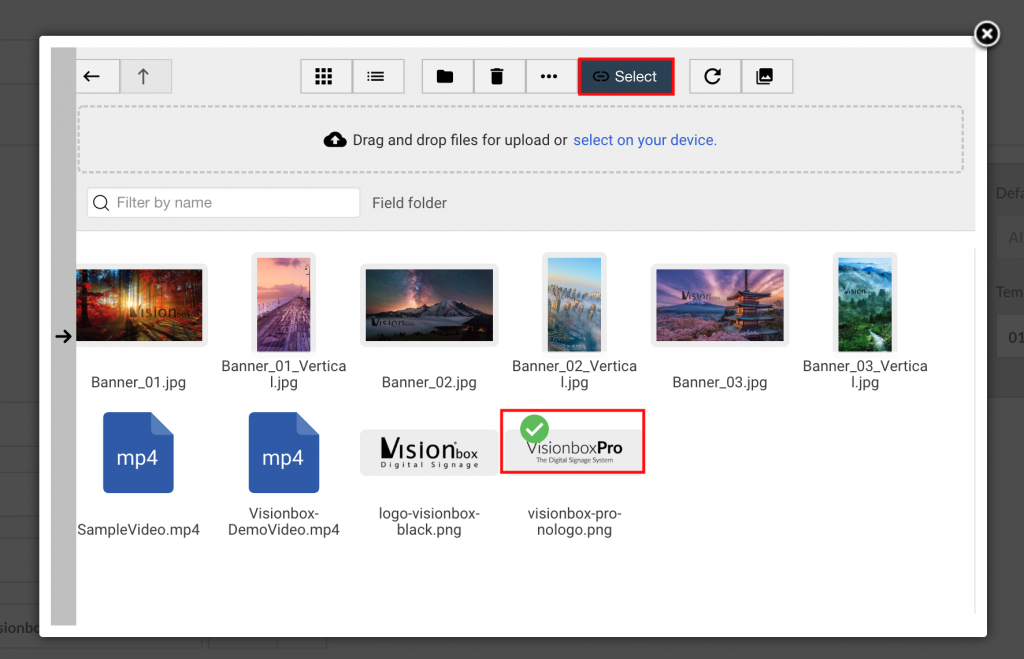
Remember: The logo must be 400 x 110 pixels
How do I know the size of the logo? In order to know the width and height of each position of your template, open the Template panel in another browser tab and click on the image of the template 01Landscape. You will see a magnified image with all the necessary dimensions of logo, sliding text and slider.
What are the positions? The spaces in which the Template is divided. In each position a module can be published.
Hint: We recommend that you keep this tab open at all times so you always have the size of all the positions of your Template.
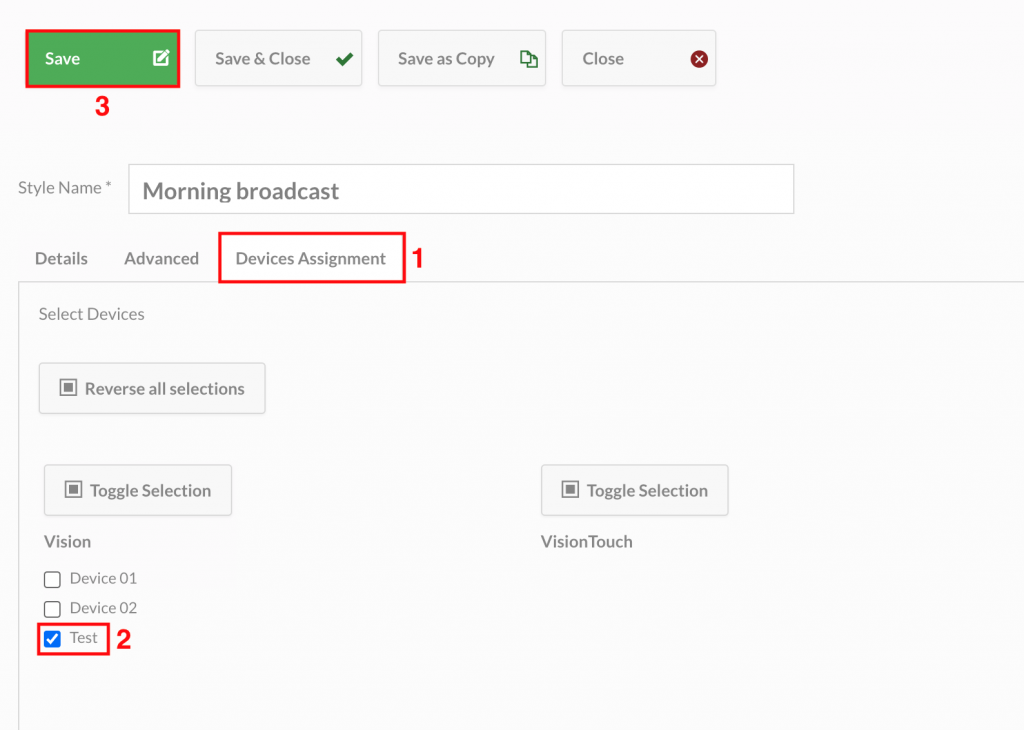
Back to the template configuration page. After choosing the colors and entering the logo, click on the Seat Assignment tab (1) and choose the Seat (2) to show the Smart Slider and Sliding Text module that we will configure in this guide. Finally, click Save (3).
How do I know the selected location is correct? In a new browser tab open the Devices and check the name of the workstation to which your Template is assigned.
Your template will now look like this.

Now let’s configure your first module. Modules are what allows us to display different elements on the monitor. In our case, Sliding Text and Smart Slider.
Let’s start with Smart Slider.
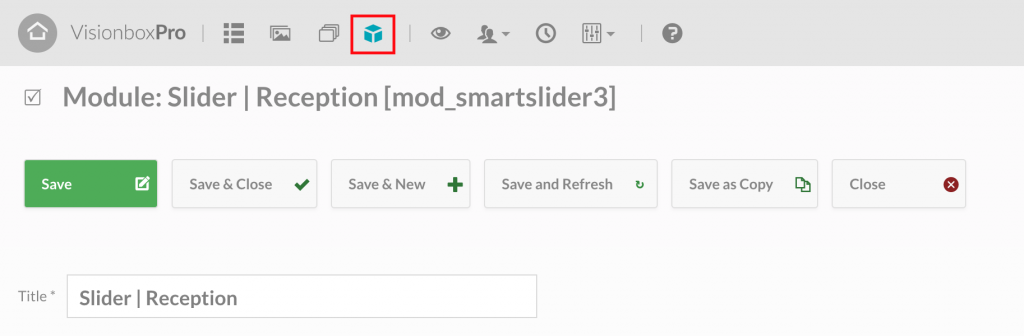
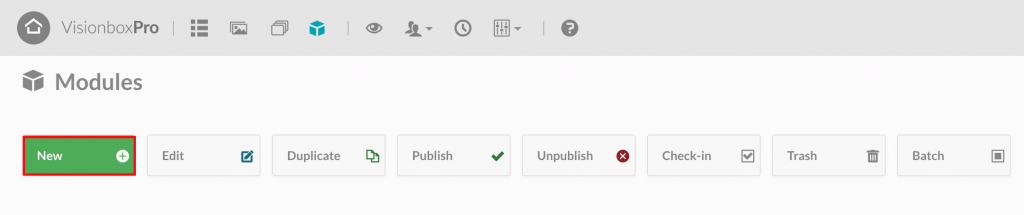
Click on the Modules icon in the Quick Dashsboard.

Then on New in the toolbar.

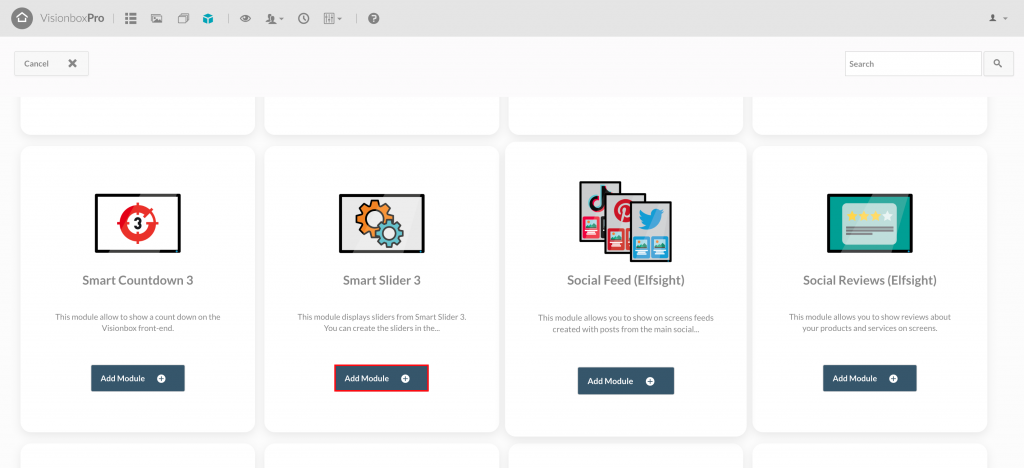
Select the Smart Slider 3 module by clicking on Add Module.
Once inside the module set the Title (1) and the Position (2).
Hint: for Title we recommend you enter Creation date, Module type and Reference name. For example 11 10 2020 | Slider | Summer.
Finally click on Save (3).
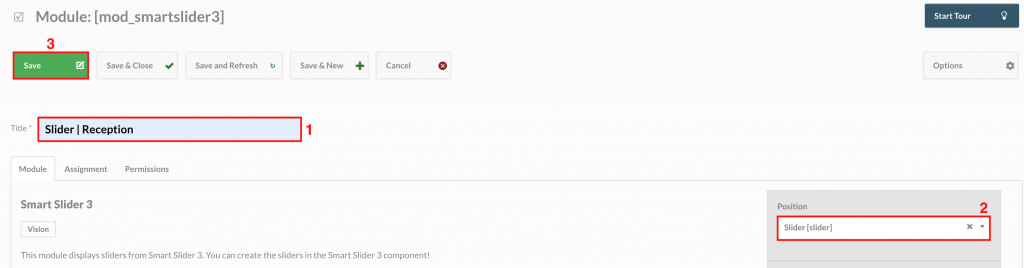
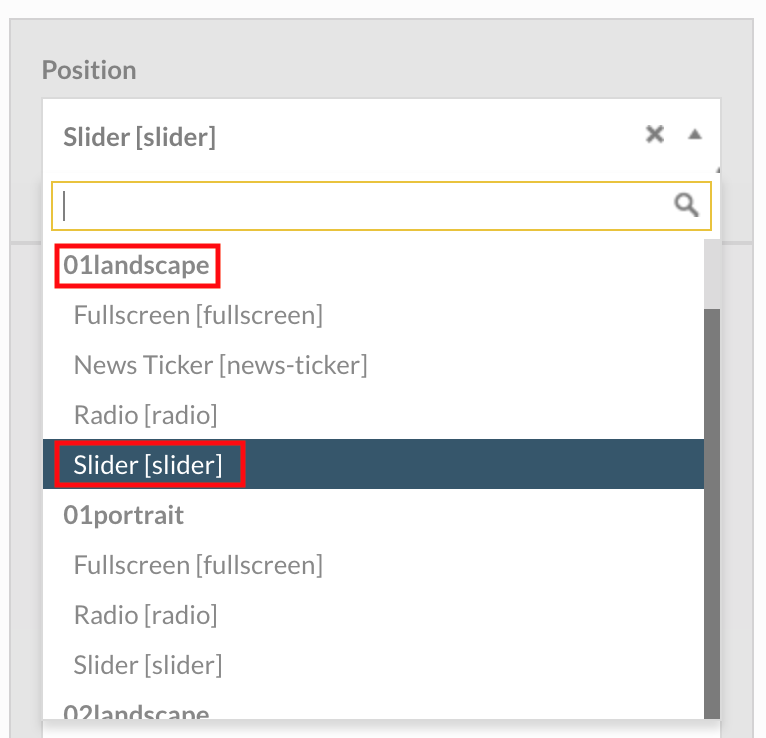
How do I choose the correct position? Opening the drop-down menu under Position you will find all the Templates in bold and, under each Template, the relative positions. All you have to do is search for the one we chose initially (01Landscape) and click on the Slider position.
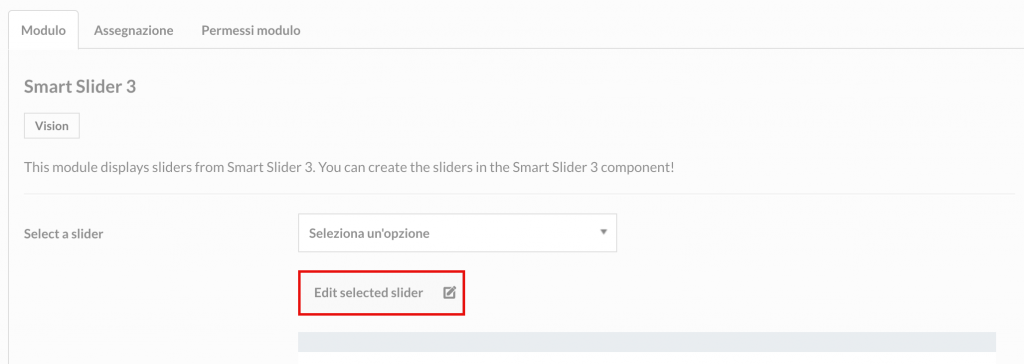
Una volta salvati Titolo e Posizione, passiamo alla creazione dello Slider vero e proprio cliccando su Edit selected Slider.
On the screen that will open in a new browser tab click on Add Slide and start creating your Slider. Below are the links to the dedicated guides. Click on the one you are interested in to get started.
Once the Slider is created, go back to the module configuration page and click Save. The newly created Slider will be automatically selected. In fact, you will see it appear in the field Select a slider.
At this point, we must assign the Module to the Workstation. This will allow you to decide which location to display the Smart Slider module.
Go to Assignment (1) tab and then to Locations (2). Here click on Include and in the list that will appear select those in which you want your Slider to appear.
How do I choose the correct one? In the tab that was opened for the creation of the Slider, open the Devices panel from the Quick Dashboard. Once open, check which is the name of the location your Template is assigned to.
In our case, the 01Landscape is assigned to the Reception so you will have to go back to the tab where you were configuring the module and select it.
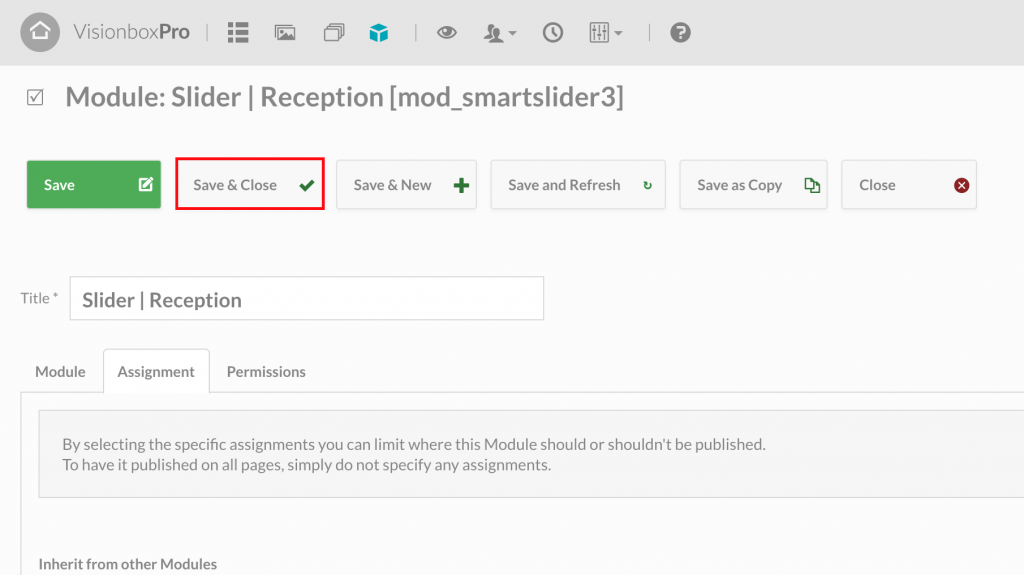
Completed assignment click Save and close.
Here’s what your template will look like now. In the example below we have opted for an image-only slider.
Do you know that you can also schedule now, day and month of publication of your Smart Slider module? Find out how to do in the dedicated guide.
Now let’s see how to monitor the latest news from the world taken by Corriere della Sera using the form Sliding Text.
Access the Modules panel from the Quick Dashboard.
Click New in the toolbar.
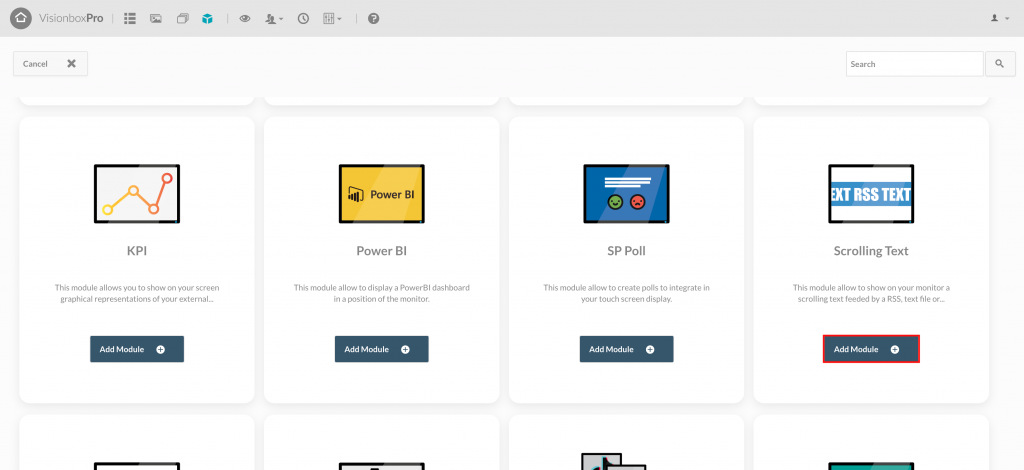
Select the Scrolling Text form by clicking on Add Module.
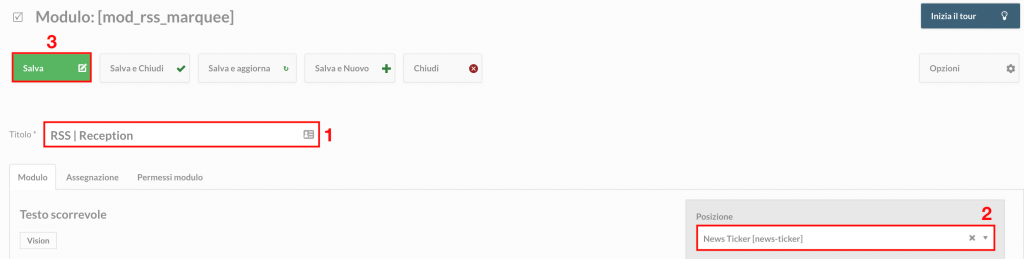
Once inside the module, choose Title (1) and Position (2). In this case, you will need to select the news-ticker position within the 01Landscape template. Finally, click Save (3) to make the changes.
Let’s now move on to the Module configuration. Here you will find the full guide.
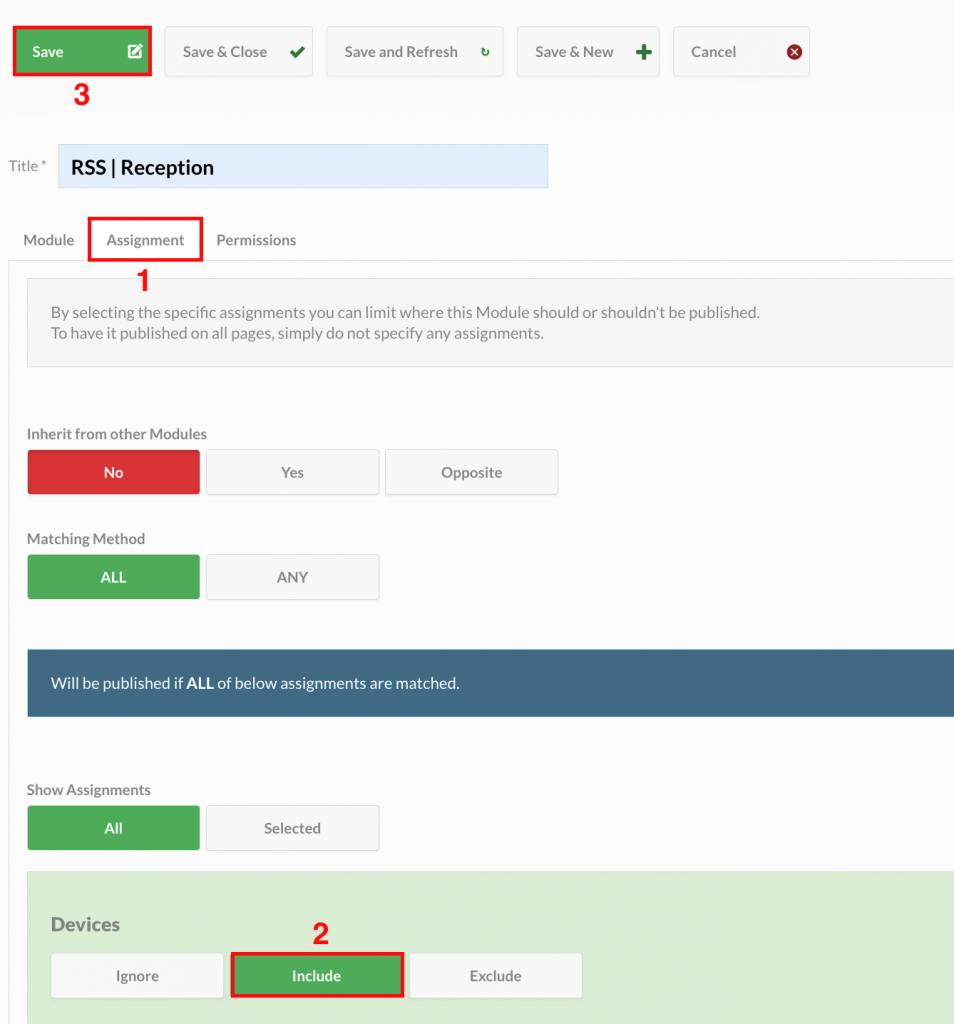
After configuring it, click on the Assignment (1) tab and select the Location (2) to associate the module with. It will be the same as the Slider: Reception.
At this point, just click on Save and Close (3) and you’re done.
Once you have assigned the Module to the Workstation, you will have to wait for the automatic update set in the early morning or make a manual update (Manual Update of Devices) in case you want to update your schedule immediately.
All that remains is to check to see the schedule correctly. Just click on Devices in the Quick Dashboard and once in the panel open the preview by clicking on the Preview link that you find highlighted in the image below.
Il risultato finale sarà questo.