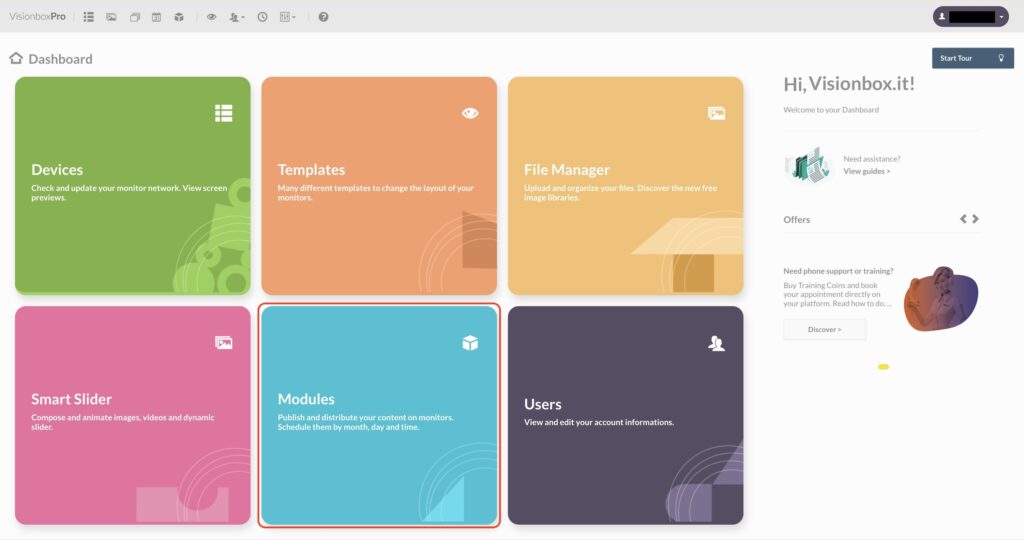
Access the Modules panel from the Dashboard.
Click New from the toolbar.

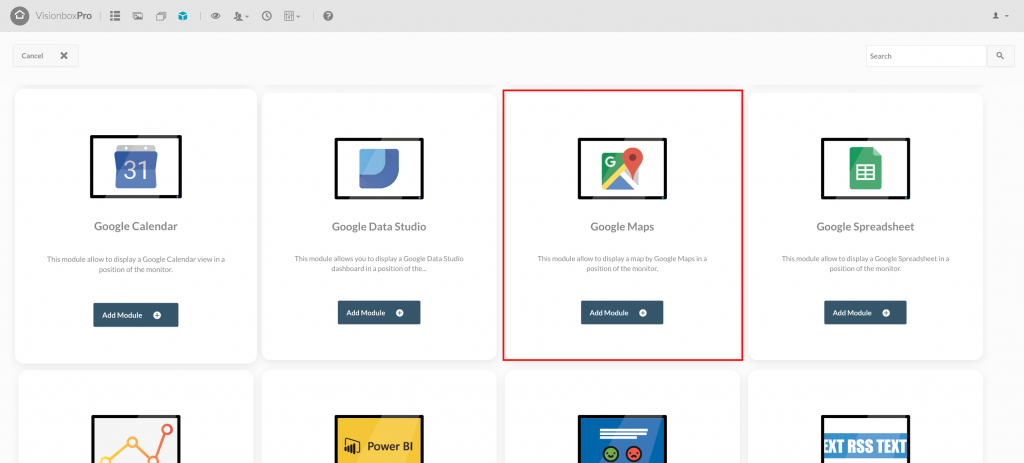
Select the Google Maps Module by clicking Add Module +.
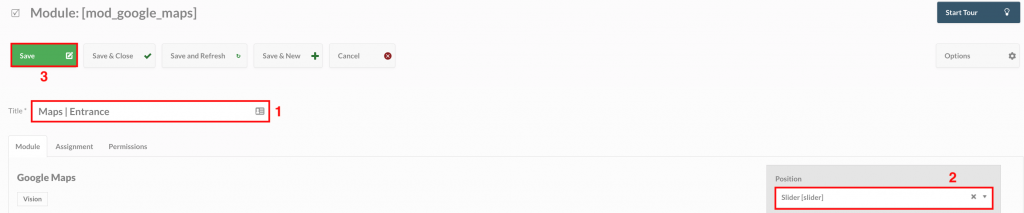
By clicking inside the Module you will first have to choose the Title (1): make sure to use a title that will make you quickly understand what you are viewing (eg: Maps | Entrance).
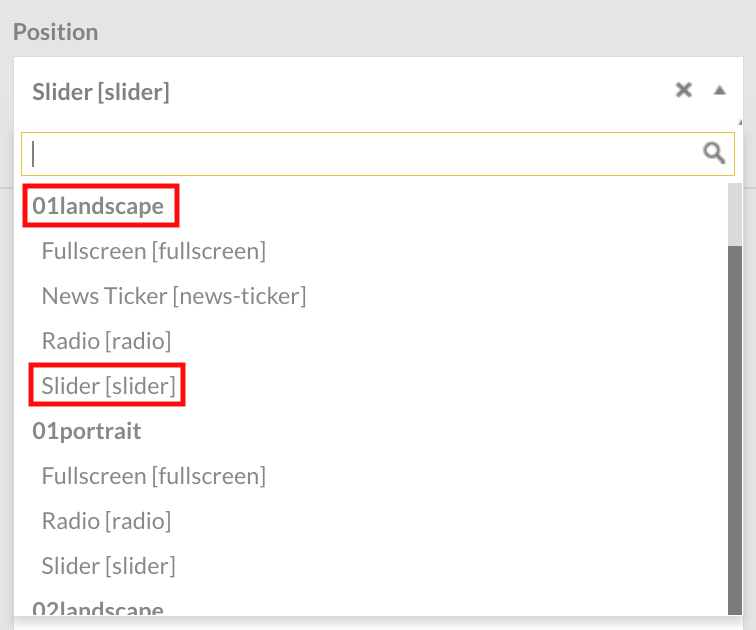
Secondly, you will need to select the Position (2). Let’s see how to do this.
Clicking on Position will open a drop-down menu where you will find all the Templates in bold and, under each Template, the relative positions. Freely choose the position of the Template used in your Devices to show the map.
Finally click Save (3) to apply the changes.
Tip: to make sure you assign the module to the correct position in the Template, in another tab of the browser open a new Dashboard and access the Devices panel so you can see the name of the Template used for each of them.
Let’s now move on to the configuration of the Module.
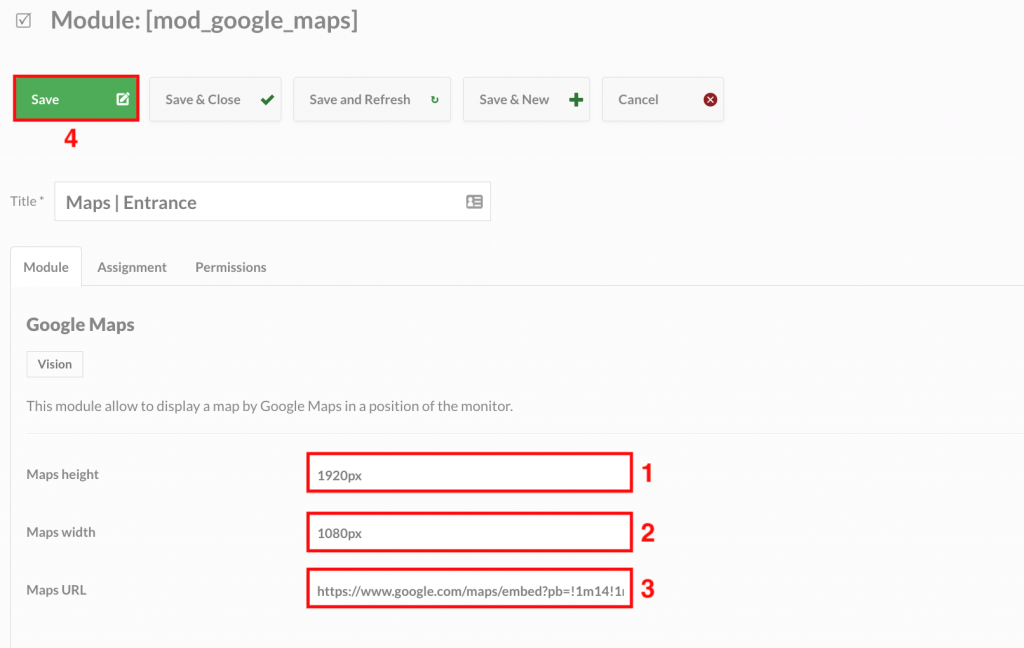
Set Map height (1) and Map width (2).
Remember: the size of your module must be equal to the position of the Template you want to insert it in.
Once you set the size, let’s see how to embed Google Maps in the module.
Here you will find Google’s complete guide to embedding a map into a web page.
The embed code that Google provides you to insert in your HTML copy the portion that you see highlighted in yellow in the image.

Then paste it into the map URL field (3).
Once you have entered all the parameters, click on Save (4).
To complete the configuration of the Google Maps module you will need to assign the Module to the Position of interest (To do this follow this guide Program and assign a Module to the Devices).
Once you have assigned the Module to the Device, you will have to wait for the automatic update set in the early morning or make a manual update (Manual Update of Devices) in case you want to update your schedule immediately.