To start configuring your first Weather Module, access the Modules panel from the Dashboard.
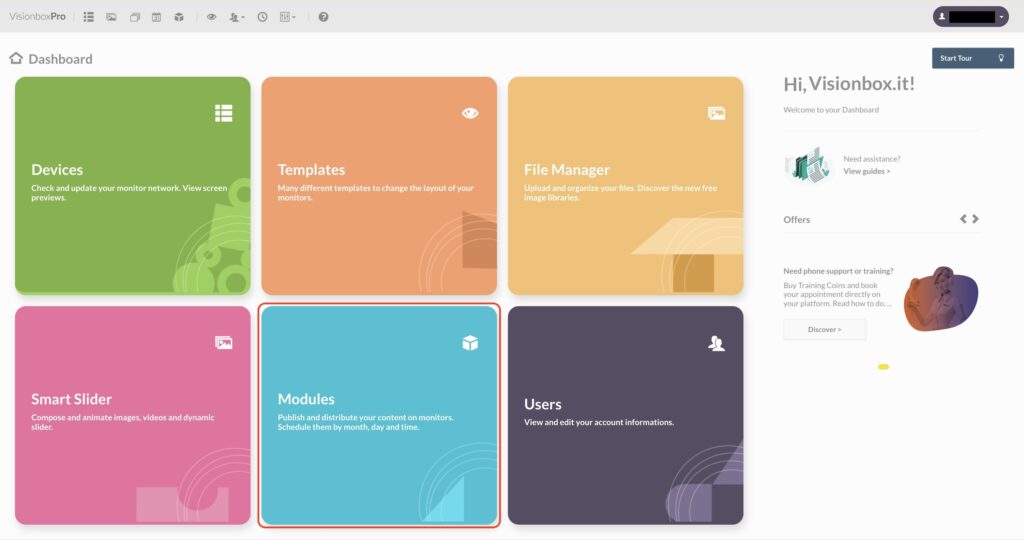
Click on New in the toolbar.

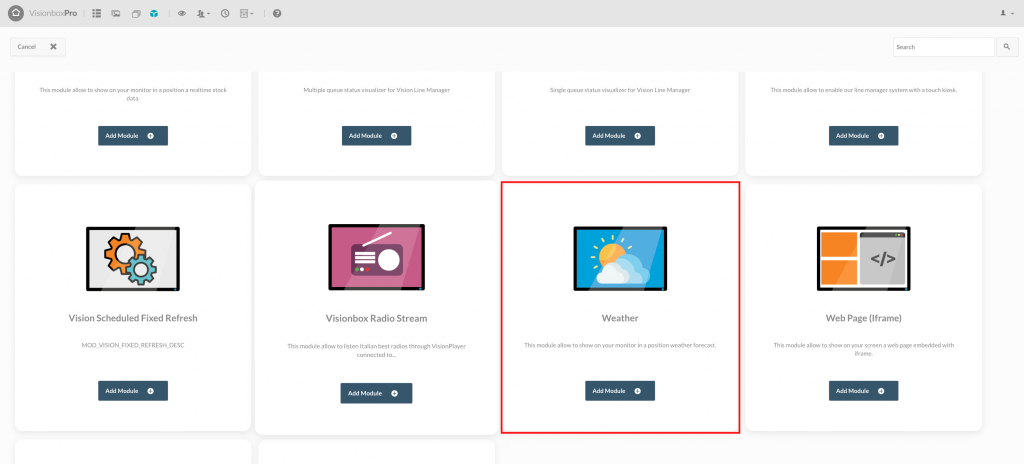
Select the Weather Module that can host the Template you have chosen.
By clicking inside the Module you choose the Title (1): make sure you use a title that lets you quickly understand what you are viewing (for example Weather | London). Select the Position (2) in relation to the Template used, from the dropdown on the right. Finally, click on Save (3) to make the changes.

Tip: clicking on Position will open a drop-down menu where you will find in bold all the Templates and, under each Template, the relative positions.

Let’s move on to the Module configuration.
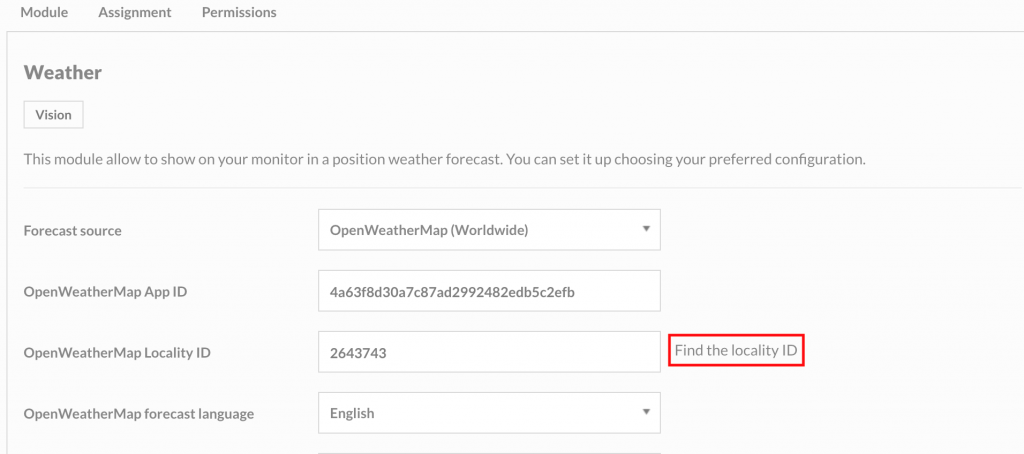
Forecast Source: The weather forecast source relies on OpenWeatherMap, an online service with which you can search for the forecasts of the city you want.
Select the city of interest by clicking on the “Find the locality ID” button.
At the same time, the OpenWeatherMap service web page will open and you can enter the location of interest to search for it. Once the location has been identified, select it to enter the detail page.
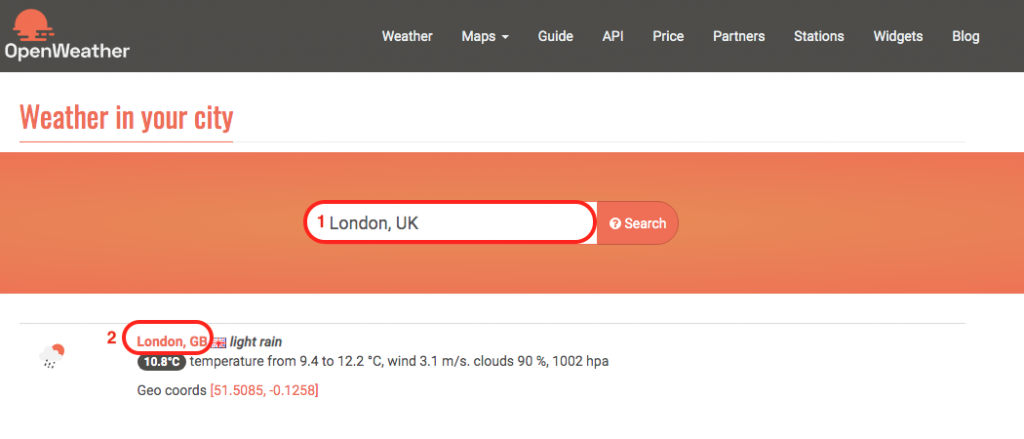
At this point you need to copy the last numeric part of the URL.
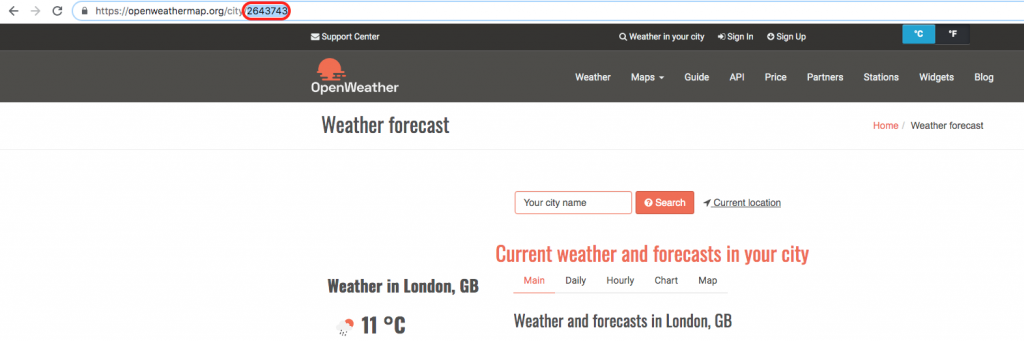
Then return to the Modules panel and paste the number just copied into the field: Id Location OpenWeatherMap.
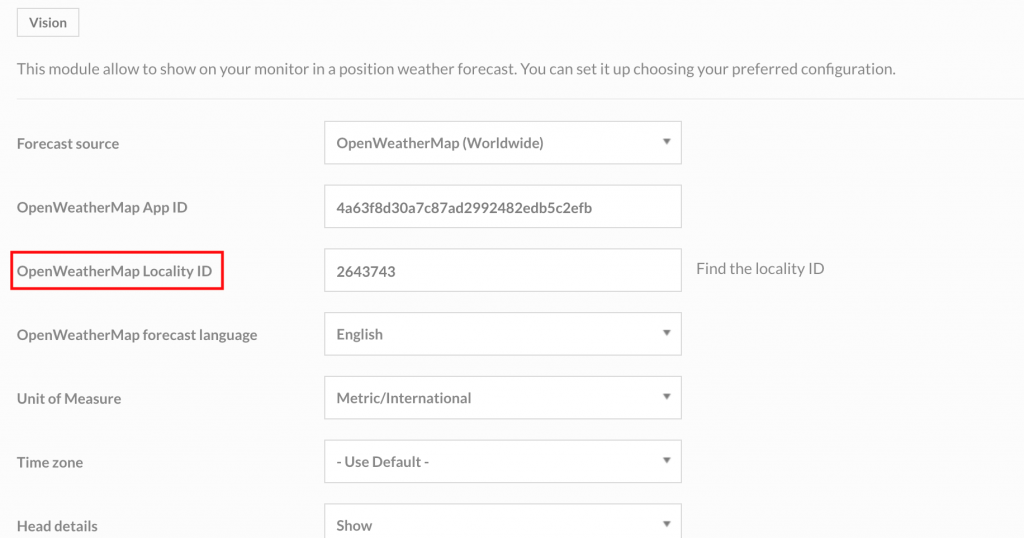
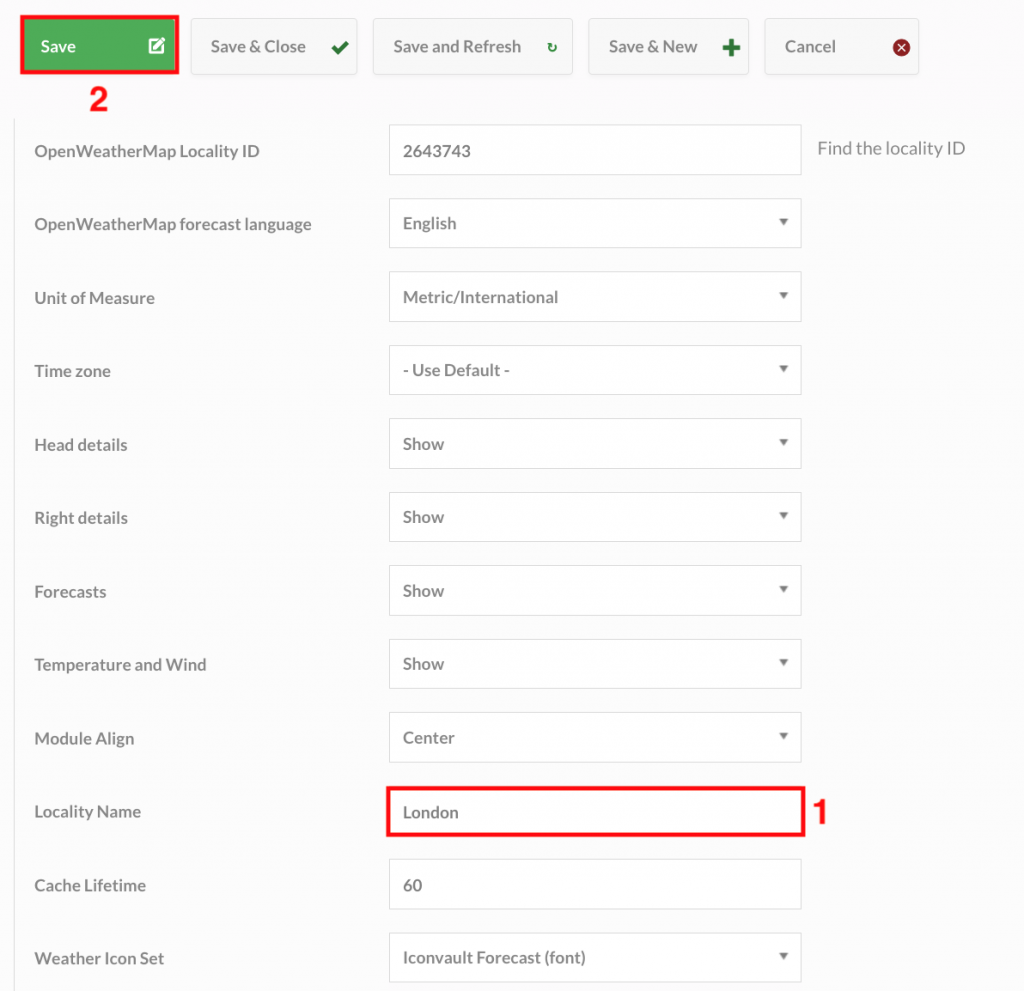
You can also choose between: the language of the forecasts, the unit of measurement, the time zone, the font size and many other features that you can modify as you like. For example, among the available changes, you can enter the name of the city you would like to be displayed on the Monitor (1).
Then click on Save and Close (2) to save the changes made.
To see the result of the configurations set, consult the Device preview.
Do you want to assign this Module only to some Devices? Find how!