


Smart Slider allow to create a slider called “static overlay”. So called because its elements remain statics over the other image and video while they slide.
It’s perfect in case you have fixed elements that always return the same in each slide. In fact, instead of copy/paste it in every slide, you can insert them in the static overlay. The final result will be more accurate and precise than do the same manually.
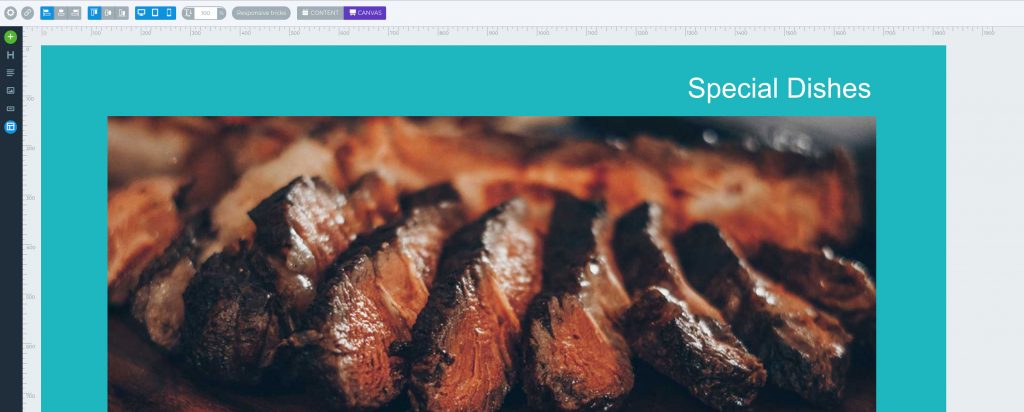
This function could be use in many differents ways. In this guide, we explain to you how to create a virtual frame to overlap on your Slider. At the end, you have a Slider like the one below.
Let’s see how to do it.
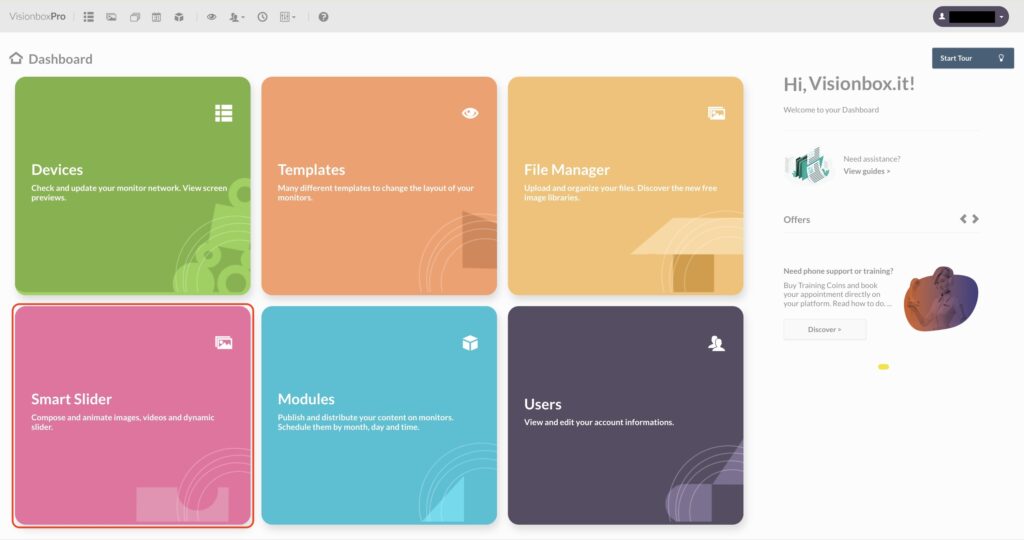
Access to Smart Slider panel in the Dashboard.
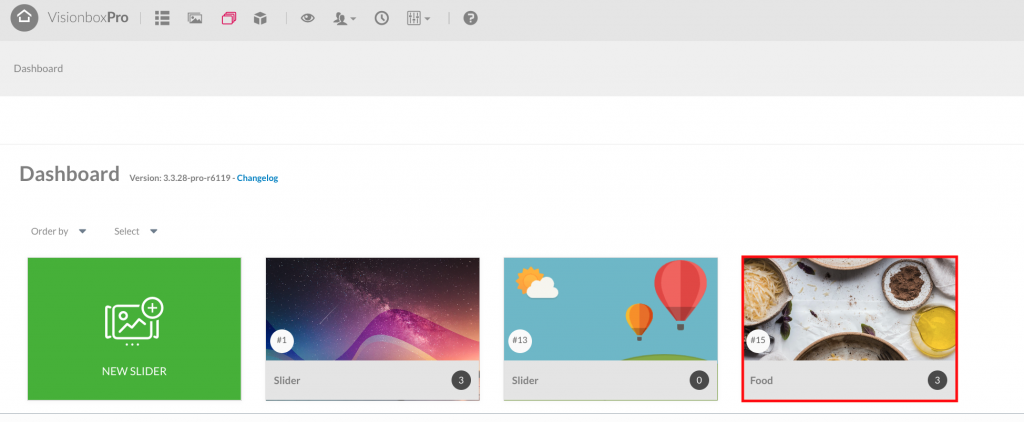
Now choose if using an already existing Slider or if creating a new one. In this case, we use a Slider create previously.
Remember: the static overlay can be used with every type of Slider: images, videos and empty with elements. Below all the link to the related guide:
– Create an only-images Slider
– Create an only-videos Slider
– Compose an empty Slide with element
Now that you chose or created the slider, click on it to edit.
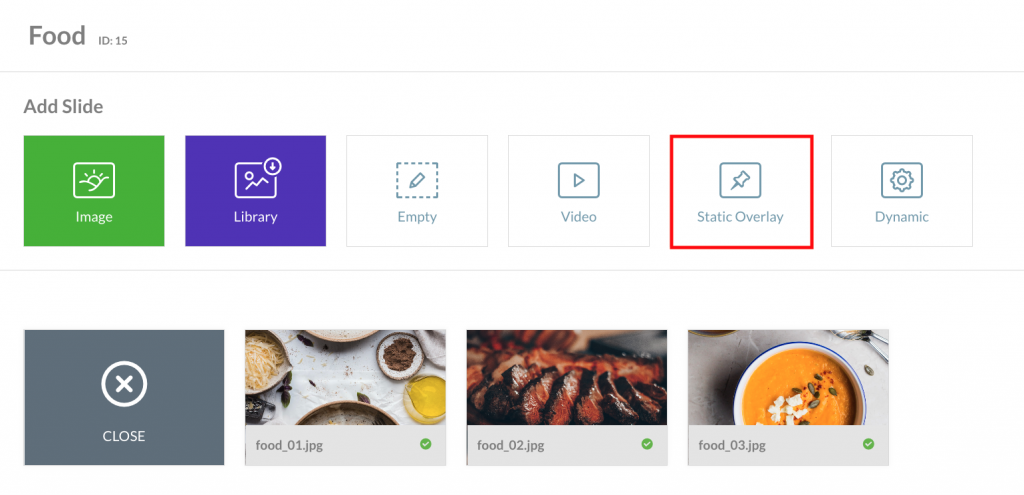
Here click on Add Slide and then on Static Overlay.
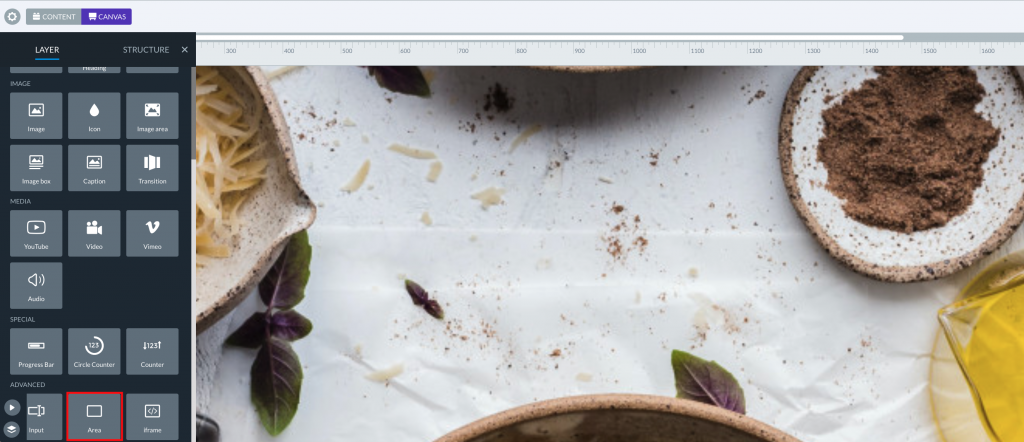
At this point, the editor opens and in the Canvas will appear one of the Slider images. In this way you have an instant preview of the final result.
Let’s go on with the creation of the frame.
Click on + icon and then on Area.
After that create a rectangle the same size of the Slide and click on it.
A window will appear. Here, you will find all the settings to edit the shape.
As Background Color (1) select the transparent one (white 0% opacity)
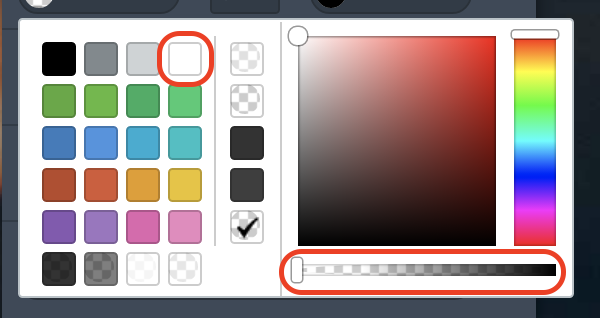
In the field Color (2), instead, you can choose the color of your frame.
Finally, in Edge define the thickness of your frame. We advise you to set this value to 150 px. In this way, you have enough space to write and insert graphic elements.

It’s possible that after all these changes the frame is bigger than the slide. Just click on it and resize correctly.
Now we can go on inserting text.
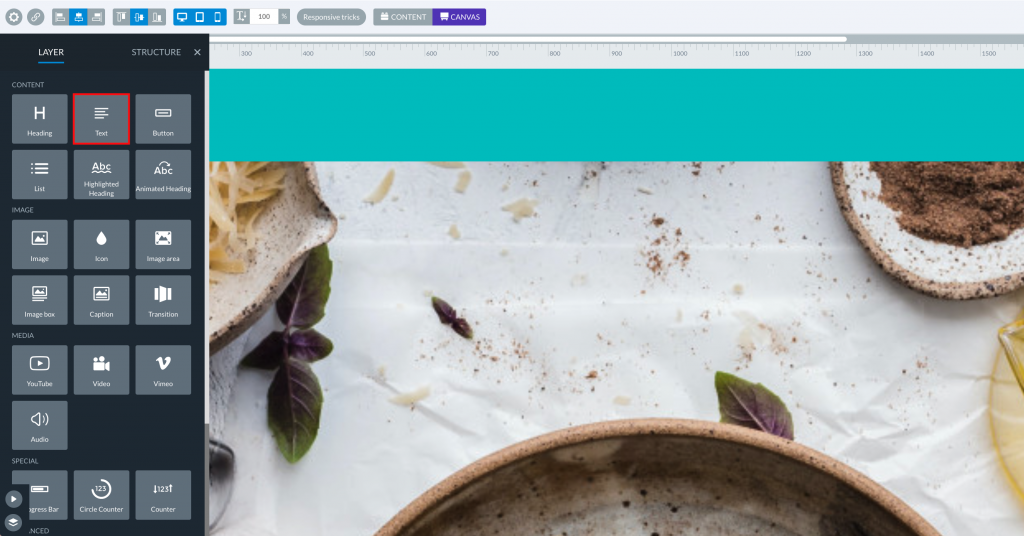
Click on + icon and then on Text.
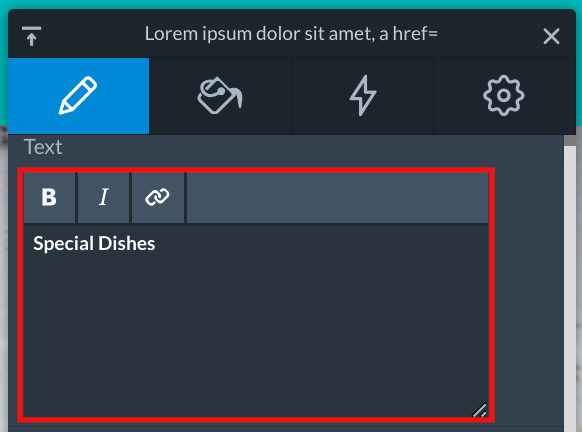
The configuration menu appears. In its Layer tab insert the message you want to show in screen.
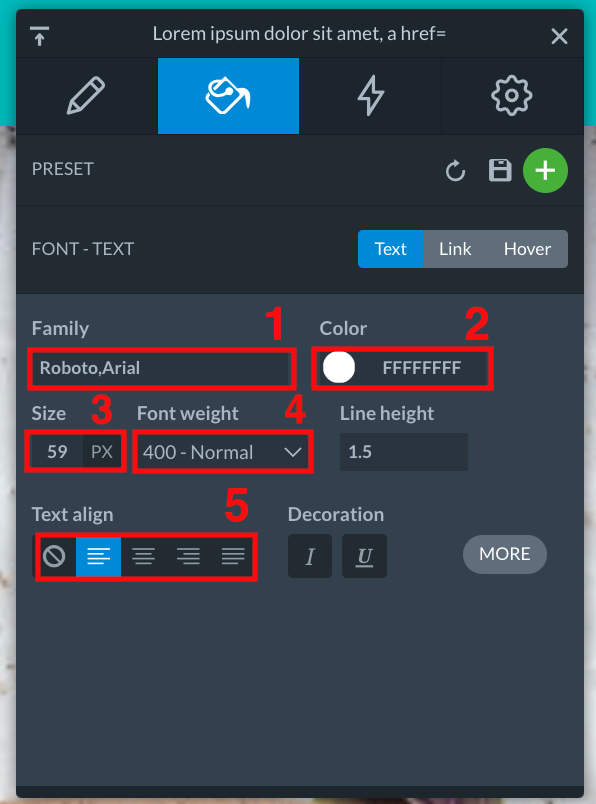
After that, in the Design tab you can define the font. In particular, you can set Family (1), Color (2), Size (3), Font Weight (bold, regular, light) (4) and if you wish also the Text Align (5).
When you are satisfied with the result, drag it in the position you prefer. If the text box is smaller than your message, you have to resize it to make all the phrase completely visible.
If you want to customize the frame, you can also insert your company logo.
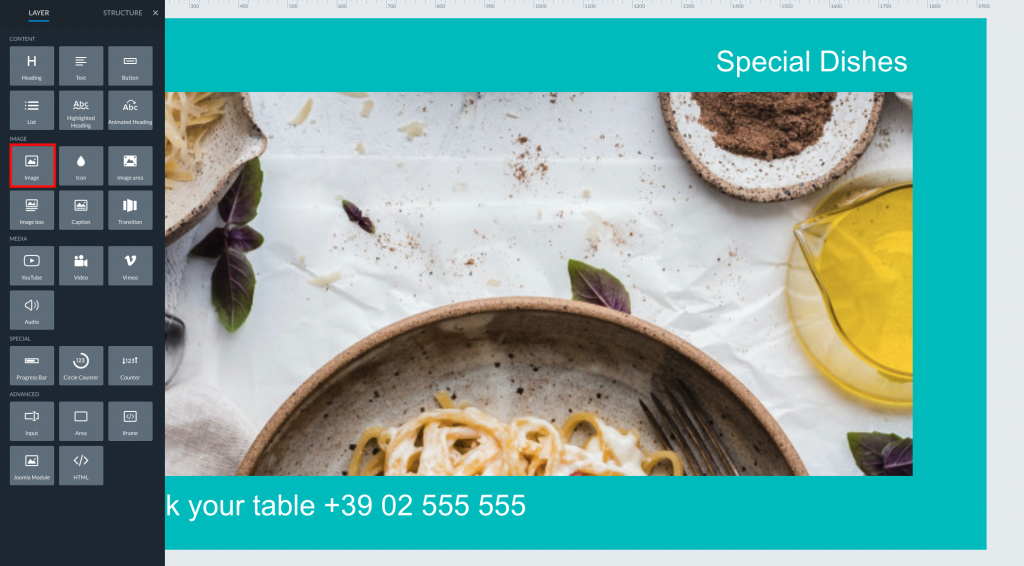
Click on + icon and then on Image.
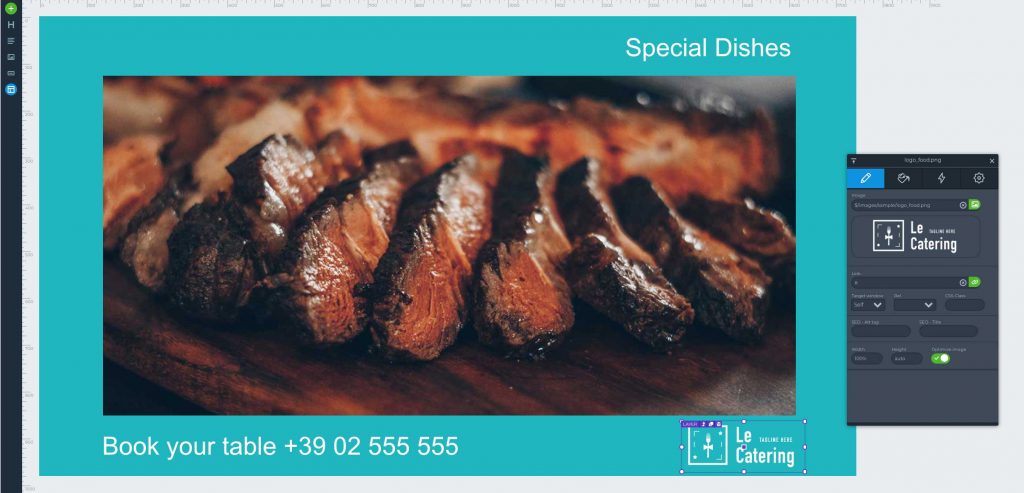
In the field Image of the tab Layer, click on the little green icon highlighted in the image below.

In the File Manager choose the logo to insert, click on it and it appear directly in the Slide.
Now you have just to resize and drag it where you like.
Once you inserted all the elements, click on Save (1) and then on Slider (2).
Finally, you can open the Preview and if your overlay static was correctly set.