Create your first program schedule to broadcast!
Before proceeding, make sure you have previously uploaded from the File Manager section all the content you want to publish. Not sure how to upload content? See the dedicated guide.
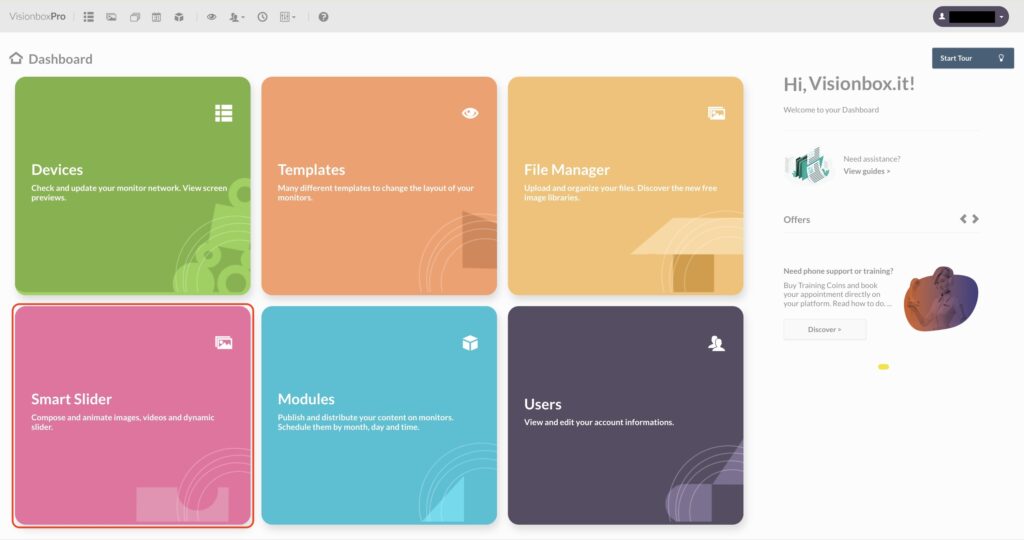
Access the Smart Slider panel from the Dashboard.
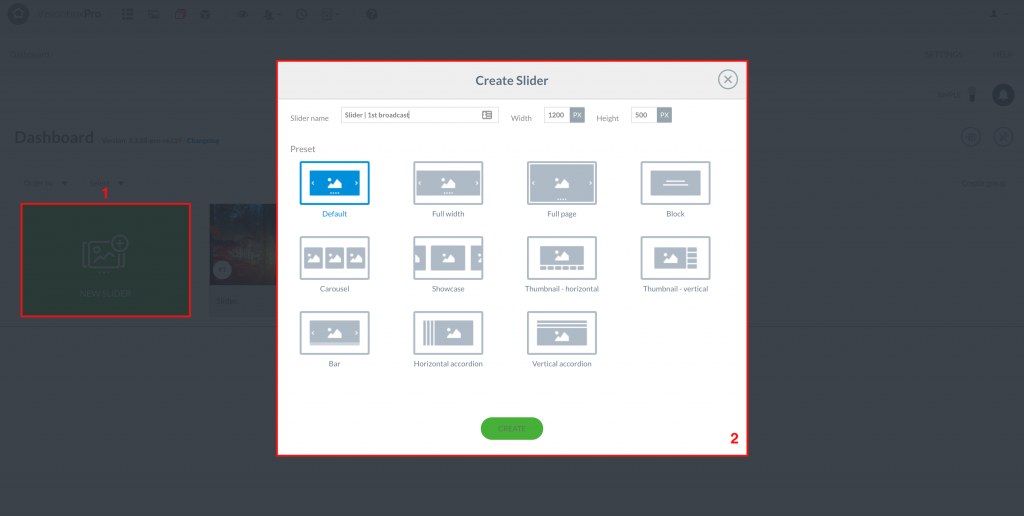
To begin, you will need to create your Slider by clicking on New Slider and insert the title and dimensions that are indicated in the position of the Template you have chosen and that can host the “Smart Slider 3” Module.
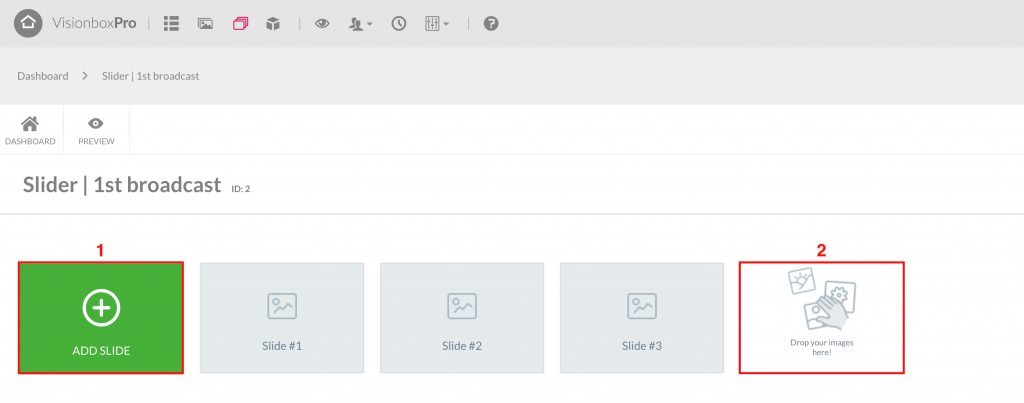
Once you have created your Slider, you can insert one by one the Slides you wish to view. You can add the contents you previously uploaded to File Manager by clicking on the Add Slide button (1), or use the Drag & Drop function (2). You can upload Slide Image, Slide Video, Empty Slide or Dynamic.
Now that your slides have been loaded you can:
- Move them to decide the order in which they will be displayed
- Duplicate
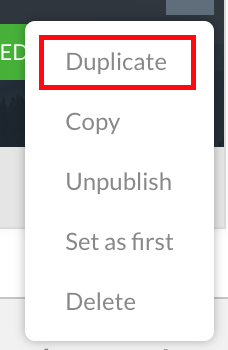
- Delete or move them from one Slider to another
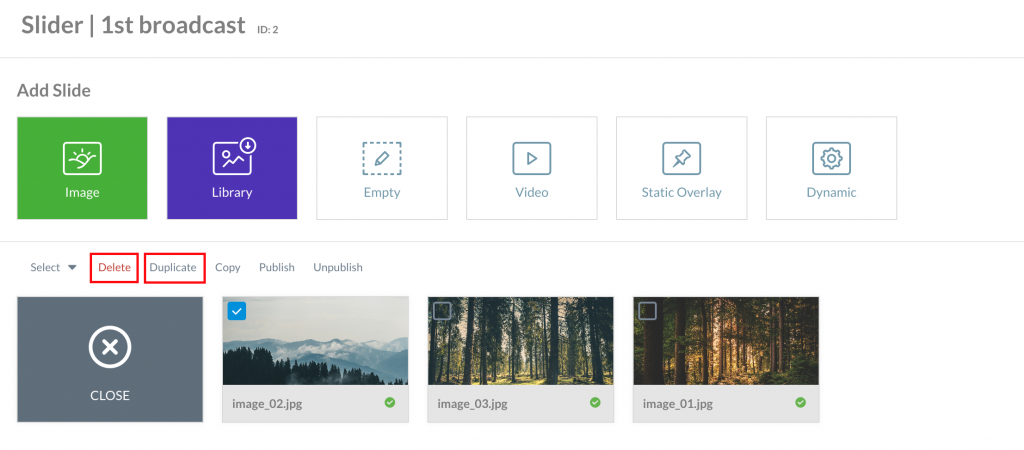
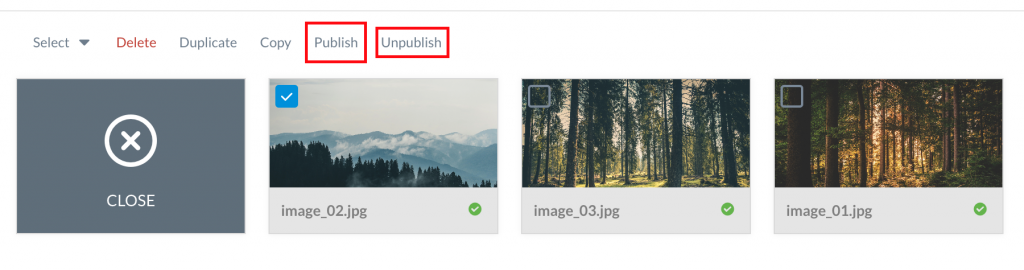
- Choose whether or not to publish your Slides.
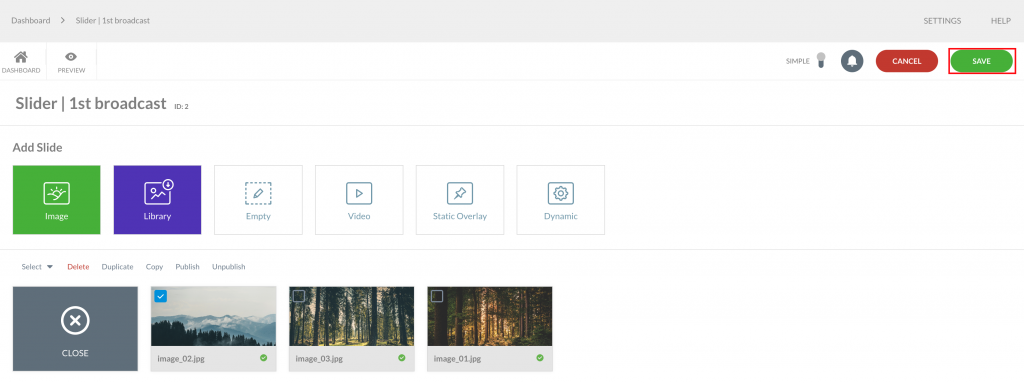
Click on Save to apply the changes made to your Slider.
In case you want to change the type of transition between one Slide and the other, just click on General in the toolbar.
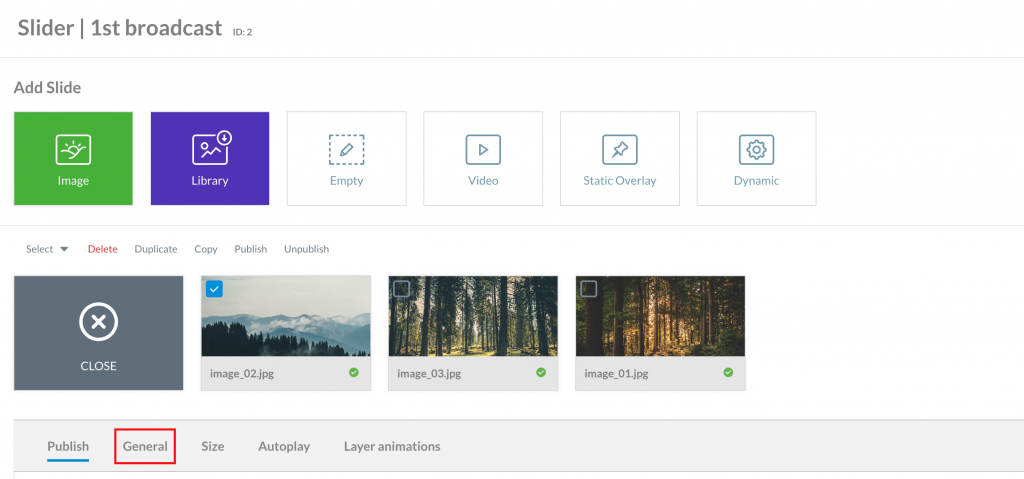
Clicking on Main Animation or Background Animation you can choose from a vast list the type of transition you like best. Then click Apply to confirm the new animation.
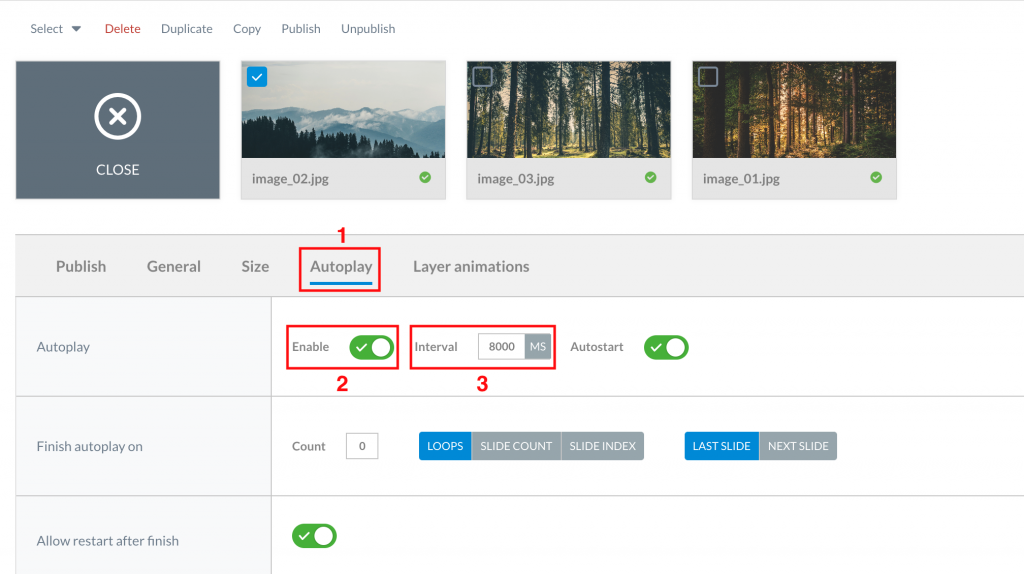
To ensure that your schedule is displayed you will need to enable automatic playback. Therefore, click on Autoplay from the toolbar (1) and then on the Enable item (2). From the Interval field (3) you can instead set a time interval that will go from one slide to the next.
Now that you have made all your changes, you can view the preview of your Slider by clicking on Preview.
Are you curious to find out how to create your first image-only Slider, video, empy with elements or dynamic? Let’s begin!