


In the Design tab you will find templates where certain elements can be customised to better suit the communication of your company or business. There are several types. In this guide we will see how to edit the 01Landscape and 02Landscape templates of the Cerchi type.
01Landscape-Cerchi
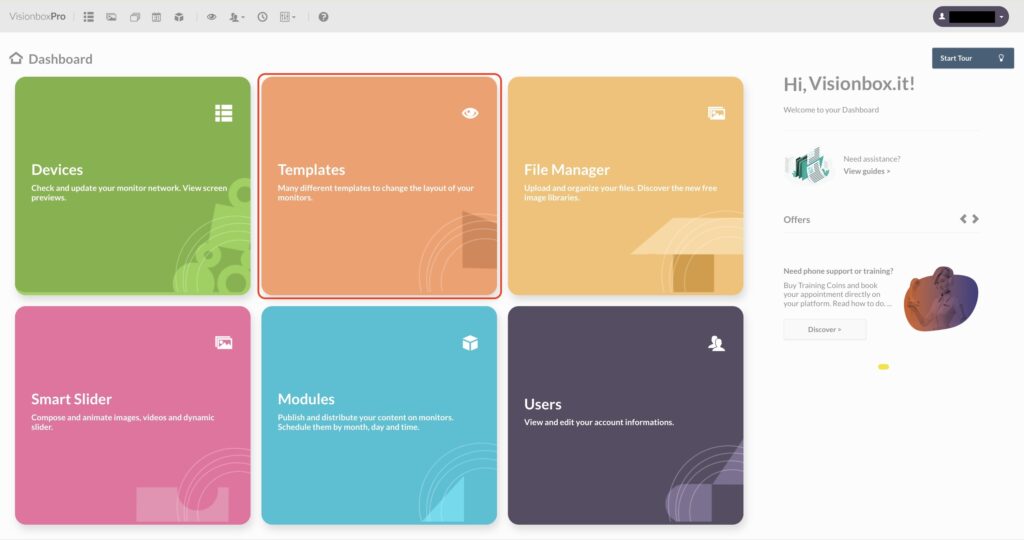
In the dashboard, click on the Template panel.
Now that you are on the page with all templates, click on the Design tab.

In this tab, search for the template with the name 01Landscape-Cerchi and click Edit.
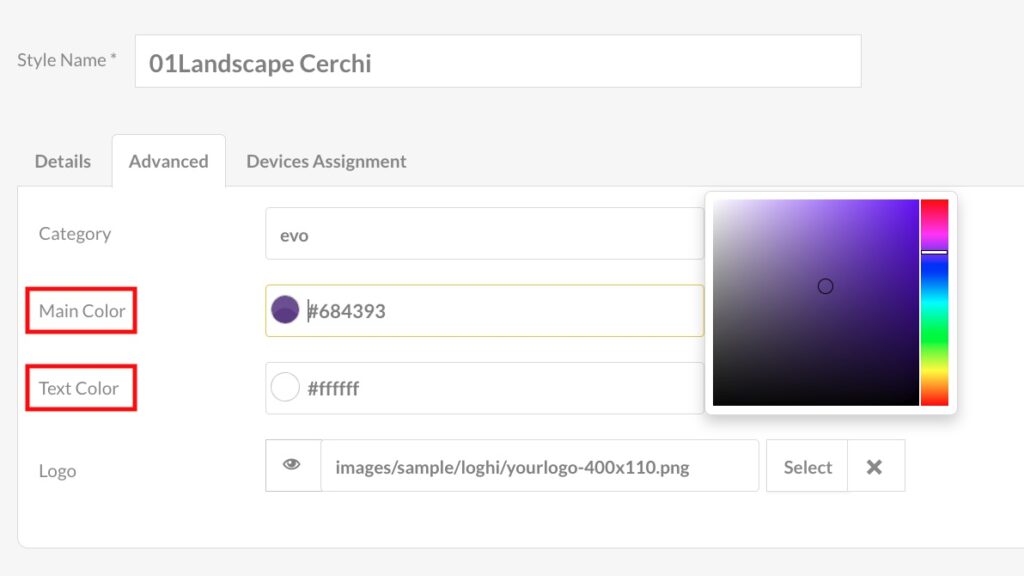
On the template configuration page you can change the Main Color which will be the background colour of your template, the Text Color, and you can change the Logo.
To change the colour, simply click in the field where the colour code is and select the one you prefer.
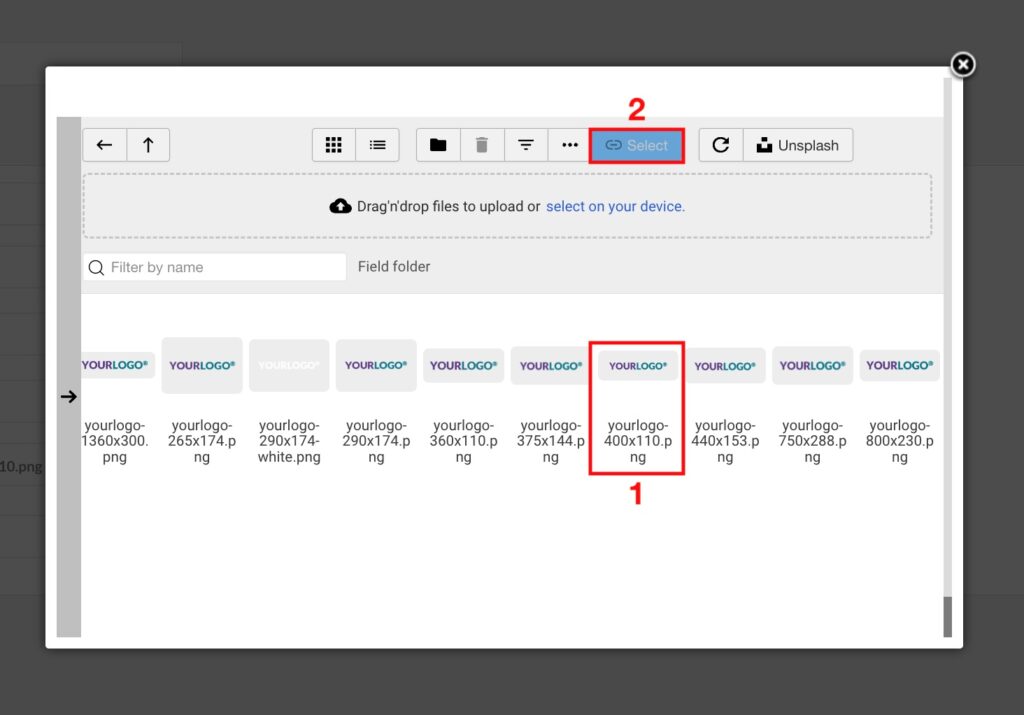
To insert your company logo you must click on Select.

Then click on the logo image (1) that you have previously uploaded to the File Manager and then on the Select button.
Remember: the logo must be 400 x 110 pixels in size
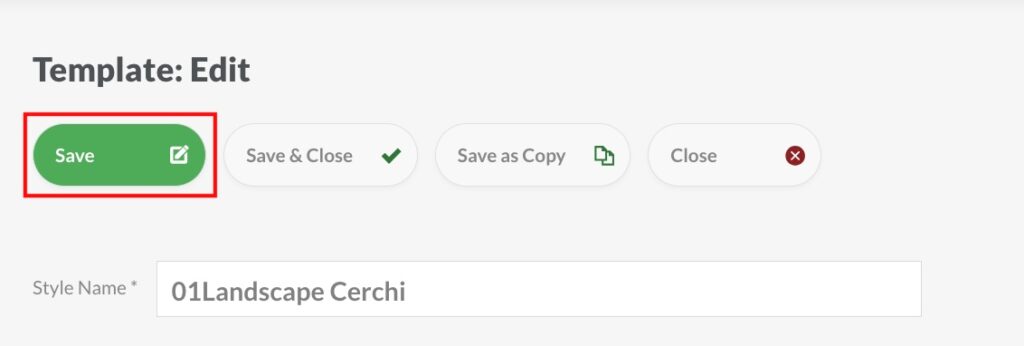
Once you have completed the changes, click on Save.
02Landscape-Cerchi
In the dashboard, click on the Template panel.
Now that you are on the page with all templates, click on the Design tab.
In this tab, search for the template with the name 02Landscape-Cerchi and click Edit.
On the template configuration page you can change the Main Color, which will be the background colour of your template, the Secondary Slider color, the Text Color and you can change the Logo.
To change the colours, simply click in the field where the colour code is and select the one you prefer.

To insert the company logo, as already explained for the 01Landscape, you must click on Select, click on the logo image that you have previously uploaded to the File Manager and then click on the Select button.
In this case, the size of the logo must be 290x174px.
Once you have completed the changes, click on Save.
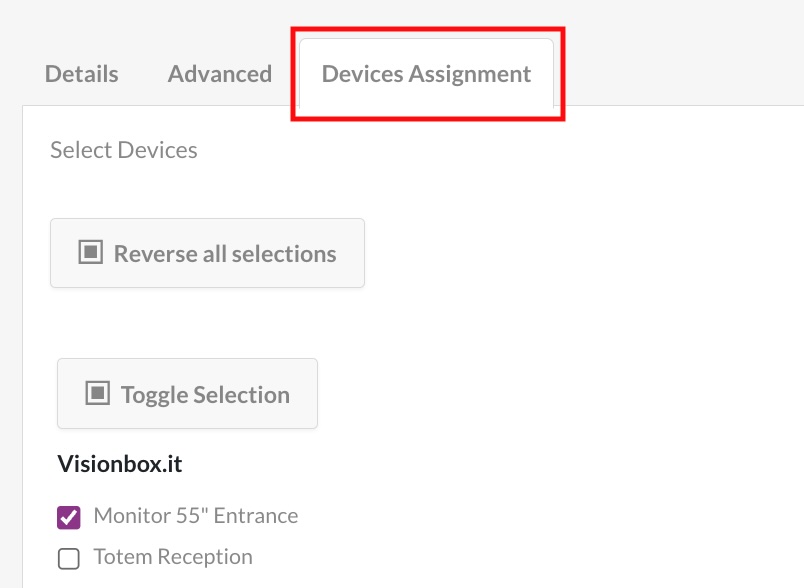
To assign the template you have just edited to one or more of your workstations, simply click on the Devices Assignment tab and tick the checkbox next to the workstations on which you wish to use it.
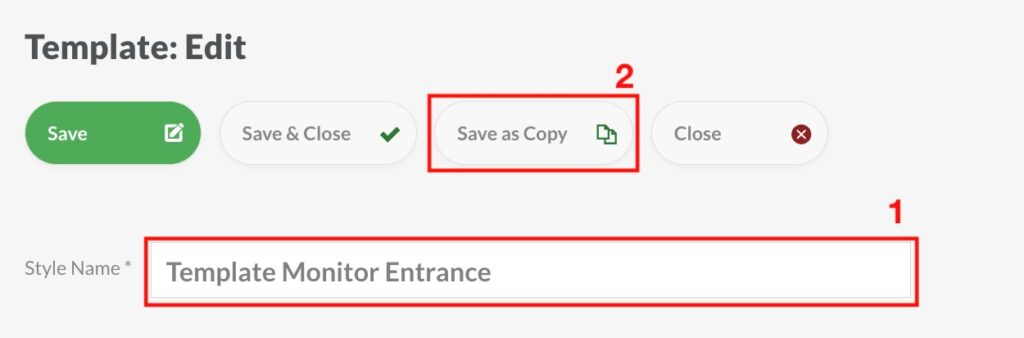
When editing a template, you can change its name on the Configuration page. In the Style name field (1) enter the name you want to assign to the template and click Save as copy (2). In this way, the changes you have made to that layout will be saved as a stand-alone template that you can reuse whenever you need it.
To preview the final result, open the Device panel in another tab and click on the preview of one of the stations to which you have assigned this template.
If you are satisfied with the result, you can refresh the device.