This module requires a touch screen to be used by the end user.
The Accessibility module contains a number of tools designed to assist the end user in viewing/reading the content of the screen with which the module is associated. In order to use these functions, the person needs to activate the ones they need by tapping on the Accessibility icon that is displayed overlaying the interface (once the module has been enabled).
It appears as a recognizable icon that can be placed at the top or bottom, left or right side of the page. Clicking on the icon opens a window containing a series of buttons, these buttons are the Accessibility Tools; they are used to change the display of the content present within the page so that it can also be consulted by people with visual and hearing impairments.
Note: this module can be used in the 03Landscape and 01Portait templates, the only ones natively equipped with the specific position to use it. If you wish to use other templates, you must proceed with the development of a custom template.
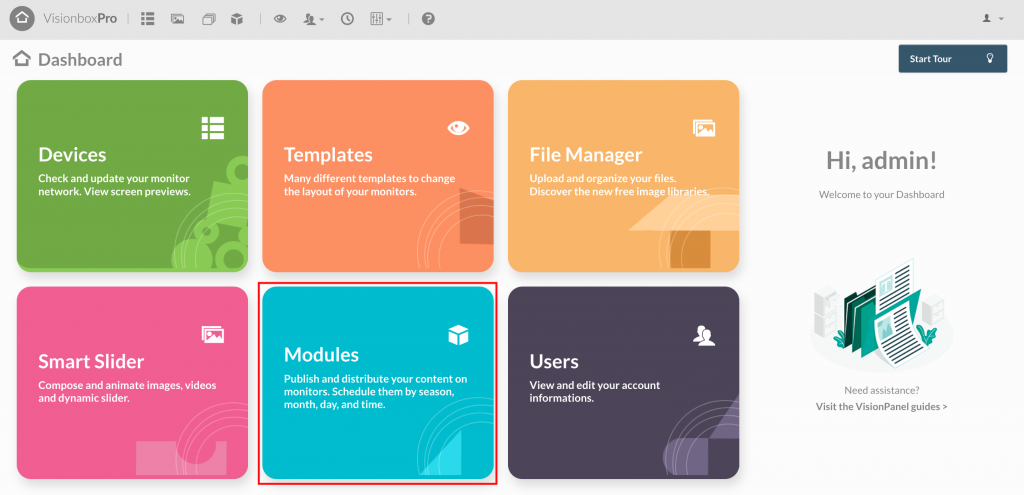
Access the Modules panel from the Dashboard.
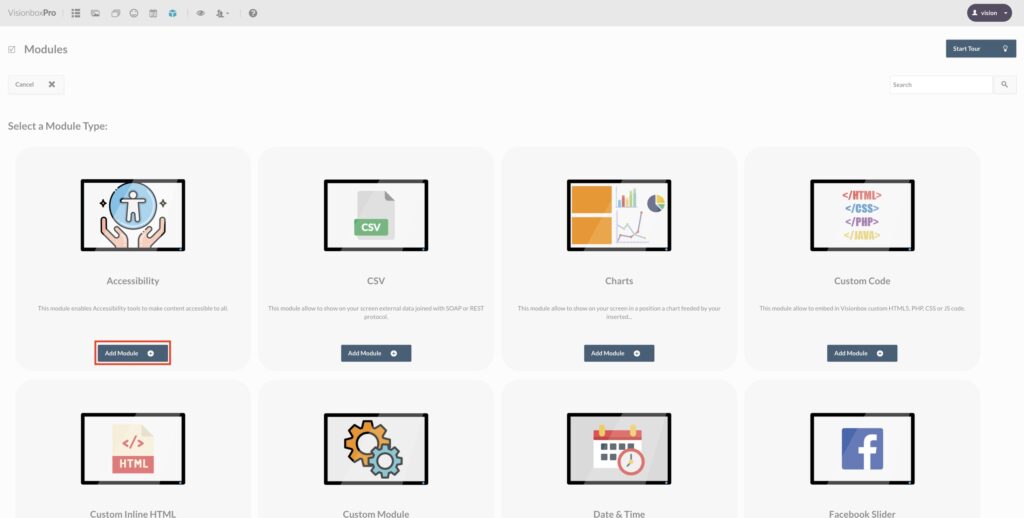
Click on New from the toolbar.

Select the Accessibility Module by clicking Add Module +.
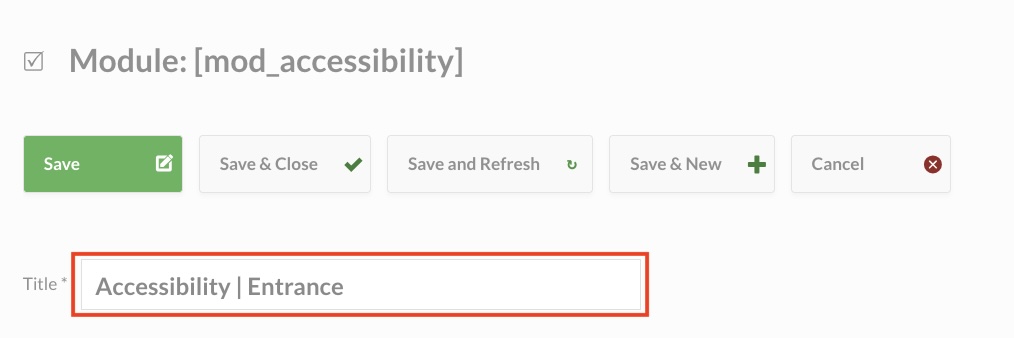
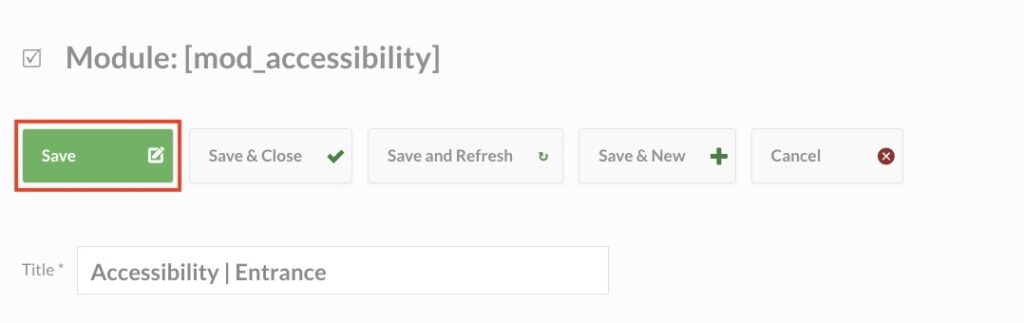
When clicking within the Module first you will need to choose the Title: be sure to use a title that quickly makes it clear what you are viewing (e.g. Accessibility | Entrance)
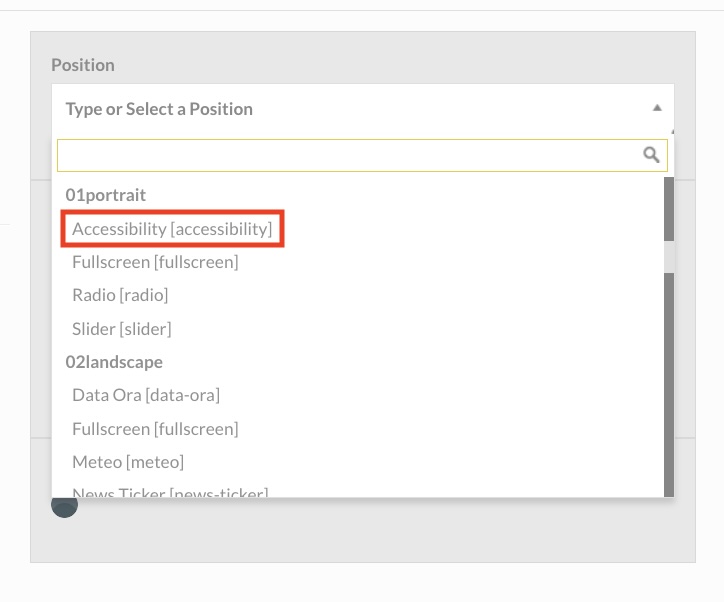
Second, you will have to select the Position. Let’s see how to do that.
Clicking on Position will bring up a drop-down menu where you will find in bold all Templates and, under each Template, the relevant locations. Select the specific location accessibility.
Finally click Save to make the changes.
Tip: to verify that you are assigning the form to the correct position in the Template, in another browser tab open a new Dashboard and access the Devices panel so you can see the name of the Template used for each one.
We now turn to the configuration of the module.
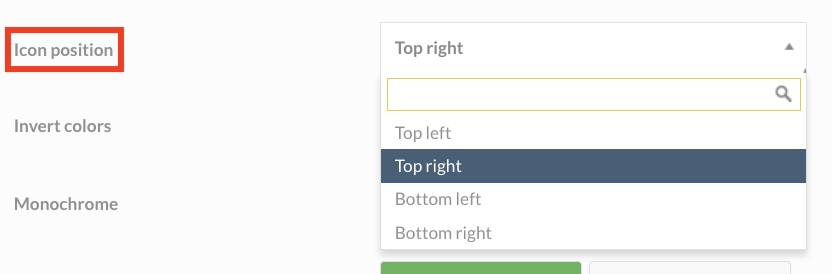
In the Icon Position field you can choose where to place the icon that allows the user to access the Accessibility options. The available options are: top left, top right, bottom left, and bottom right.
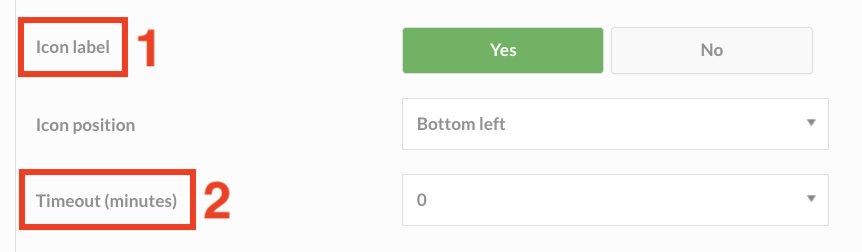
The field Icon Label (1) allows you to display or not display the label ‘Accessibility’ next to the icon on the monitor.
The Timout field (2) allows you to set the idle time that must pass without end-user interaction. Once this time has elapsed, an automatic reset of the accessibility tools active in the workstation is performed. The time can range from 1 to 30 minutes; if it is set to 0, the timeout is deactivated.
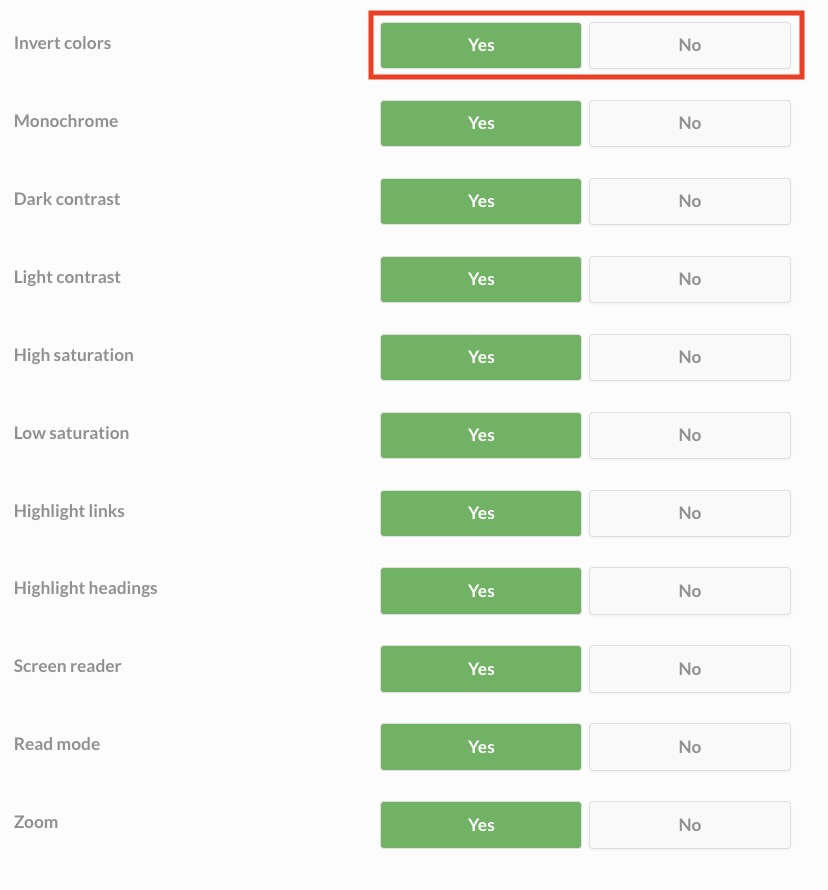
Below you will find a list of all available accessibility tools and the Yes/No checkbox to choose which ones to enable or disable based on your needs and compatibility with the content on the screen.
Once all parameters have been entered, click Save.
To complete the configuration of the Accessibility module you will need to assign the Module to the Device of interest (To do this follow this guide Program and assign a Module to the Devices).
Once you have assigned the Module to the Device, you will have to wait for the automatic update set in the early morning or make a manual update (Manual Update of Devices) in case you want to update your schedule immediately.
Tip: If your company is going to design and set up the touch interface, it is important that they follow the web accessibility guidelines (https://www.w3.org/WAI/standards-guidelines/). This will make sure that the module works well and is compatible.