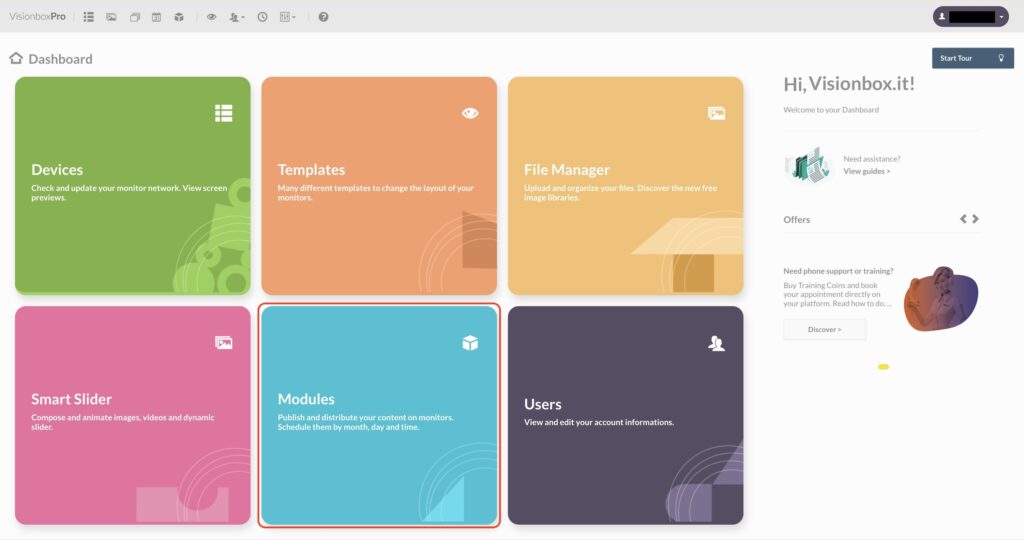
Access the Modules panel from the Dashboard.
Click New from the toolbar.

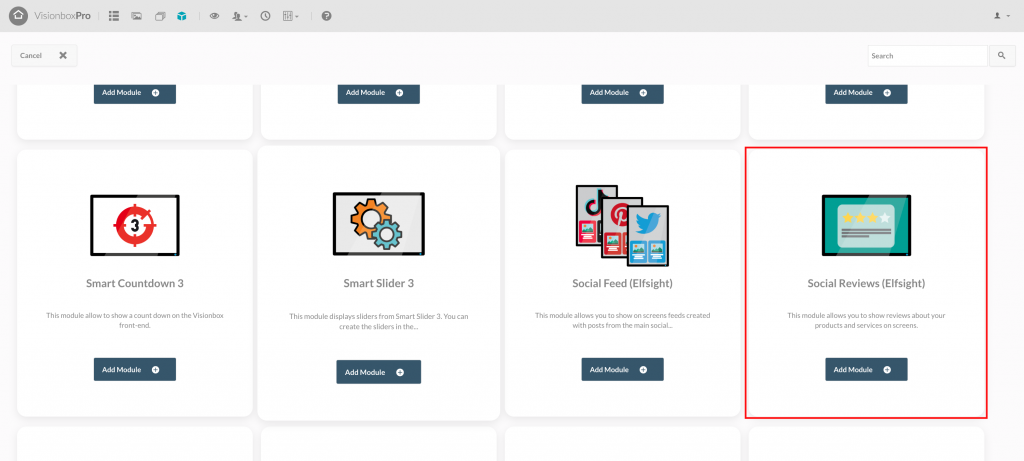
Select the Social Feed Module by clicking on Add Module +.
By clicking inside the Module you will first have to choose the Title (1): make sure to use a title that makes you quickly understand what you are viewing (for example Social Feed | Entry).
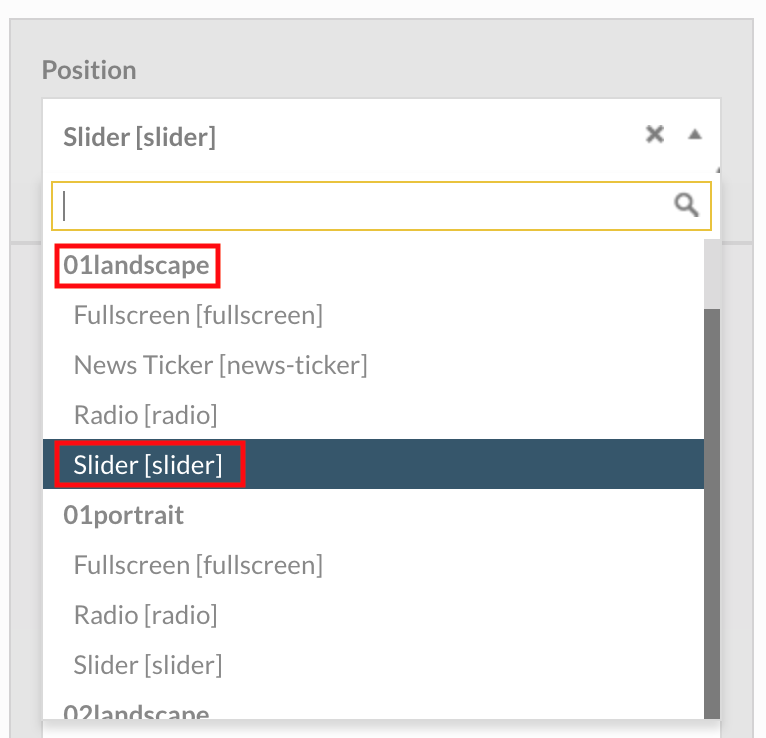
Secondly, you will need to select the Position (2). Let’s see how to do this.
Clicking on Position will open a drop-down menu where you will find all the Templates in bold and, under each Template, the relative positions. Freely choose the position of the Template used in your Device to show the social feed within your schedule.
Finally click Save (3) to apply the changes.
Tip: To make sure you assign the module to the correct position in the Template, in another tab of the browser open a new Dashboard and access the Devices panel so you can see the name of the Template used for each of them.

We now move on to the configuration of the Module.
Click on the link in the module description.

Register for free on the platform.
Once you have registered and logged in you will find yourself in the Applications section.
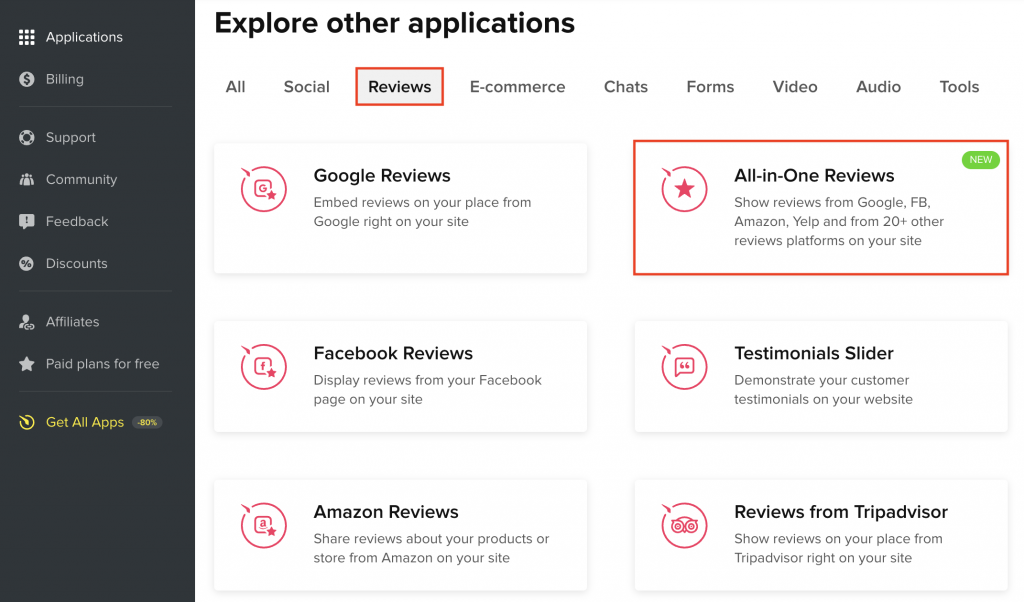
Here, filter the available widgets by clicking on Reviews and choose the channel you want to display on your monitor.
In this case, we choose All-in-one Reviews which allows you to show reviews taken from different channels (Google Reviews, Tripadvisor etc…) at a glance. Click on it.
You will find yourself on the screen where you can configure and customize the display of your reviews. Let’s see how to do that.
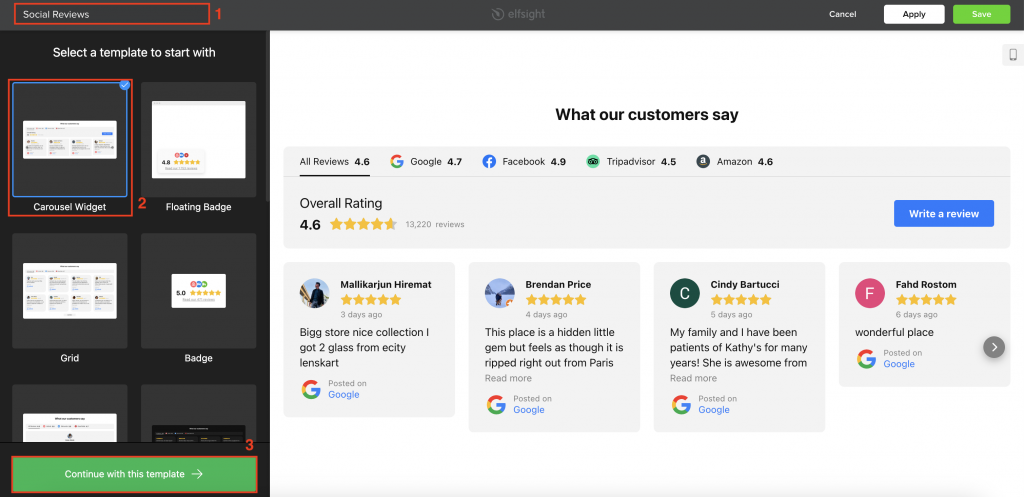
First of all you have to give a title to your widget (1) and choose a template from the proposed ones (2). The options compatible with our module are Carousel or Slider. Later we will explain why.
To proceed, click on Continue with this template (3).
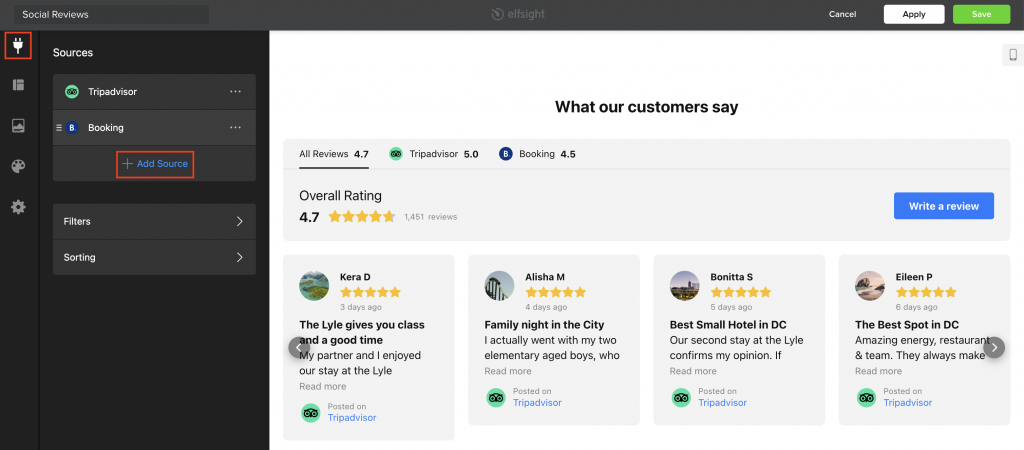
You will find yourself in the Sources tab. Here, select the reviews’ website from which you want to extract them to show on the monitors.
Click + Add Source, choose the review portal and log in so that Elfsight can view your content in the widget. Then click on Done.
Do this for all the channels you want to add.
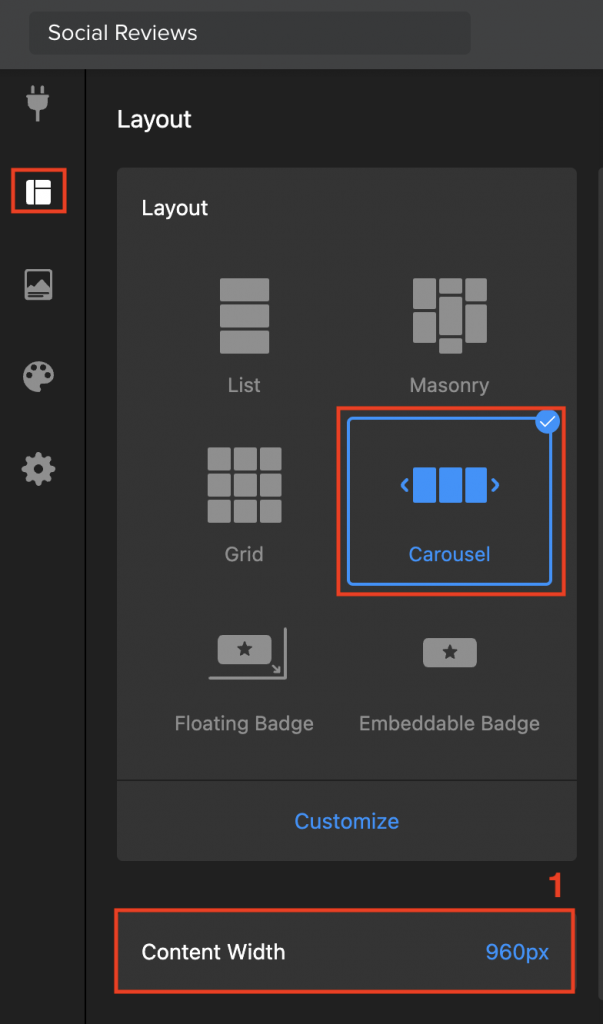
Once you have selected the portals, click on the Layout tab. The template will be the one selected at the beginning but if in the meantime you have changed your mind you can change it.
As mentioned earlier, the option we recommend is Carousel. The only one with the Autorotation setting that performs the same function as the autoplay.
In this tab, under Content Width (1) you have to define the width of the layout that must be equal to the width of the position in the template to be decided.
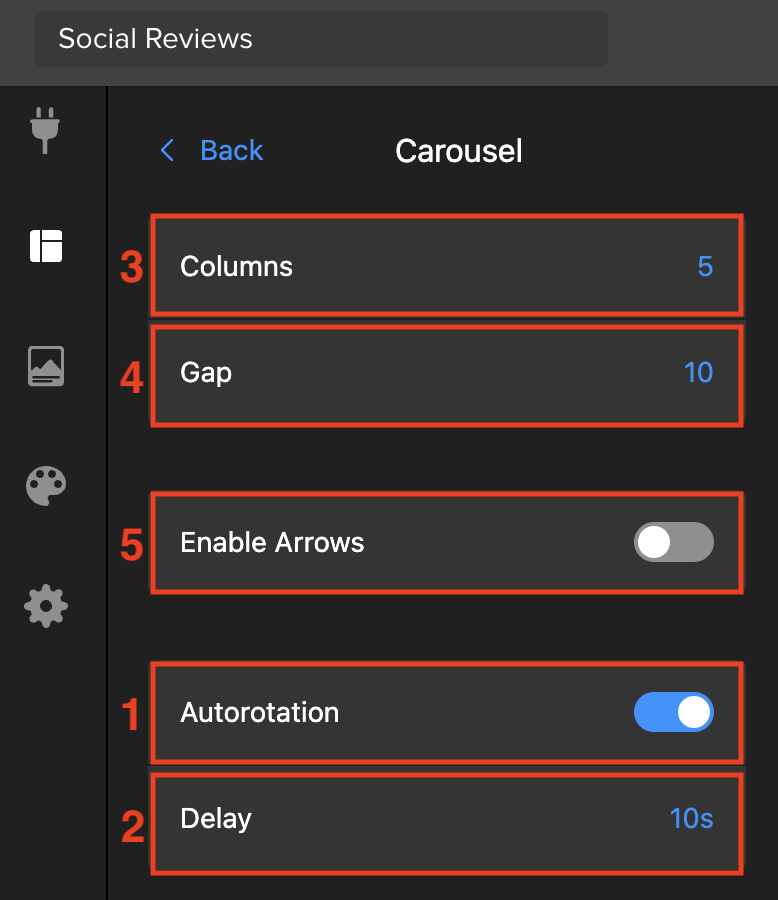
Autorotation (1), however, is enabled in the menu that you find by clicking on Customize. While under Delays (2) you can determine how long the contents are scrolled. We advise you to set a time interval between 10 and 15 seconds, not less.
In addition, in the Customize menu you can customize the layout by choosing:
- the number of columns (3)
- the space between posts (4)
- Whether to enable the scroll arrows that we recommend you disable unless you have a touch monitor (5)
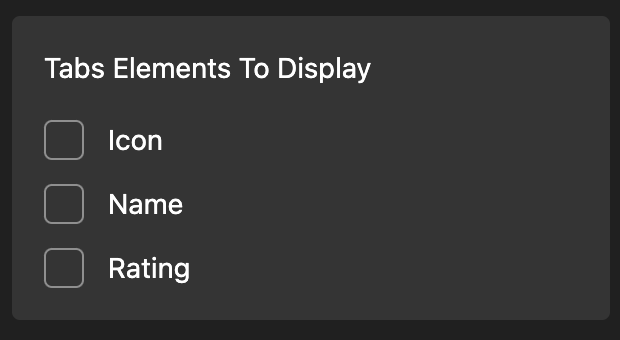
Tip: Elfsight generates several tabs when an All-in-one Reviews widget is created. One that shows reviews of all platforms and others that are dedicated to individual channels. For an aesthetically better result, especially if you are not using a touch monitor, you can hide them. How? In the Layout tab go to Tabs and uncheck the items shown in the figure below.
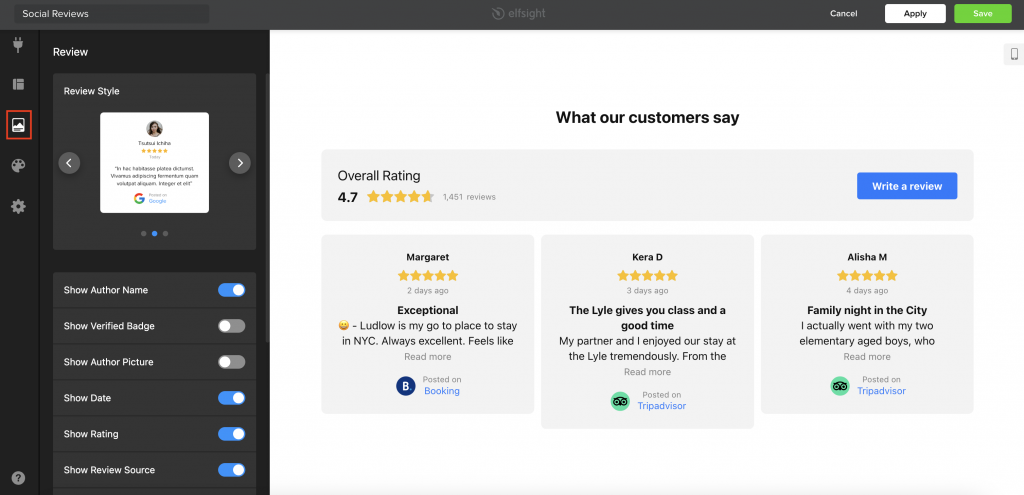
Now we go to the Post tab. Here by clicking on Customize you modify the appearance of the single post.
You can choose whether to show the page name, publication date, author name, rating, review source, etc… In addition, you can choose the style of the reviews and the logo of the platform.
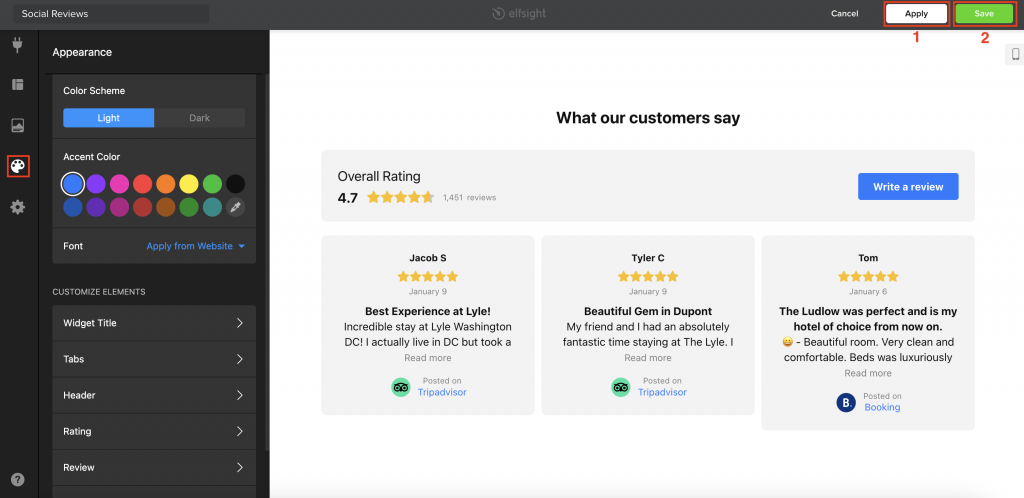
Finally, in the Appearance tab you change the theme of the template (light or dark) and the font. You have the option to edit all the graphic elements of the individual reviews.

Once all parameters are set, click Apply (1) and then Save (2).
At this point you just have to click on Add to website and copy the string that appears in the pop-up.
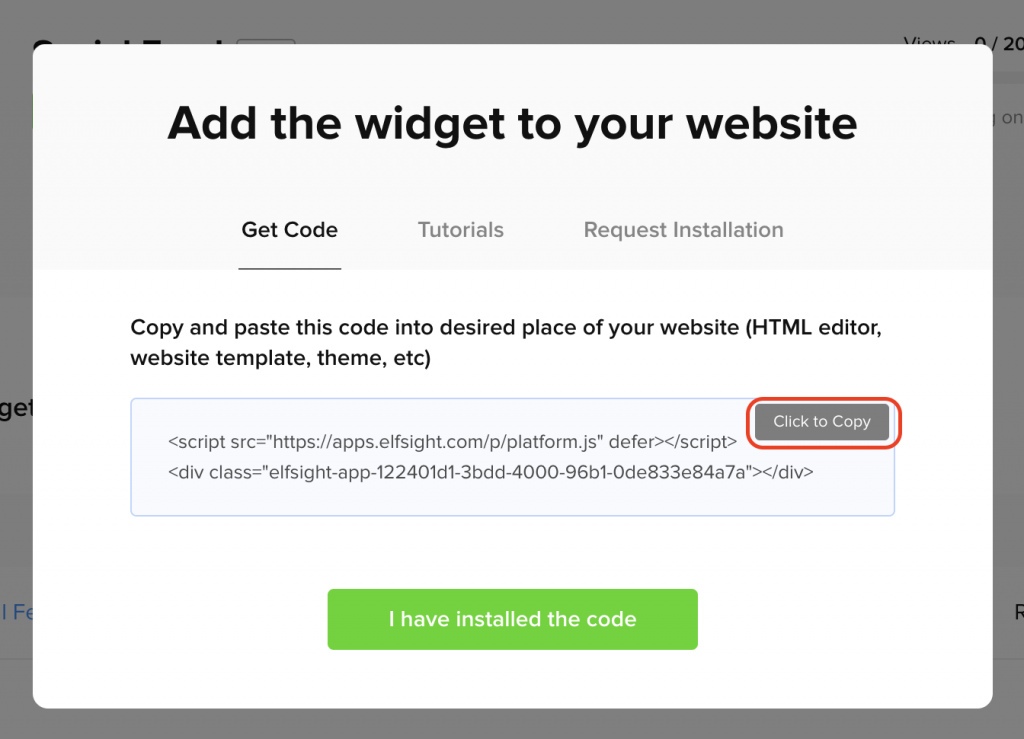
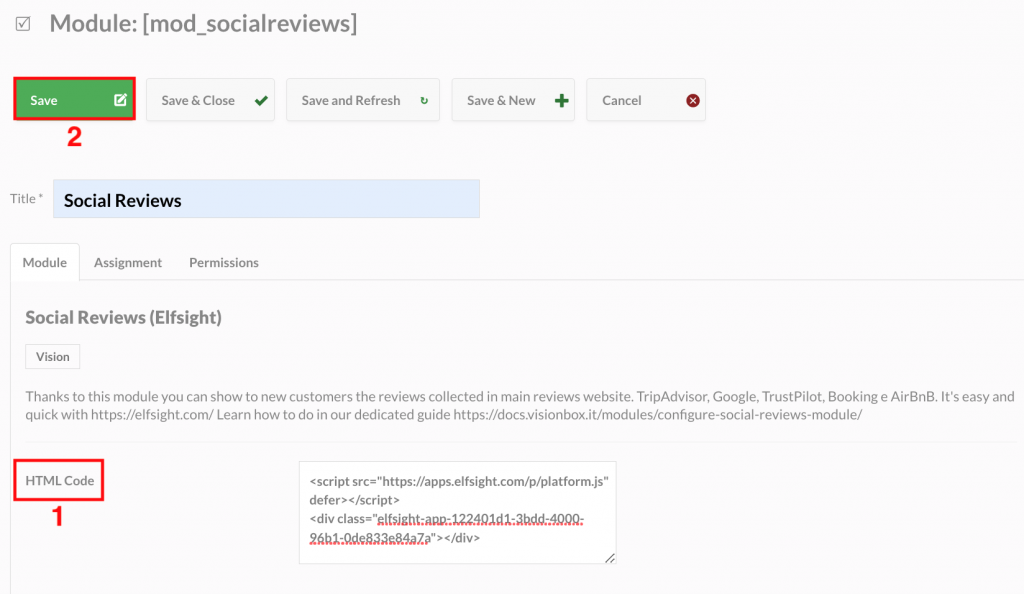
Then go back to the module configuration page and paste it into the HTML code field and click Save to apply the changes.
To complete the configuration of the Social Reviews module you will need to assign the Module to the Device of interest (To do this follow this guide Program and assign a Module to the Devices).
Once you have assigned the Module to the Device, you will have to wait for the automatic update set in the early morning or make a manual update (Manual Update of Devices) in case you want to update your schedule immediately.