Nella tab Design troverai dei template dove alcuni elementi possono essere personalizzati per adattarli meglio alla comunicazione della tua azienda o della tua attività. Ne esistono diverse tipologie. In questa guida vedremo come editare i template 01Landscape e 02Landscape della tipologia Immagine.
01Landscape-Immagine
Nella dashboard clicca sul pannello Template.

Ora che sei nella pagina con tutti i template, clicca sulla tab Design.
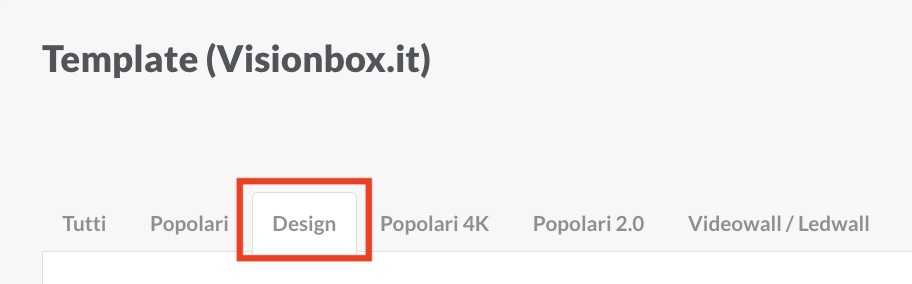
In questa tab cerca il template con il nome 01Landscape-Immagine e clicca su Modifica.
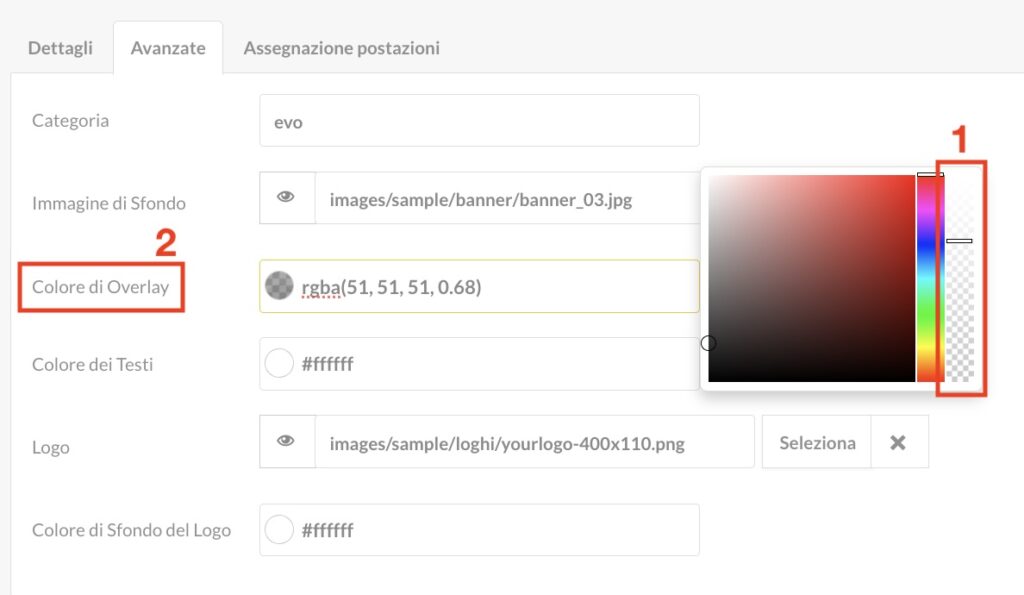
Nella pagina di configurazione di questo template puoi modificare 4 elementi: l’immagine di Sfondo, il colore di Overlay, il colore dei Testi, il colore di Sfondo del Logo e puoi modificare il Logo.
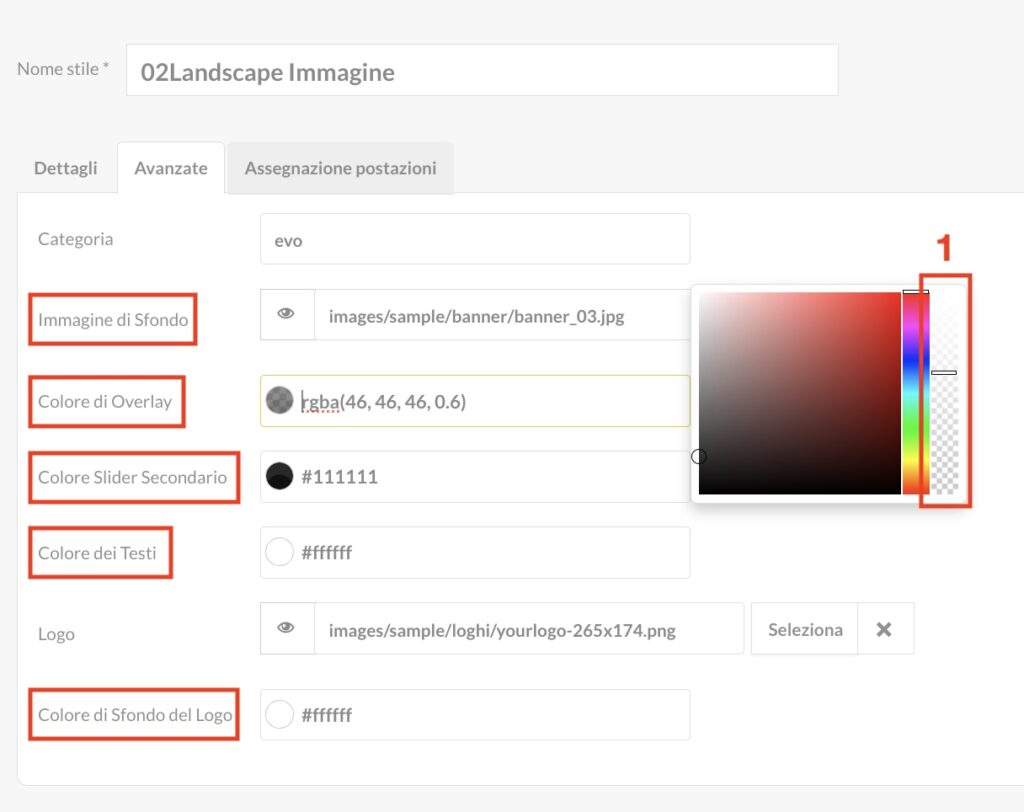
Per modificare il colore di sfondo del logo, dei testi e quello di overlay è sufficiente cliccare nel campo dove c’è il codice colore e selezionare quello che preferisci. Puoi anche definire il livello di opacità del colore (1). Una funzionalità che nel caso di questo template ti tornerà particolarmente utile e tra poco ti spieghiamo il perché.
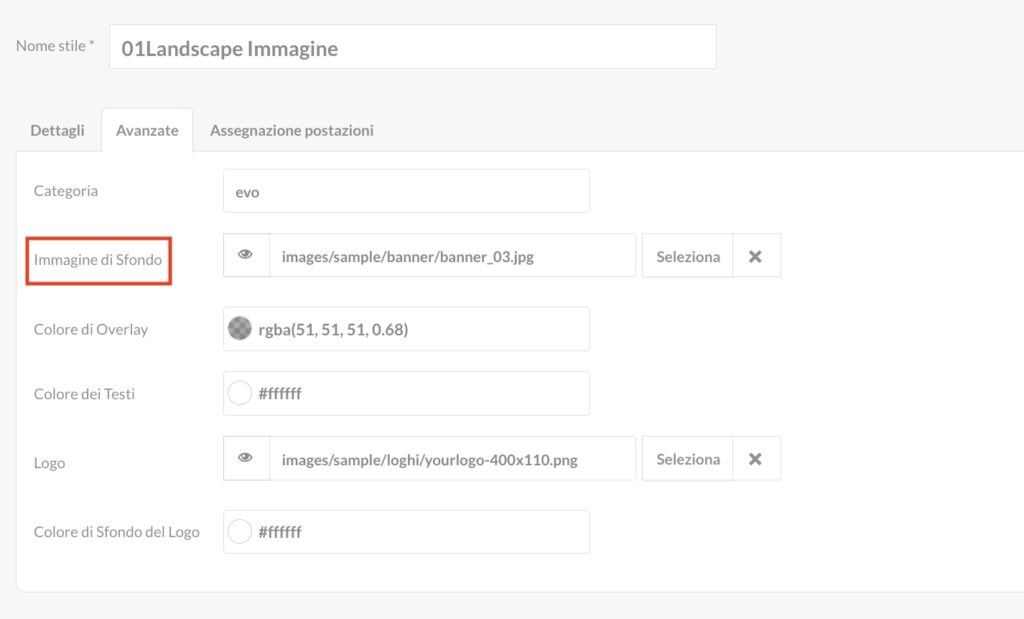
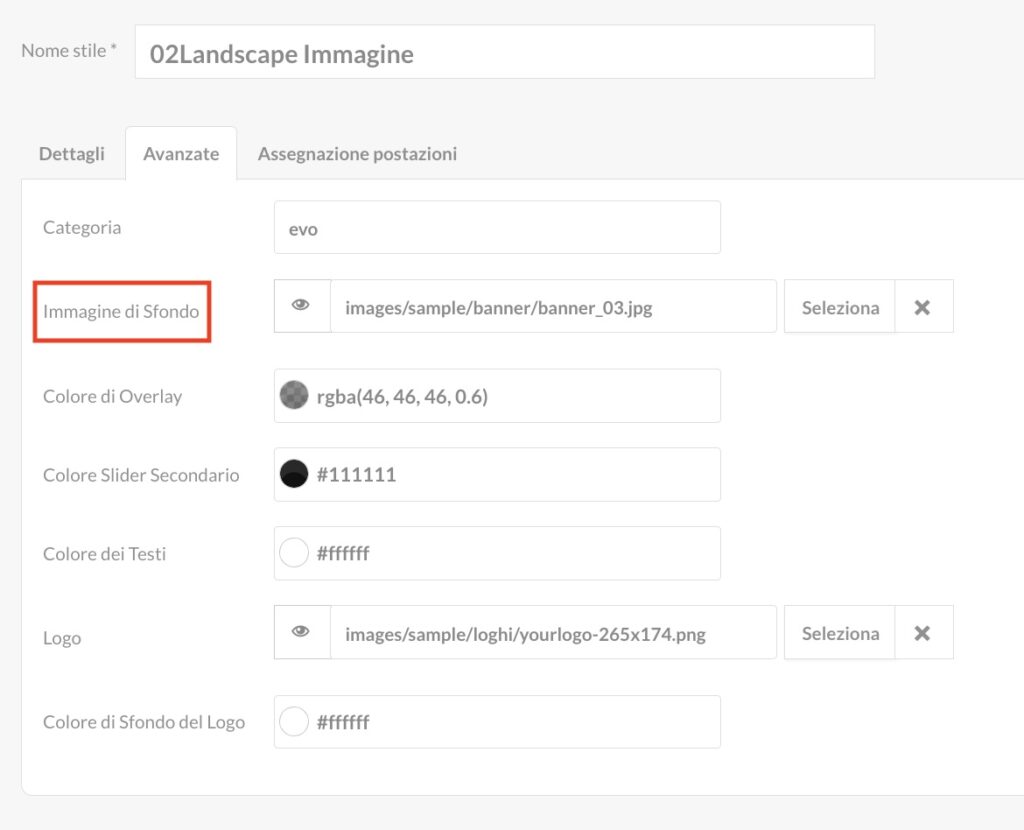
Nel campo Immagine di Sfondo, invece, puoi scegliere l’immagine da utilizzare in background nel tuo template. Puoi usare immagini che hai precedentemente caricato nel File Manager oppure l’ampia libreria di immagini gratuite Unsplash.
Se vuoi utilizzare le tue immagini procedi in questo modo.
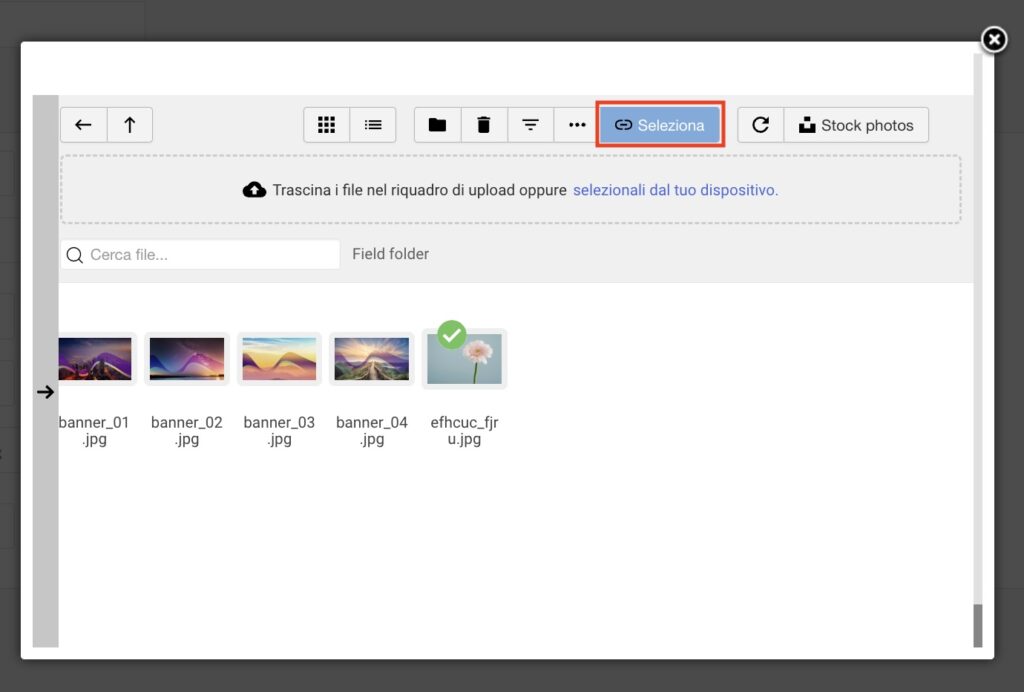
Clicca su Seleziona.

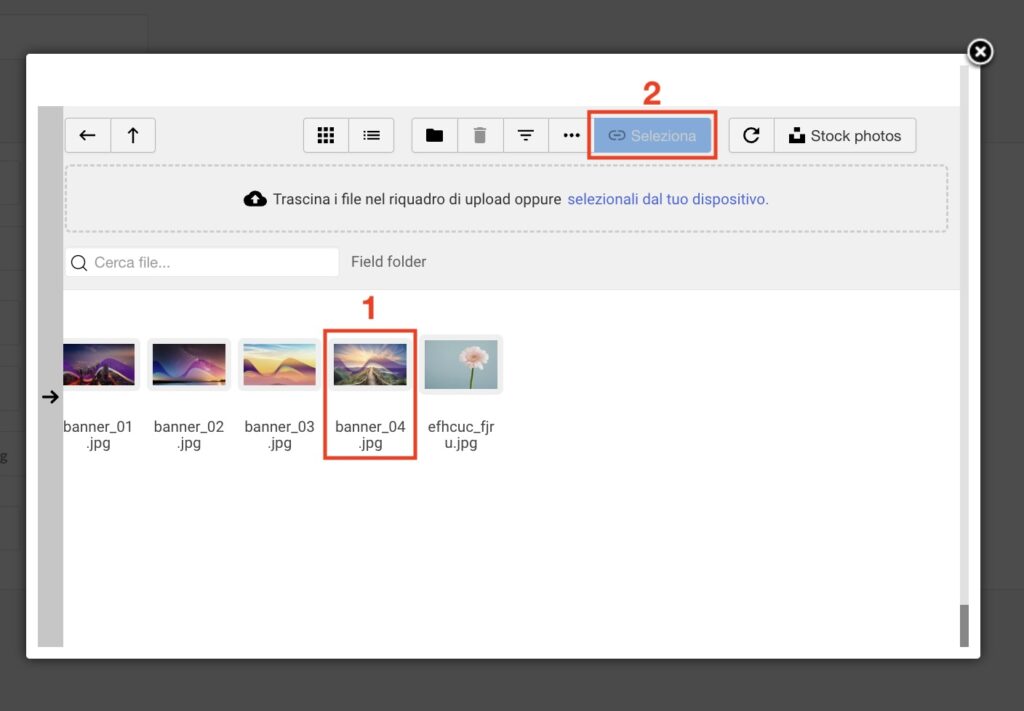
Una volta nel File Manager scegli una delle immagini che hai precedentemente caricato e cliccaci sopra (1). Dopo di che clicca su Seleziona (2).
Se vuoi utilizzare un’immagine dalla libreria gratuita segui questi step.
Clicca su Seleziona.
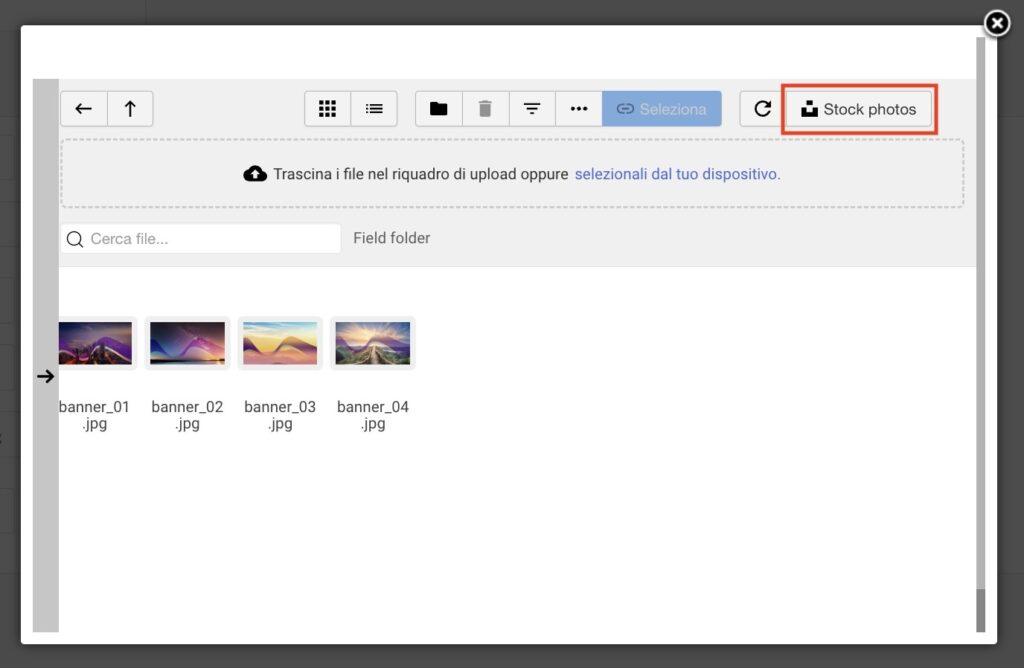
Nel pop-up che ti apparirà clicca su Stock photos e digita la parola chiave per trovare l’immagine di sfondo.
Dopo di che clicca sull’immagine che hai scelto e dopo essere stato rimandato alla schermata del File Manager clicca nuovamente su Seleziona.
Come abbiamo accennato sopra, puoi scegliere un colore di sfondo da applicare sopra l’immagine e puoi stabilire quando questo colore deve essere coprente. Come? Utilizzando il parametro dell’opacità. Se imposterai il valore su 100% l’immagine di sfondo verrà completamente nascosta, al contrario se lo imposterai su 0% non visualizzerai nessun colore di sfondo.
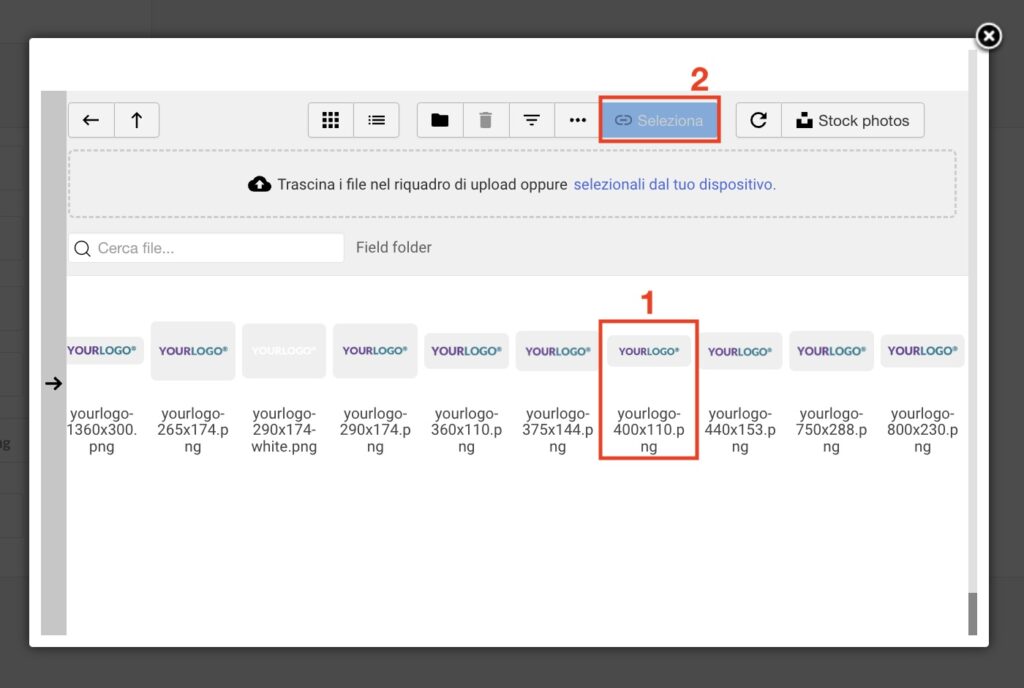
Per inserire il logo dell’azienda, invece, devi cliccare su Seleziona.

Dopo di che clicca sull’immagine del logo (1) che avrai precedentemente caricato sul File Manager e poi sul pulsante Seleziona (2).
Ricorda: il logo deve essere di dimensioni 400 x 110 pixel
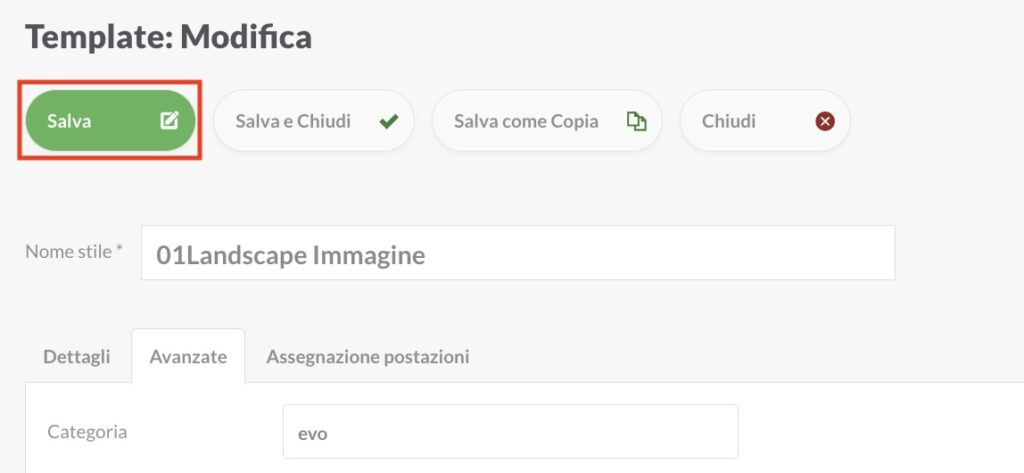
Una volta completate le modifiche, clicca su Salva.
02Landscape-Immagine
Nella dashboard clicca sul pannello Template.
Ora che sei nella pagina con tutti i template, clicca sulla tab Design.
In questa tab cerca il template con il nome 02Landscape-Immagine e clicca su Modifica.
Nella pagina di configurazione di questo template puoi modificare: l’immagine di Sfondo, il colore di Overlay, il colore Slider Secondario, il colore dei Testi, dello Sfondo del logo e puoi modificare il Logo.
Per modificare il colore di overlay, dei testi e dello slider secondario è sufficiente cliccare nel campo dove c’è il codice colore e selezionare quello che preferisci. Puoi anche definire il livello di opacità del colore (1). Una funzionalità che nel caso di questo template ti tornerà particolarmente utile e tra poco ti spieghiamo il perché.
Nel campo Immagine di Sfondo, invece, puoi scegliere l’immagine da utilizzare in background nel tuo template. Puoi usare immagini che hai precedentemente caricato nel File Manager oppure l’ampia libreria di immagini gratuite Unsplash.
Se vuoi utilizzare le tue immagini procedi in questo modo.
Clicca su Seleziona.
Una volta nel File Manager scegli una delle immagini che hai precedentemente caricato e cliccaci sopra (1). Dopo di che clicca su Seleziona (2).
Se vuoi utilizzare un’immagine dalla libreria gratuita segui questi step.
Clicca su Seleziona.
Nel pop-up che ti apparirà clicca su Stock photos e digita la parola chiave per trovare l’immagine di sfondo.
Dopo di che clicca sull’immagine che hai scelto e dopo essere stato rimandato alla schermata del File Manager clicca nuovamente su Seleziona.
Come abbiamo accennato sopra, puoi scegliere un colore di sfondo da applicare sopra l’immagine e puoi stabilire quando questo colore deve essere coprente. Come? Utilizzando il parametro dell’opacità. Se imposterai il valore su 100% l’immagine di sfondo verrà completamente nascosta, al contrario se lo imposterai su 0% non visualizzerai nessun colore di sfondo.
Per inserire il logo dell’azienda, come già spiegato per lo 01Landscape, devi cliccare su Seleziona, cliccare sull’immagine del logo che avrai precedentemente caricato sul File Manager e poi sul pulsante Seleziona. Per le dimensioni del logo, puoi fare riferimento a quelle indicate sopra.
Una volta completate le modifiche, clicca su Salva.
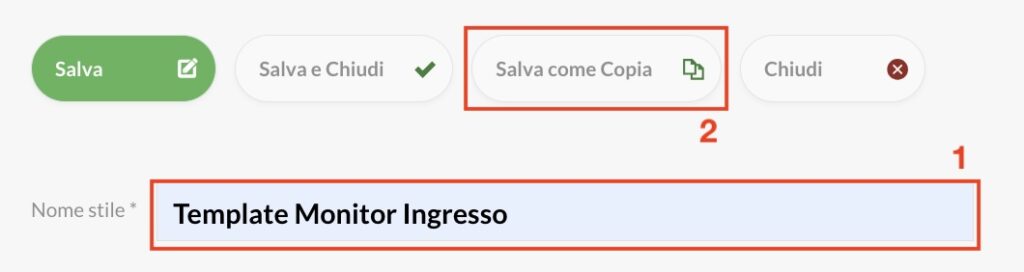
Quando modifichi un template, puoi modificarne il nome nella pagina di Configurazione. Nel campo Nome stile (1) inserisci il nome che vuoi assegnare al template e poi clicca su Salva come copia (2). In questo modo, le modifiche che avrai effettuato su quel layout verranno salvate come template a sé stante che potrai riutilizzare ogni volta che ne avrai bisogno.
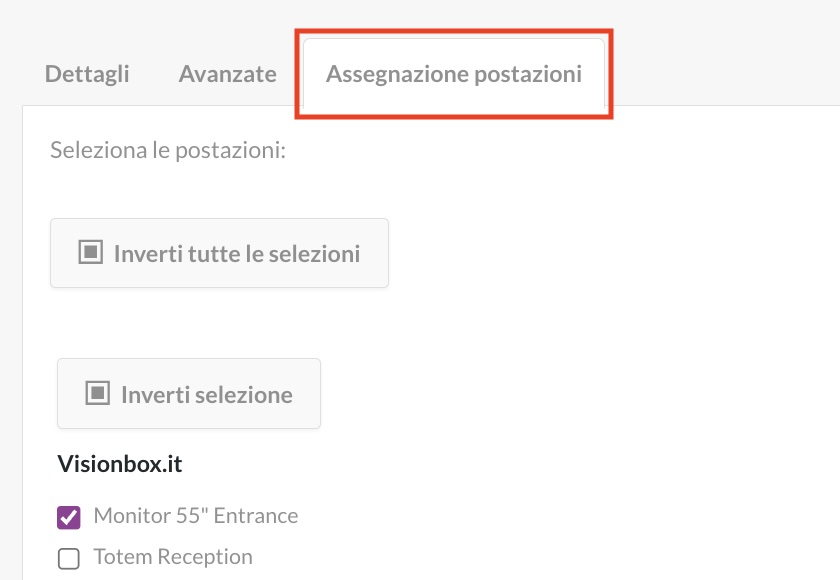
Per assegnare il template che hai appena editato a una o più delle tue postazioni ti basterà cliccare sulla tab Assegnazione e spuntare la checkbox accanto alle postazioni su cui desideri utilizzarlo.
Per avere un’anteprima del risultato finale apri in un’altra tab il pannello Postazioni e clicca sull’anteprima di una delle postazioni a cui hai assegnato questo template.
Se sei soddisfatto del risultato, puoi refreshare la postazione.