Did you know that Smart Slider provides users with a selection of presets to use for titles, text, and buttons?
Finding and using them is very easy.
Access the Smart Slider panel from the Dashboard.
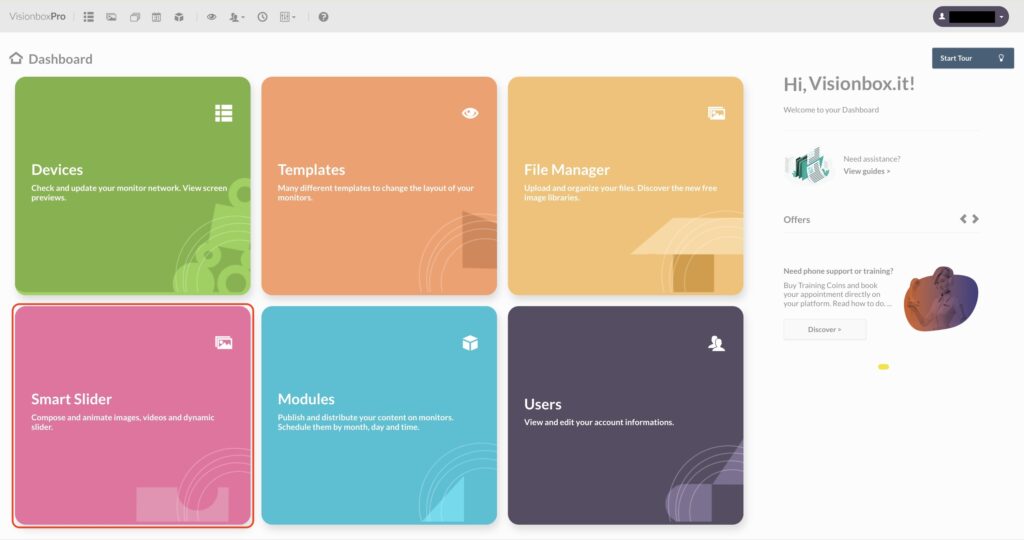
Select a slider you have already created or create a new one. In the case of this guide we will use an existing slider.
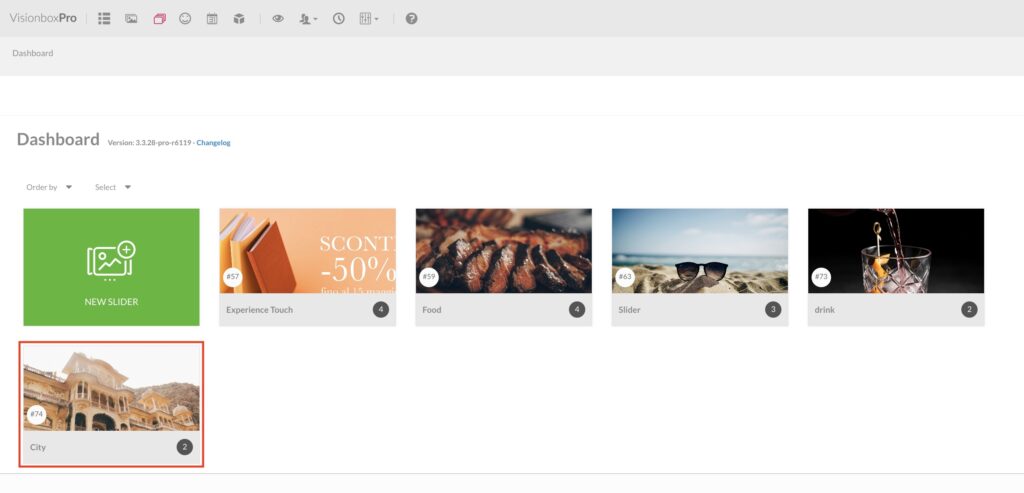
Click on the slide to which you wish to add text.
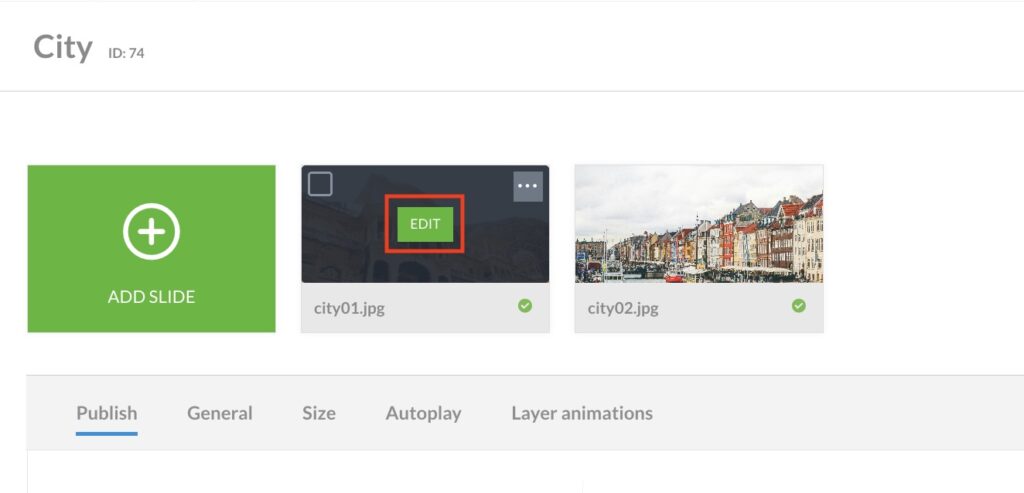
Once inside the slide make sure you have selected Smart Slider’s Canvas mode.

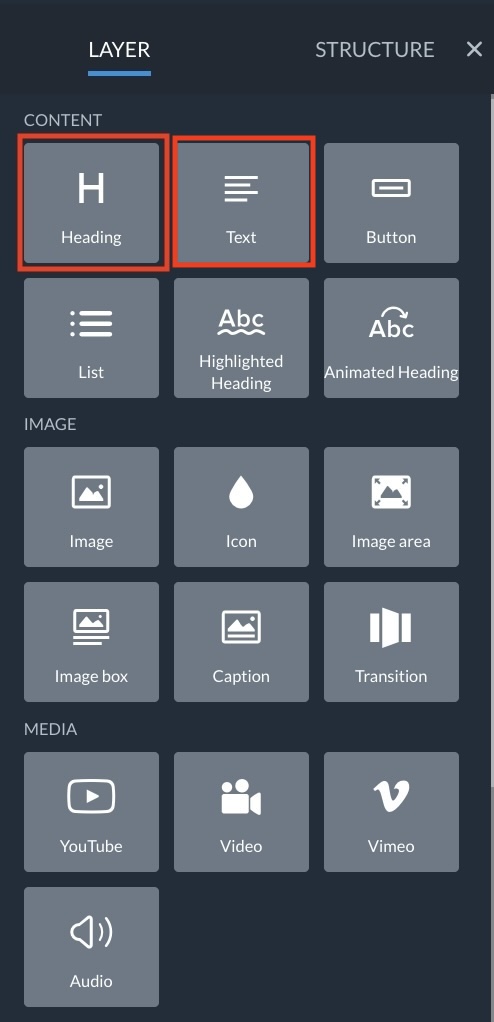
To use text presets, click on the green + icon

and then select Heading or Text.
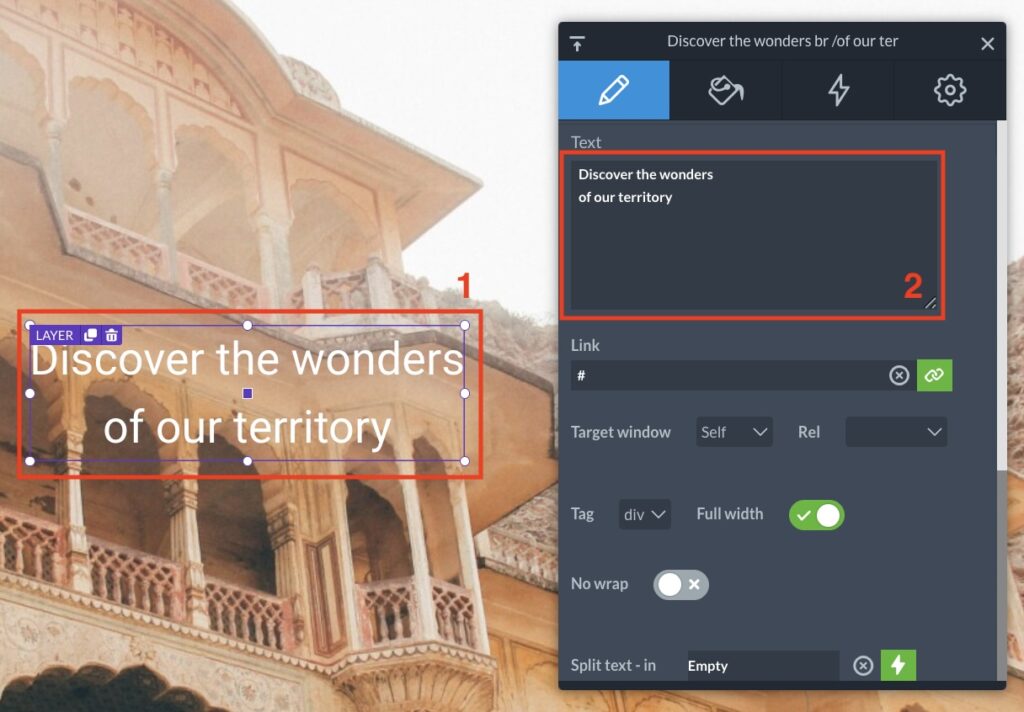
Click on the text (1) that will appear and in the Text field (2) of the pop-up window enter the text you want.
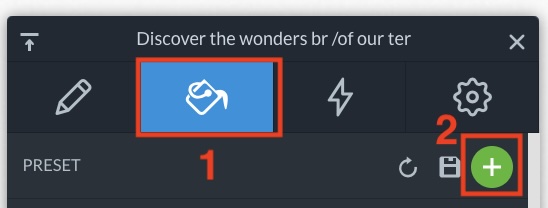
Now select the Design tab (1) and click on the + (2) found under Presets.
A list of all available presets will open. To preview it, simply hover over it with your mouse. When you have chosen it, click on it.
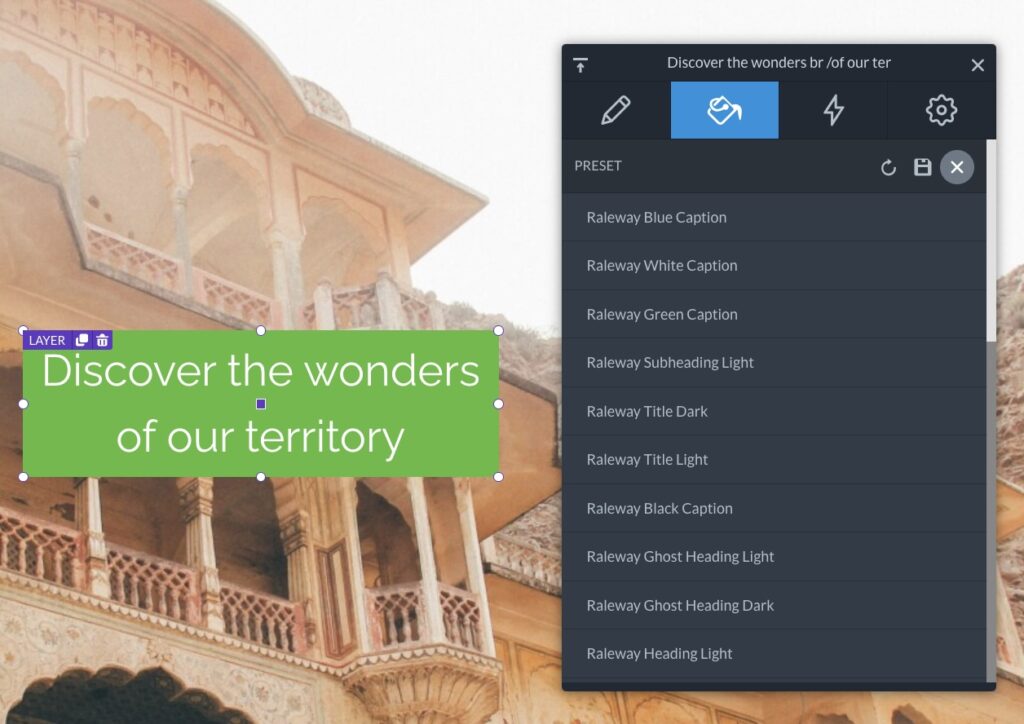
At this point you can choose to make further changes to the preset using the functions in the Design tab.
When you are satisfied with the result all you have to do is click on Save.
If you wanted to use button presets instead, proceed as follows.
Select a slide you have already created or create a new one and click on the slide to which you want to add the button (as we have seen before).
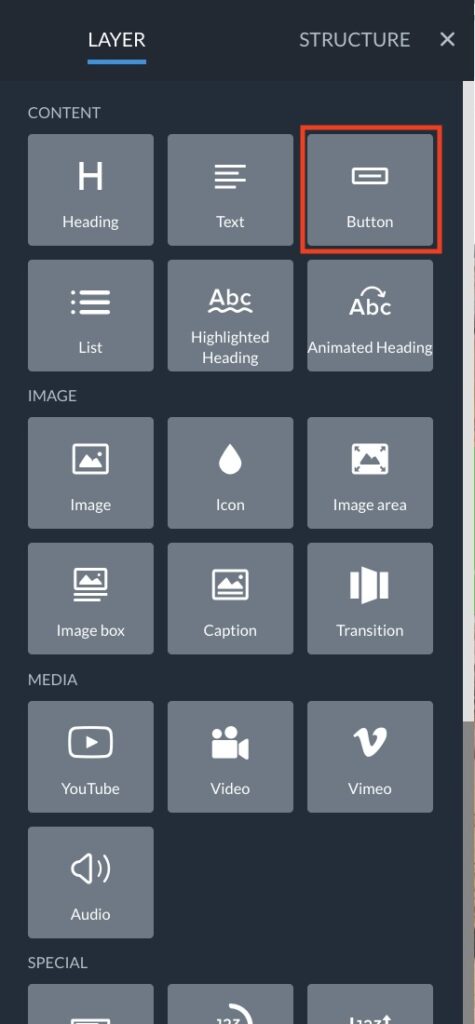
To use button presets, click on the green + icon and then select Button.
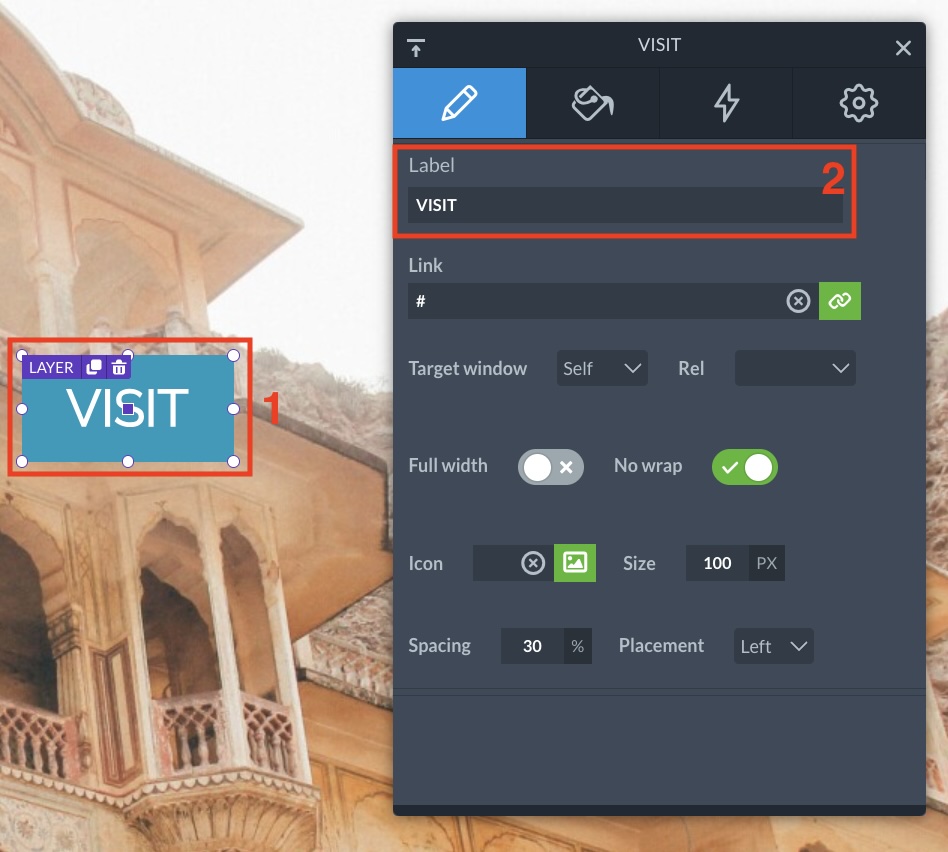
Click on the button (1) that will appear and in the Label field (2) of the pop-up window enter the text you wish to use on your button.
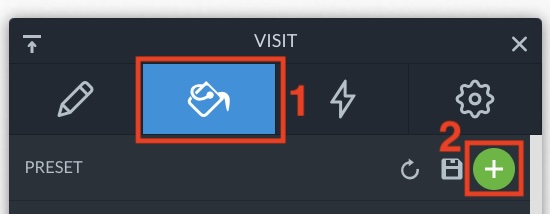
Now select the Design tab (1) and click on the + found under Presets (2).
A list of all available presets will open. To preview it, simply hover over it with your mouse. When you have chosen it, click on it.
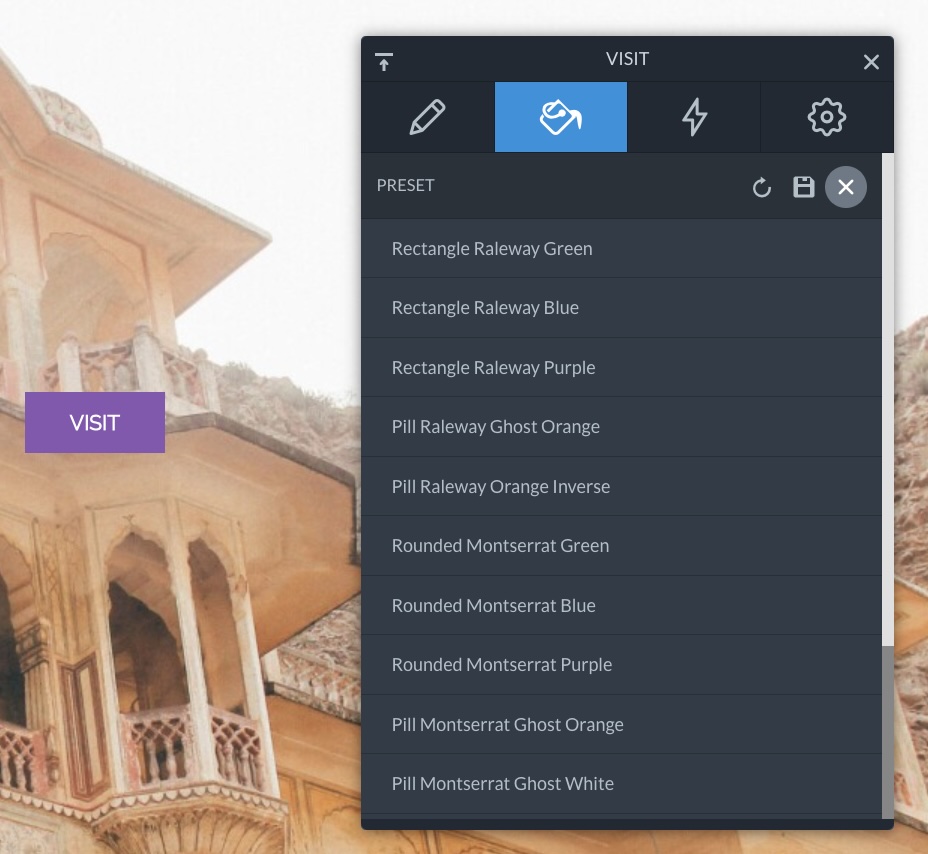
At this point you can choose to make further modifications to the preset using the functions in the Design tab.
When you are satisfied with the result, just click on Save.

 Il portale di Documentazione di supporto all'uso di VisionPanel.
