To start configuring your first Data/Time Module, access the Modules panel from the Dashboard.
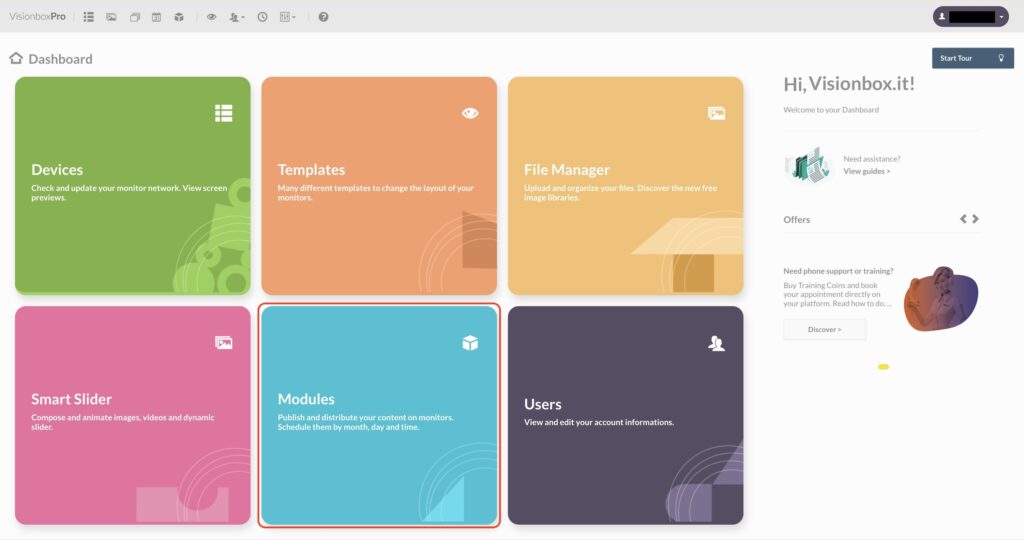
Click on New in the toolbar.

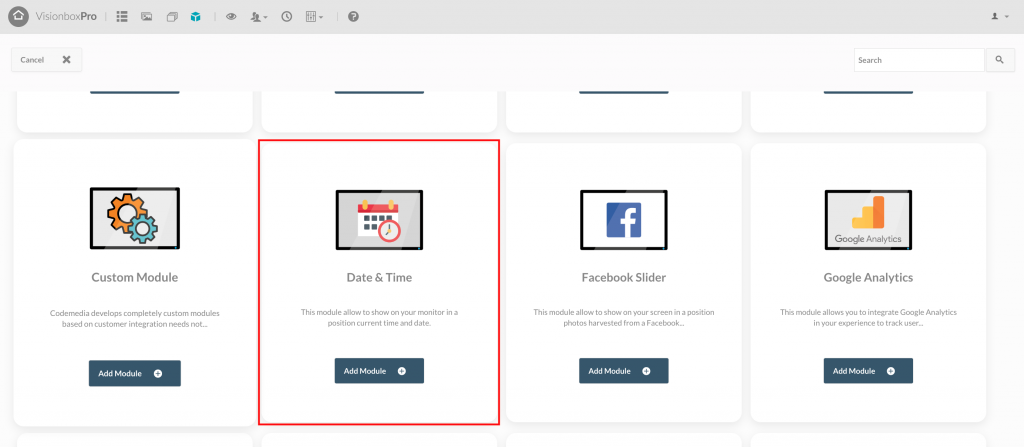
Select the Date & Time Module that can host the Template you chose.
By clicking inside the Module you choose the Title (1): make sure you use a title that lets you quickly understand what you are viewing (for example Date and Time | Device 2). Select the Position (2) in relation to the Template used, from the dropdown on the right. Finally, click on Save (3) to make the changes.

Let’s move on to the Module configuration:
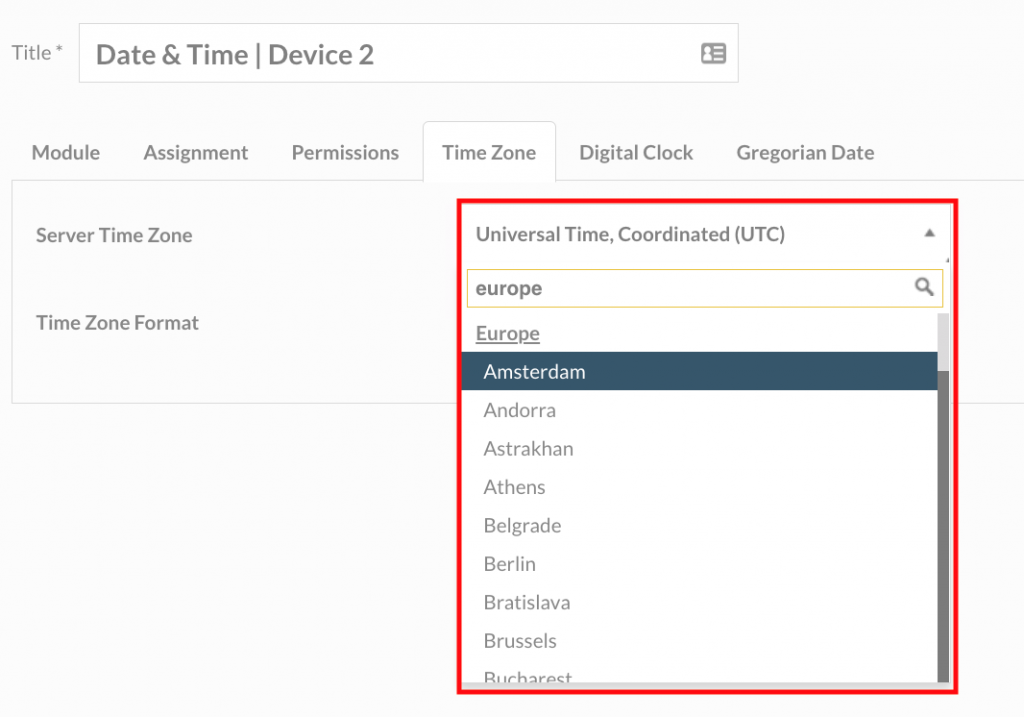
- From the Time Zone tab you can choose the time based on the reference time zone and consequently its geographical position
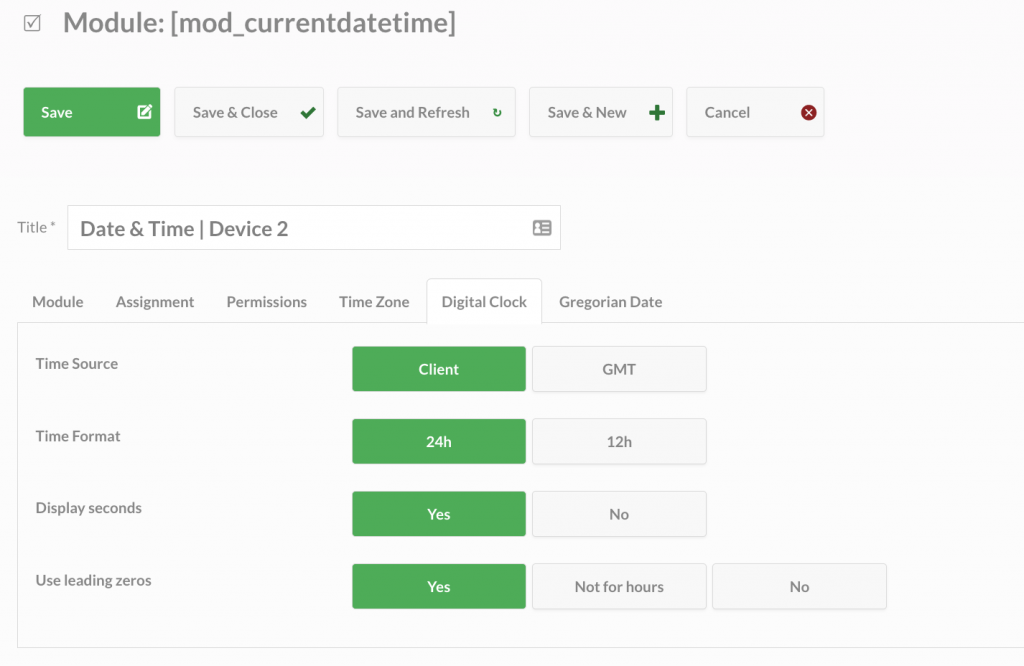
- From the Digital Clock tab you will be able to apply changes to your liking, such as: choosing the 24h or 12h clock system, choosing whether to show the frontend side seconds, etc.
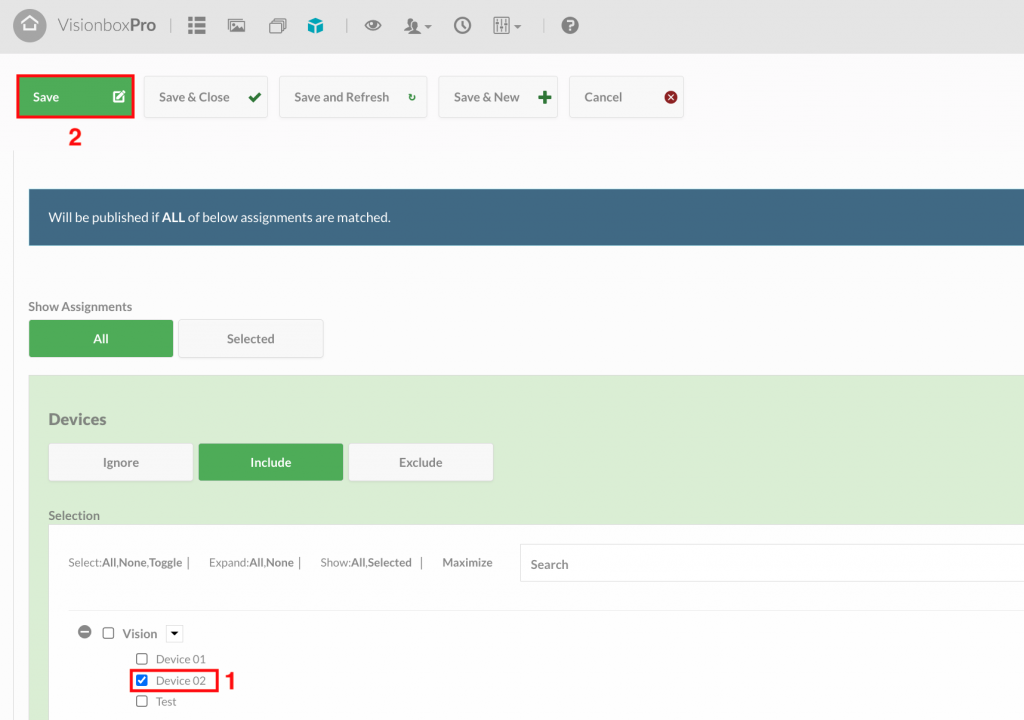
- From the Assignment tab, select Devices to which to associate the Module (1), then click on Save and Close (2) and it’s done.
To see the result of the set configurations, consult the device preview.

Do you want to assign this Module only to some Devices? Learn how!

 Il portale di Documentazione di supporto all'uso di VisionPanel.
