Let’s configure it!
-
-
Open your PC browser and type in the top bar http://setup.instantplay.it/
- I can’t see the link. What should I do?
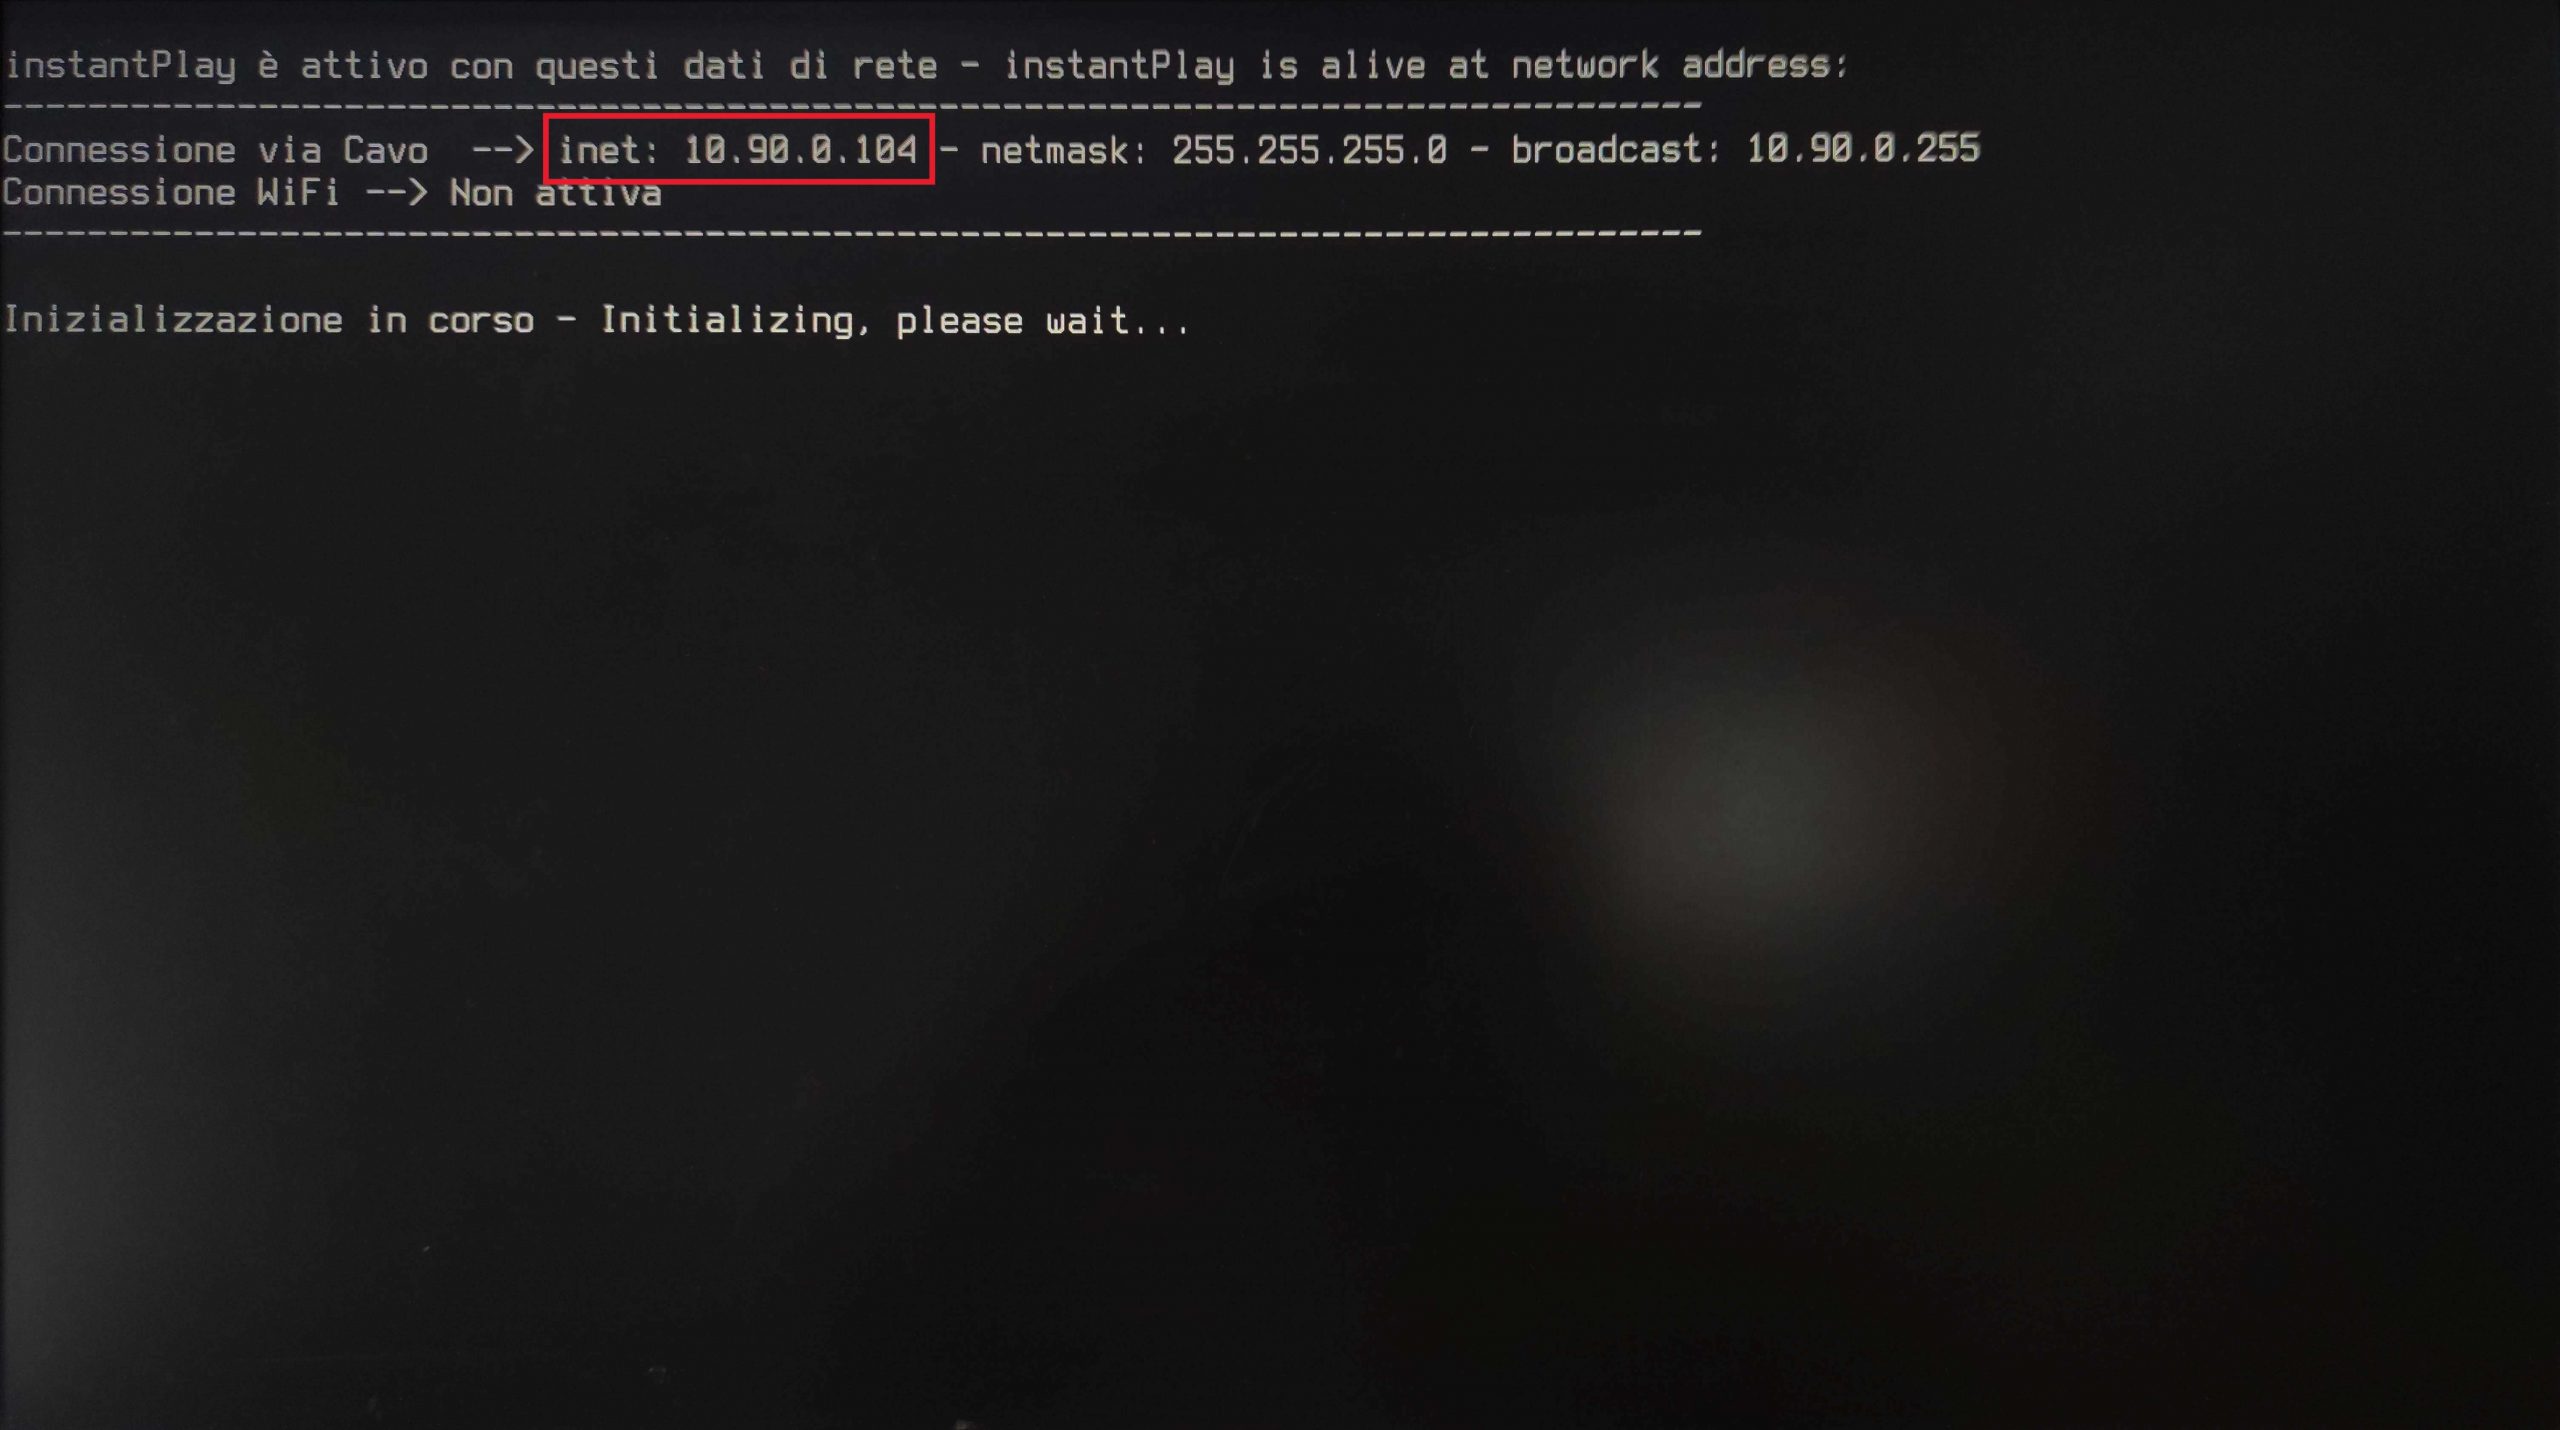
Manually restart the device by disconnecting and reconnecting the power supply. While it is starting up, keep an eye on the screen. The screen with the black logo with white writing will appear (like the one shown in the image below). Here you can see the IP address that instantPlay Slide has acquired from your network. It will most probably be similar to 192.168.x.x. We suggest you make a note of it or photograph it, so you don’t forget it. Now go back to your browser and add it after http://
For example, in our case the IP address was 10.90.0.104, so in the browser we would type http://10.90.0.4
- I can’t see the link. What should I do?
-
-
-
2. The first instantPlay Slide configuration page will appear. Here’s how to fill in the various parameters.
This setting allows you to connect instantPlay Slide to your network by Wi-Fi. If you leave it set to OFF you will continue to use a wired internet connection. If you select ON you will see two fields to fill in:
WiFi
Network name(SSID): enter the name of your Wi-Fi network. Make sure there are no spaces in the name.Password: enter your Wi-Fi network password.If you decide to use Wi-Fi, you can disconnect the Ethernet cable once setup is complete. The cable must remain connected, or you would have to load your content using a USB flash drive.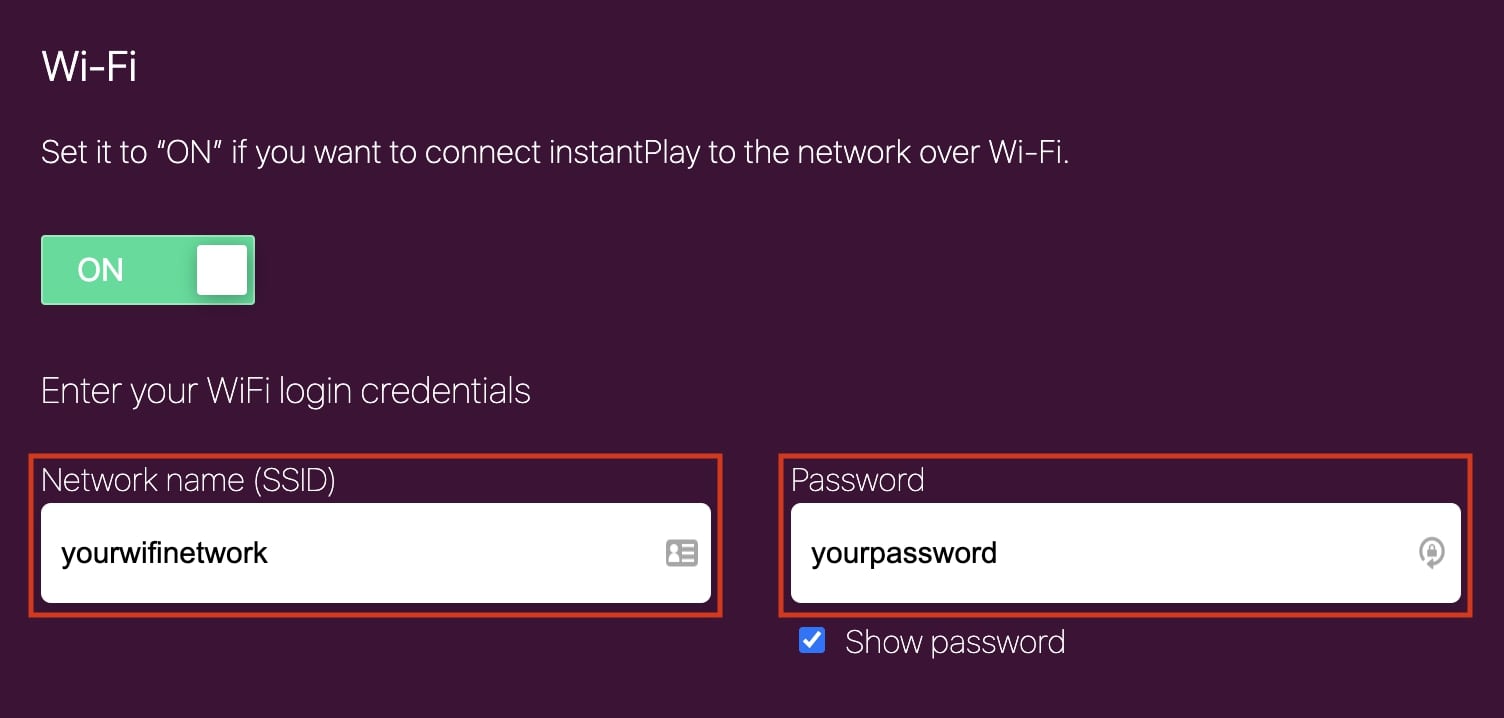 This feature allows you to rotate the contents to fit the screen on which they will be shown. If you have a horizontal monitor, select 0°. If your monitor is vertical (portrait), select 90°.
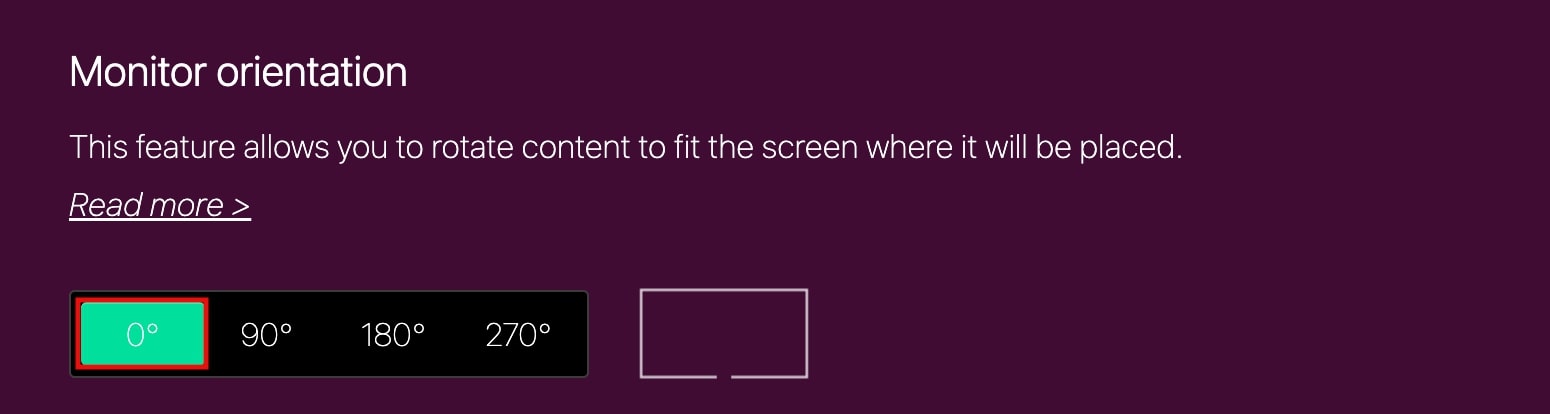
Monitor orientation

-
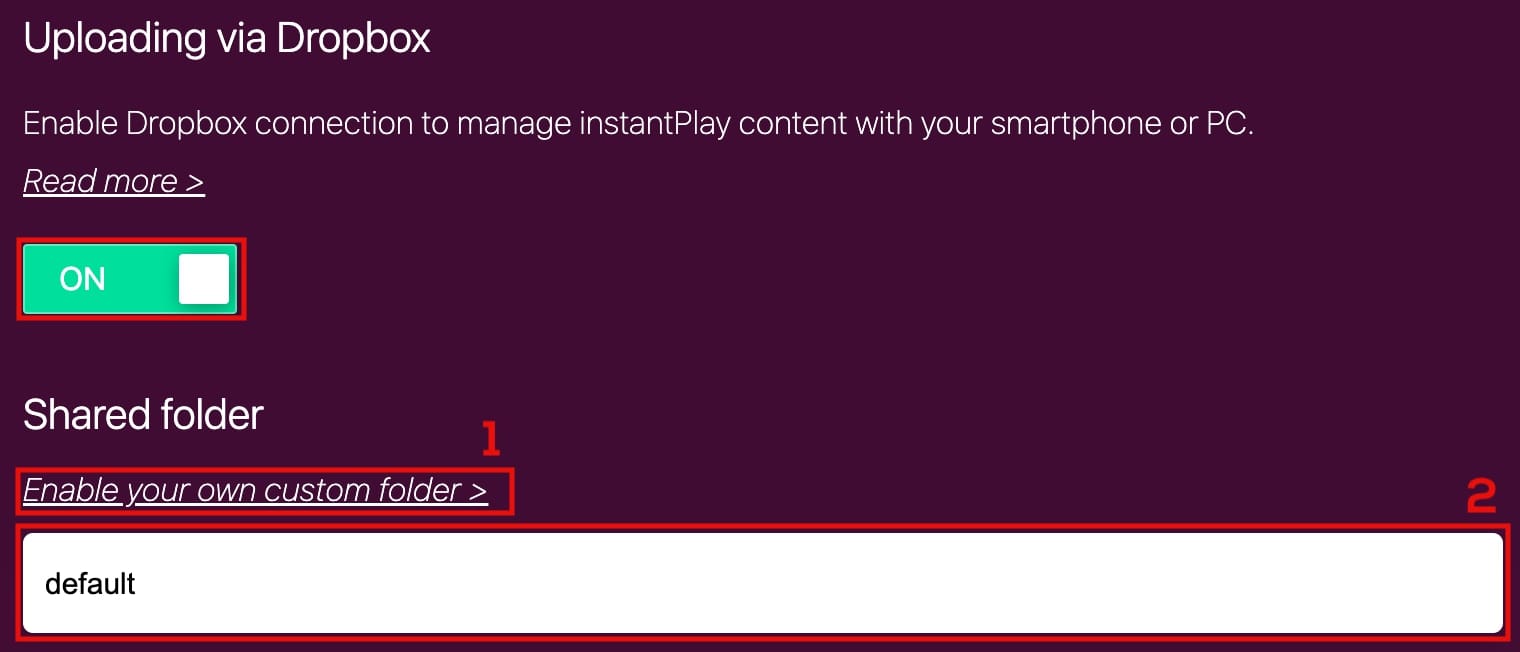
Dropbox
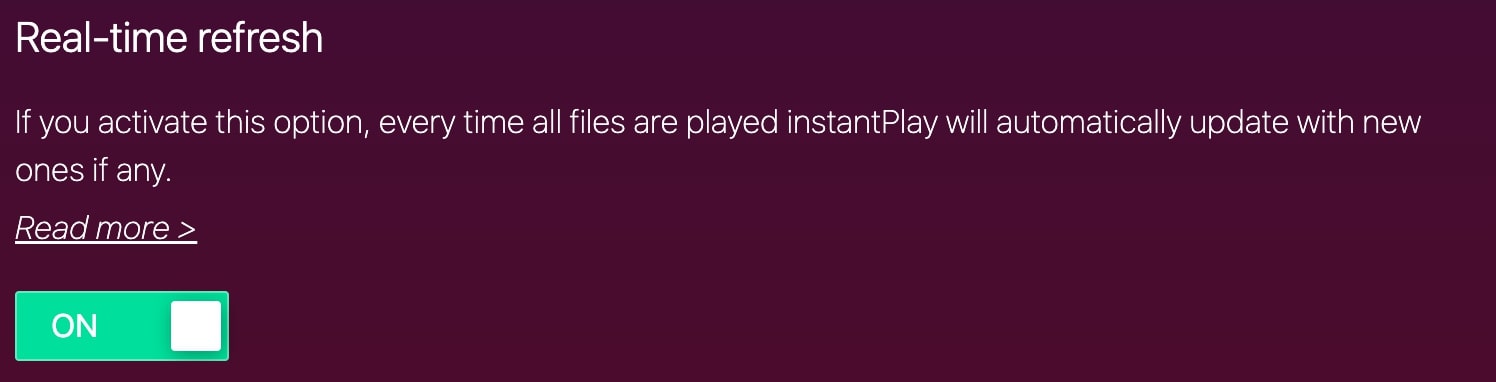
Real-time updates
-
-
- How to restart instantPlay Slide.
You can do that in two ways:
-
Disconnect and reconnect the instantPlay Slide power supply.
-
Open http://setup.instantplay.it and click Save and restart.
-
- How to restart instantPlay Slide.
-
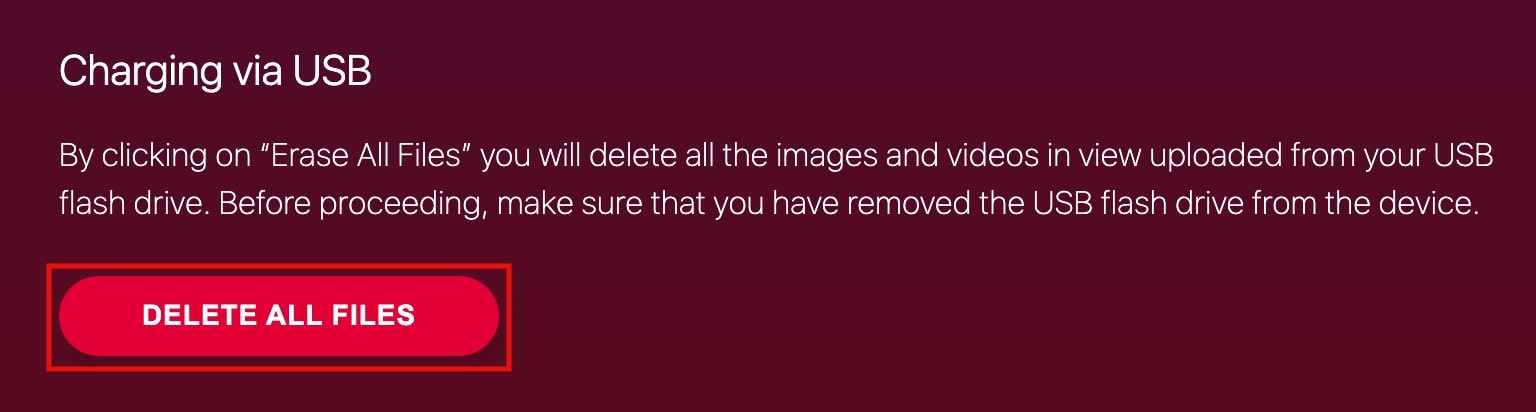
Loading content from a USB