Let’s configure it
2. The first instantPlay Slide configuration page will appear. Here’s how to fill in the various parameters.

Set static IP
This section allows you to choose whether to set a fixed IP with which to access the configuration page of the
instantPlay Slide. This IP will always remain the same whether you access via WiFi or Ethernet connection.
If you wish to use a static IP,
activate the switch (1) and then
fill in the fields
below (2) with the required data.

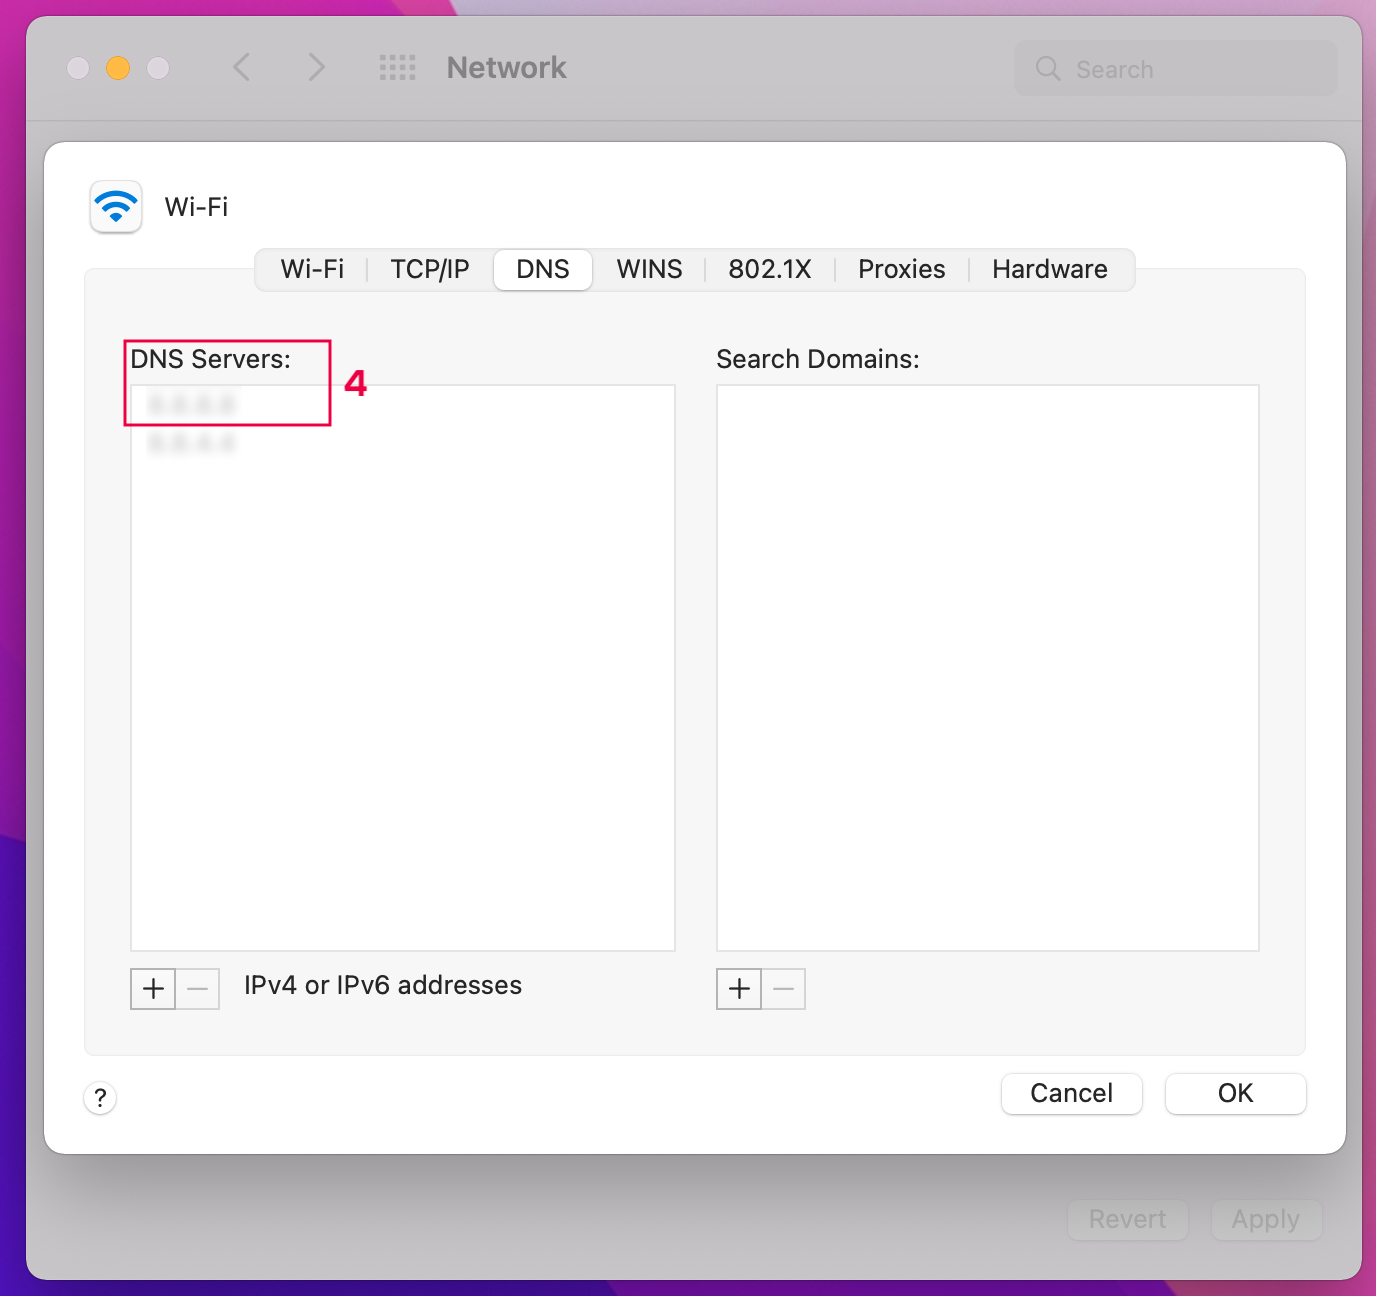
To retrieve them, simply proceed as follows.
If you use Windows,
open the start menu, type “cmd” and start the command prompt. Once the
command prompt is open,
type “ipconfig /all” and press the Enter key. You will see a screen
like the one below where you will find
IP (1),
Subnet Mask (2),
Gateway (3),
DNS (4).

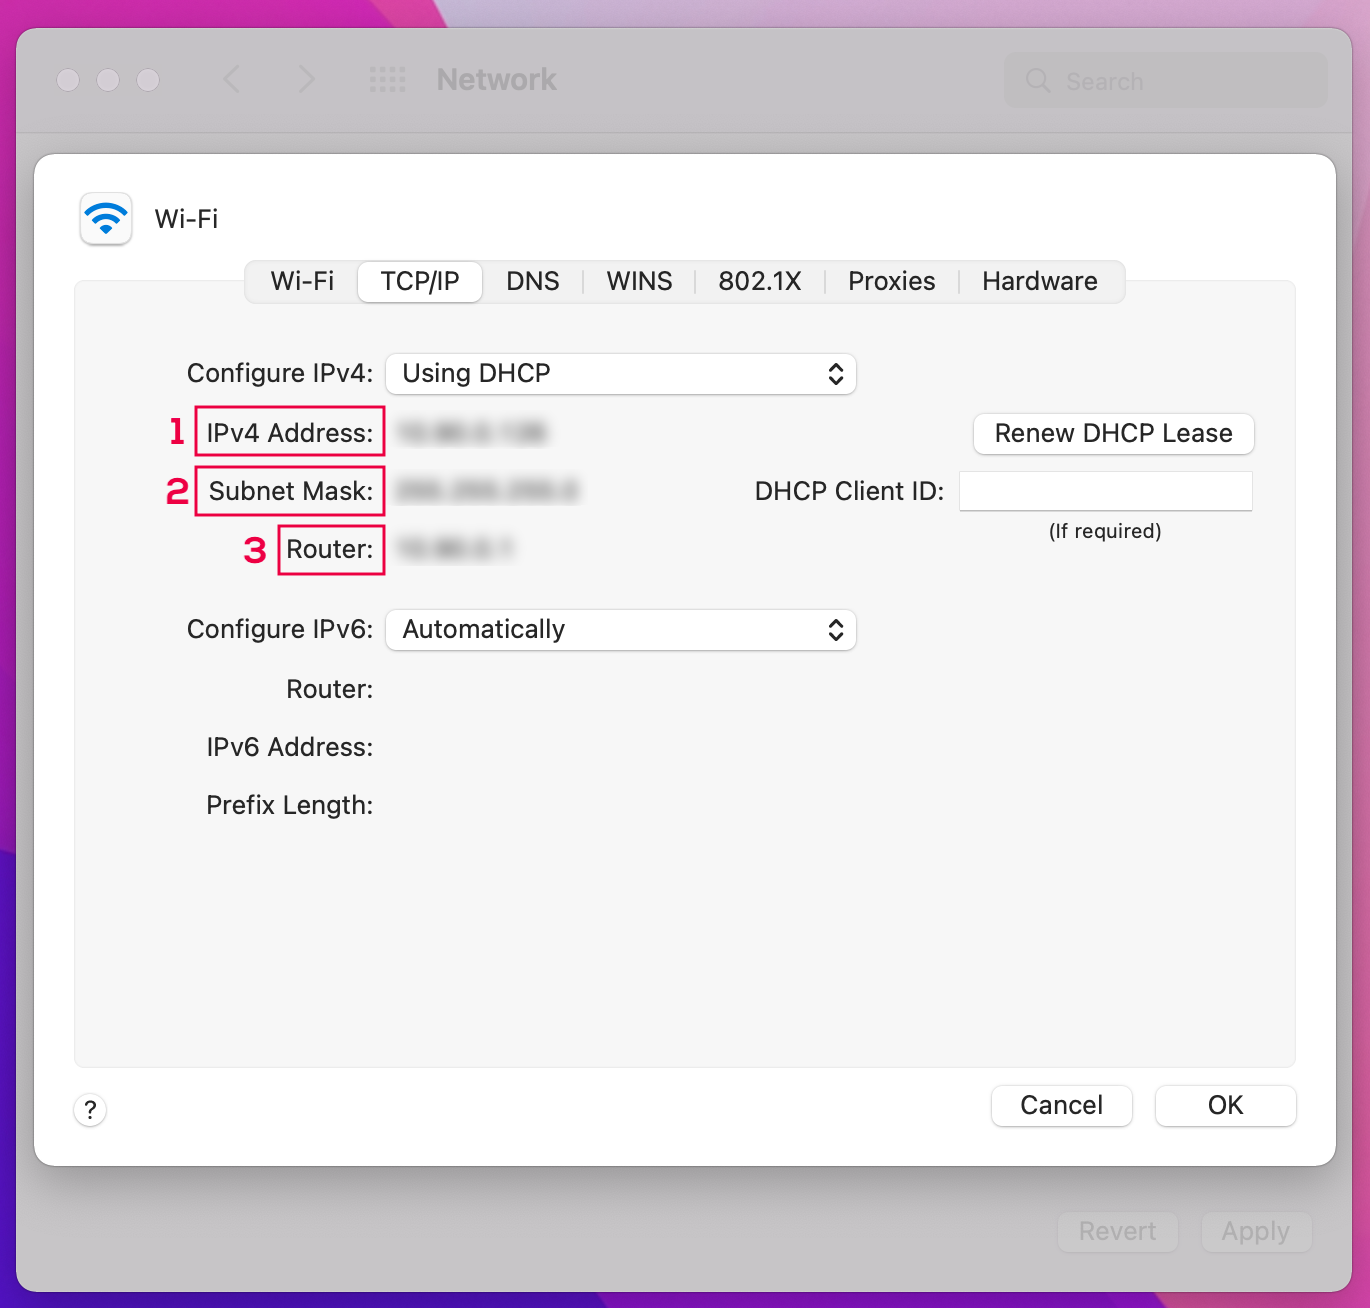
If you use Mac, the fastest way to find your IP address is to open the menu
Network Preferences
and select the network you are using. Now click on the button
Advanced , and then
select the TCP/IP. Here you will find
IP (1),
Subnet Mask
(2),
Gateway (3). To find DNS, just
open the DNS tab and then
copy and paste the server address (4).
Once you have filled in all the fields, click on
Save.

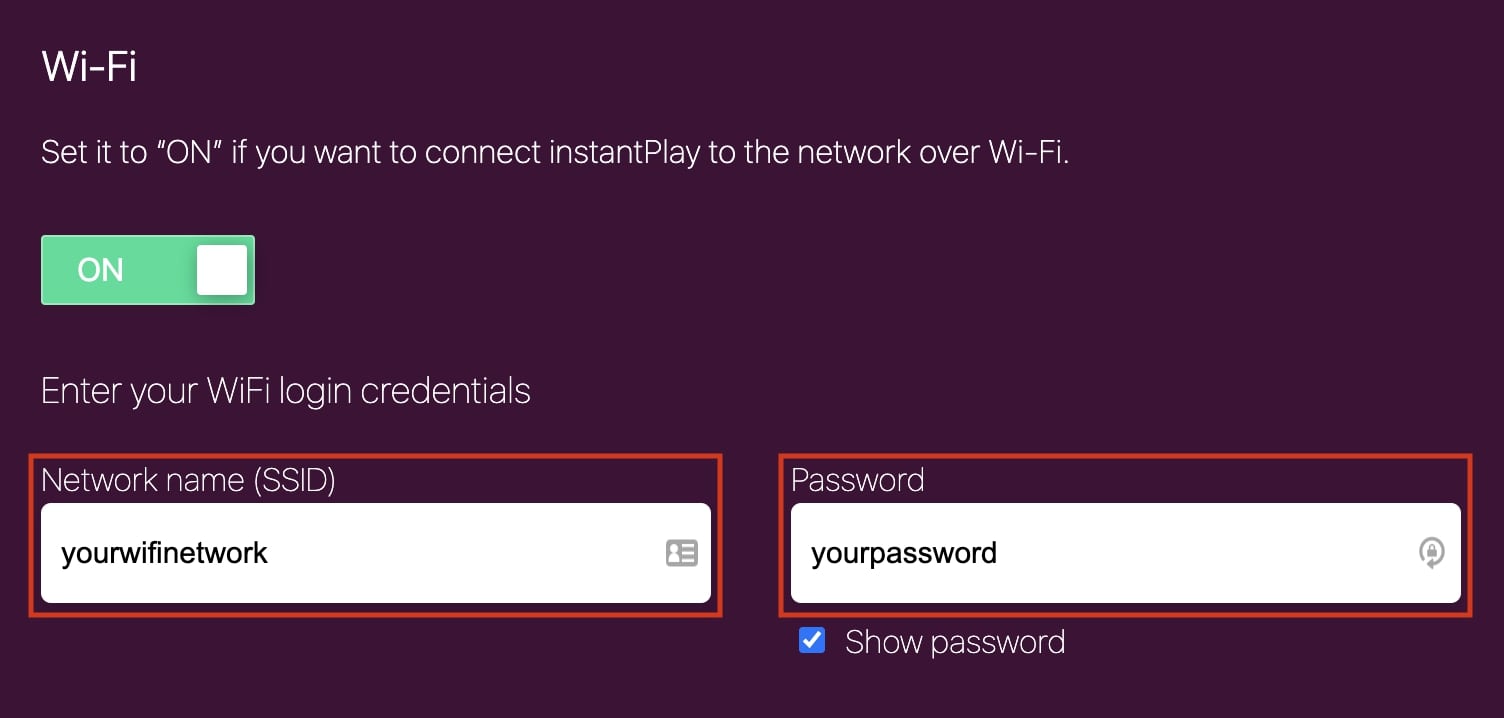
WiFi
This setting allows you to connect instantPlay Slide to your network by Wi-Fi.
If you leave it set to
OFF you will continue to use a wired internet connection.
If you select ON you will see two fields to fill in:
Network name(SSID): enter the name of your Wi-Fi network.
Make sure there are
no spaces in the name.
Password: enter your Wi-Fi network password.
If you decide to use Wi-Fi, you can disconnect the Ethernet cable once setup is complete. The cable must remain
connected, or you would have to load your content using a USB flash drive.

Monitor orientation
This feature allows you to rotate the contents to fit the screen on which they will be shown.
If you have a horizontal monitor, select 0°.
If your monitor is vertical (portrait), select 90°.

Display time of the image
In this section you can decide how many seconds each image of the slider should be displayed. 10 seconds is the
default time but you can enter whatever you want.


Upload via File Manager
In this section you can choose whether or not to enable uploading via File Manager. If you select
OFF your content can only be loaded via USB stick. If you select
ON you will
have to choose whether to use the Local or Cloud File Manager. To do this, simply move the switch to the option
you prefer.
Let’s see between the two modes what difference there is.
Local allows you to upload videos and images that you want to display on your instantPlay Slide
locally. Once you have uploaded the contents to the local File Manager, they will appear even without an
internet connection.
For the procedure for uploading content, please refer to the
Upload contents section.
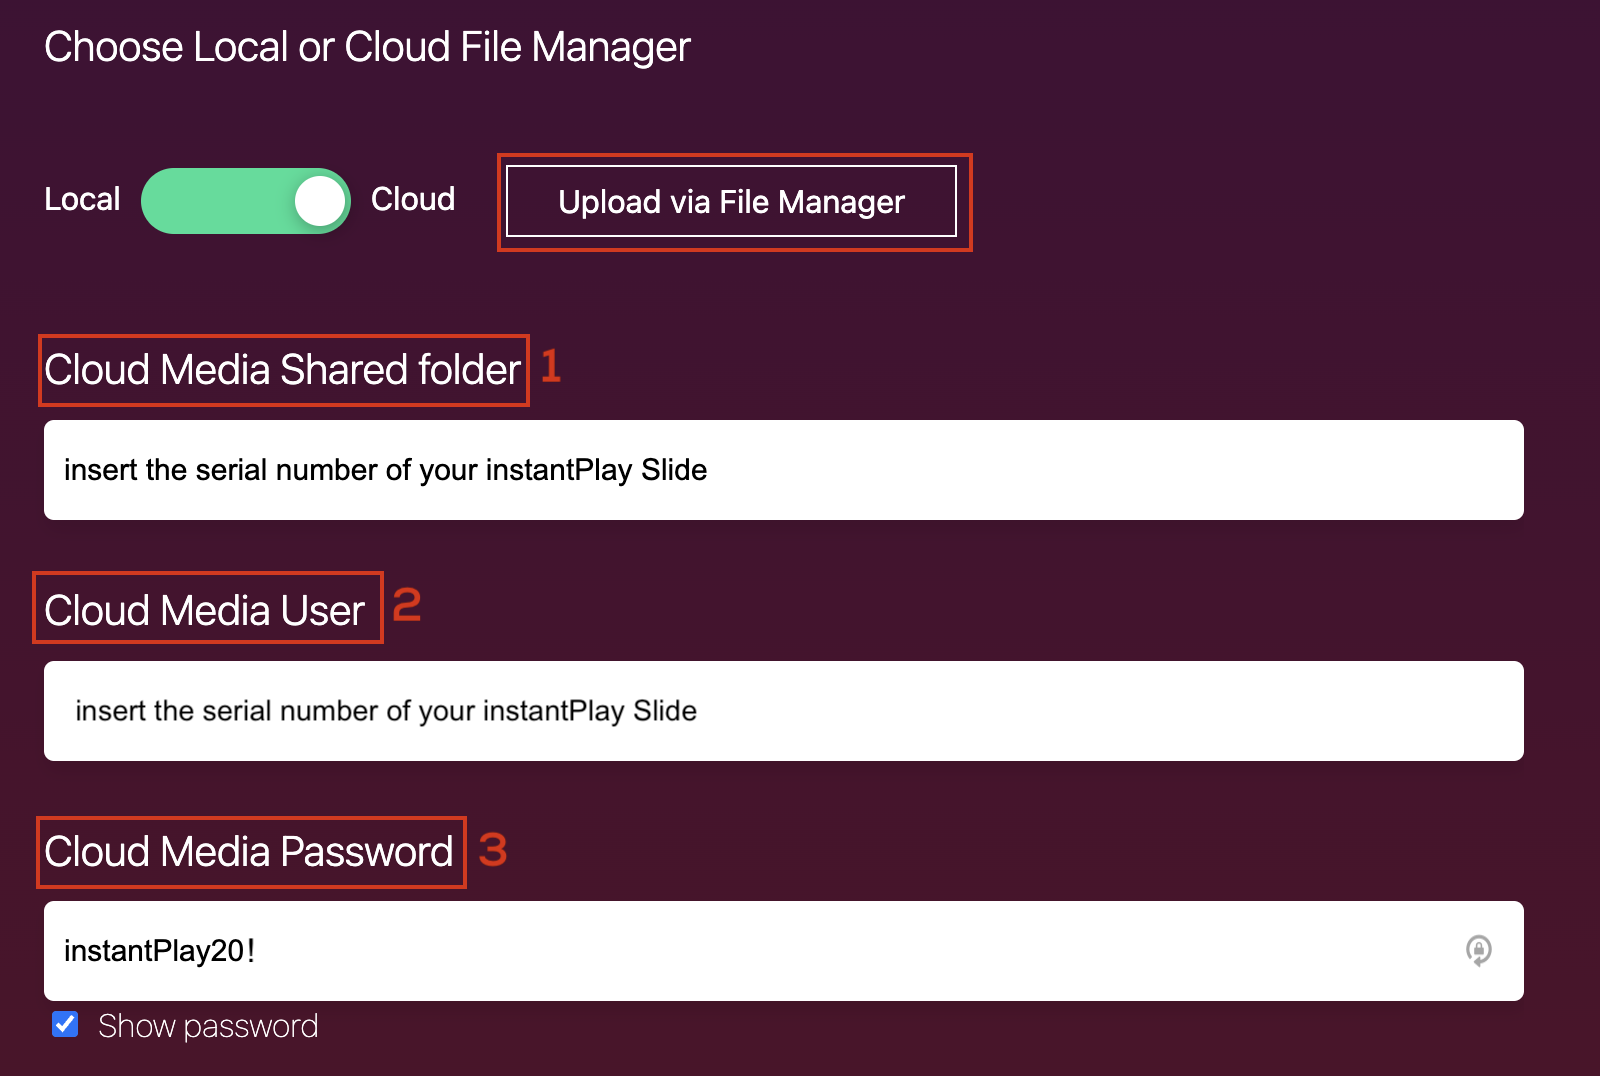
Cloud allows you to upload videos and images to your instantPlay Slide wherever you are. In
this case, however, the internet connection must always be present so that the player can update and upload new
content that are added remotely.
If you enable Cloud, you will need to fill in the fields below in the following way before uploading content.
Cloud Media Shared Folder (1): enter the serial number of the instant Play Slide
you purchased.
Cloud Media User (2): the serial number of your instantPlay Slide: you will find it on the box.
Cloud Media Password (3): enter the password instantPlay20!
If you want to change your password, once you are log in the File Manager, click on the username at the top right.
To load the contents just click on Access the File Manager.
For the procedure for uploading content, please refer to the
Upload contents section.

Real-time Refresh
If you activate the real-time update, every time the slider is played, the content is automatically updated. If
you leave it disabled, instantPlay Slide must be restarted in order to update the contents.
-
-

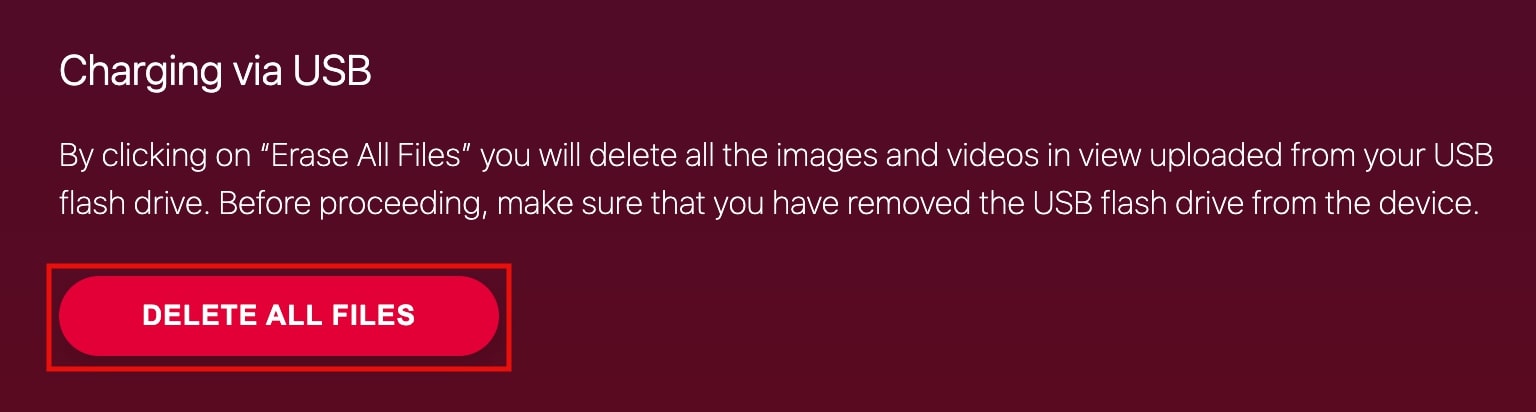
Loading content from a USB
In this section, you can quickly delete all images and videos that have been loaded using a USB flash drive.
Simply click on
Delete all files. This will display only content uploaded in the local or cloud File Manager. Remember: you are not deleting files from the USB flash drive itself, but you are deleting all the
files that you had uploaded using it. Make sure you have removed the USB flash drive from the instantPlay Slide
before proceeding.
Once you have set all the parameters, click on
Save and restart to apply the changes.